Quickstart guide to canning
{This post may contain affiliate links. You can read our Disclosure Policy HERE.}
Welcome to the Quickstart Guide to Canning!
In this post I would like to provide a crash course on canning. I do not want to complicate the process any more than it has to be. My desire is that this will be a tool that will give a beginner the knowledge to begin canning with some confidence. I would like to put a disclaimer on this topic by saying “There is more than one way to skin a cat.” I have found on our homesteading journey, that there is always another way to do pretty much everything. I will share some things in this article that I have no doubt someone will read and think “I know a better way.” That is great if you do. I would love for you to send me an email and share that better way with me; or leave a comment to share them with everyone. I do not claim to be an expert on canning, but I intend to share my experiences and what we have found to work for us. I would like to share this information from the perspective of a person who has never tried to can, and it may be too simple for a person with some experience.
In “Canning…. the great mystery” I shared that the first thing I did when learning to can was to go and buy the Ball Blue Book Guide to Preserving. That is still my number one recommendation to get started. The Blue Book is full of great information on methods and the science of canning. It is very valuable to have a reference on hand to check things like times or temperatures.
Canners
There are two main types of canners: a water bath canner and a pressure canner. A water bath canner is for high acid foods like tomatoes. A pressure canner is for low acid food like green beans. You might be starting to worry about how to know if a type of food is low acid or high acid. Stop it! When you begin, you will be following a recipe for everything you preserve, and that recipe will tell you which method to use. A water bath canner or boiling water canner is a big kettle with a lid and a wire rack to hold the jars.
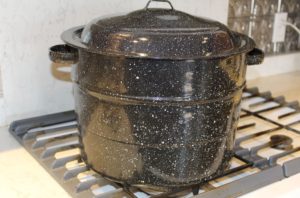
Water Bath Canner
When using a water bath canner you fill the kettle with water and heat the water. The wire rack has arms that will catch on the rim of the canner to hold it above the water. This allows you to load the rack with jars and then you can unhook the arms to lower the entire rack into the water. Once the jars have been loaded into the rack and lowered you want to be sure the boiling water covers the lids of the jars about an inch or so. You want the water to be at a rolling boil before you put the jars into the canner. After you lower the jars and have checked to be sure the water covers the lids by an inch, you set the timer for the time the recipe calls for. When the timer goes off, open the canner, take care to not be burned by the steam, raise the rack, and let the jars cool. When the jars have cooled, carefully remove the jars from the rack to a counter to finish completely cooling. We put a dish towel down to protect our counter from the heat of the jars. As the jars continue to cool the lids will “pop” signaling that the lid has sealed.
Some tips on water canners.
- I often will have a pot of boiling water going on another burner, in case I have to add water to my canner to cover the jars. That way I can add boiling water to the canner and don’t stop the boil.
- Keep your jars hot, you don’t want to put cool jars into boiling water since they can break. We fill our jars with scalding tap water right until we fill them with food. This helps heat up the glass so it doesn’t crack from a dramatic temperature change.
Pressure canner:
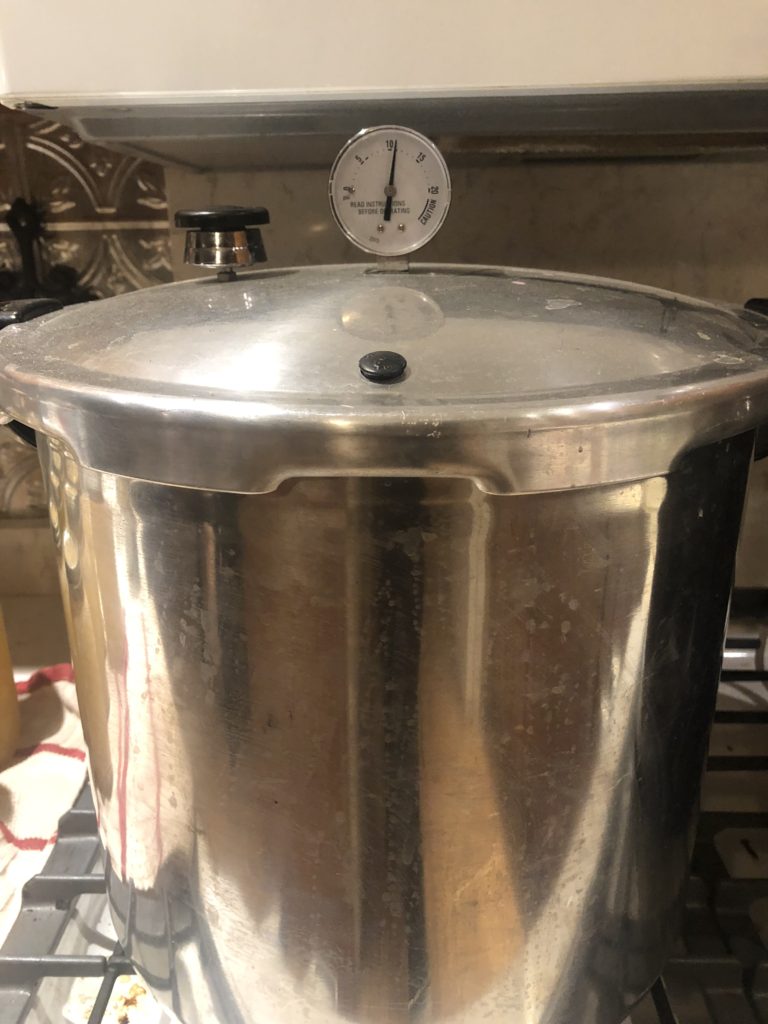
A pressure canner is a large pot with a locking lid and a gauge. The locking lid has a gasket to create a seal. The gauge can be a dial or weighted gauge. Most modern pressure canners you buy will have a dial gauge. Fill the canner with 2 to 3 inches of water. You do not need to cover the jars entirely like with a water bath canner. Place your jars in the canner and close and lock the lid.
Turn on the burner, and as the water in the canner creates steam, let the steam vent out of the vent pipe without the weight regulator on, for about ten minutes. After ten minutes or so, put the regulator onto the vent pipe, and then you will quickly see the pressure begin to rise on the dial. The recipe will call for a certain pressure to use for a certain amount of time. For example, green beans are to be processed for 20 minutes at 11 lbs of pressure for pints. This means that you will want to see the gage rise to 11, set the timer and then try to maintain the temperature at 11 for the processing duration.
When the processing is done, turn off the burner, let the pressure drop, and let the canner cool naturally. I know it is tempting to take the weight off of the vent pipe to get it to cool faster, but fight the urge, you can wreck your canner (and hurt yourself) if it cools too quickly. Modern canners have a lock that pops up as the pressure builds; so you cannot open the canner until the pressure has dropped. When you open the canner there will still be a fair amount of heat. Be careful to not get burned by the steam. Once opened, remove the jars, and you are ready to start the next batch.
One of the confusing parts about using a canner is when the recipe books start talking about adjusting pressure and time for altitude, or feet above sea level. I remember when we were getting started and reading about altitude adjustment and feeling like “Whoa… this is too technical; I just want to can my garden!” Slow down and don’t be intimidated.
The altitude is important, and it is simple. You only have to think about it one time. If you live in a higher altitude region you have to adjust the recipes accordingly, this chart tells you exactly how to adjust and you should find it in any canning book you pick up. So, if you live 2500 feet above sea level when you can green beans, you will process for 20 minutes at 12 lbs of pressure for pints; instead of 11 lbs. If you are using a water bath canner at 2500 feet above sea level you add 5 minutes to each recipe. Once you think about it one time, and know-how to adjust, or know to check the chart, it IS simple.
Warning!! Are you using a new pressure canner? If you are, skip this paragraph. If you are not, be sure to do a little research on your pressure canner. There are some older canners that are not safe to use. There is plenty of information on the web if you type in the make and model of your canner as a general search you may quickly find out that you need to shop for a new canner. Modern pressure canners are safe to use when you follow the instructions; there are safeguards in place that some older models do not have. We had inherited a pressure canner one time, and we were excited to not have to borrow my Mom’s anymore; when we researched it to find a new seal, every website warned that our particular model was like a bomb in your kitchen because it didn’t have a vent pipe. Needless to say, we never bought that seal. Obviously it could have been used, but not worth the risk even if you were paying complete attention to it. Some of those old canners have caused many people to be afraid of pressure canning, but I feel that pressure canning is a very safe method with the right tools and attention.
Jars
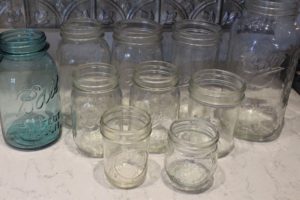
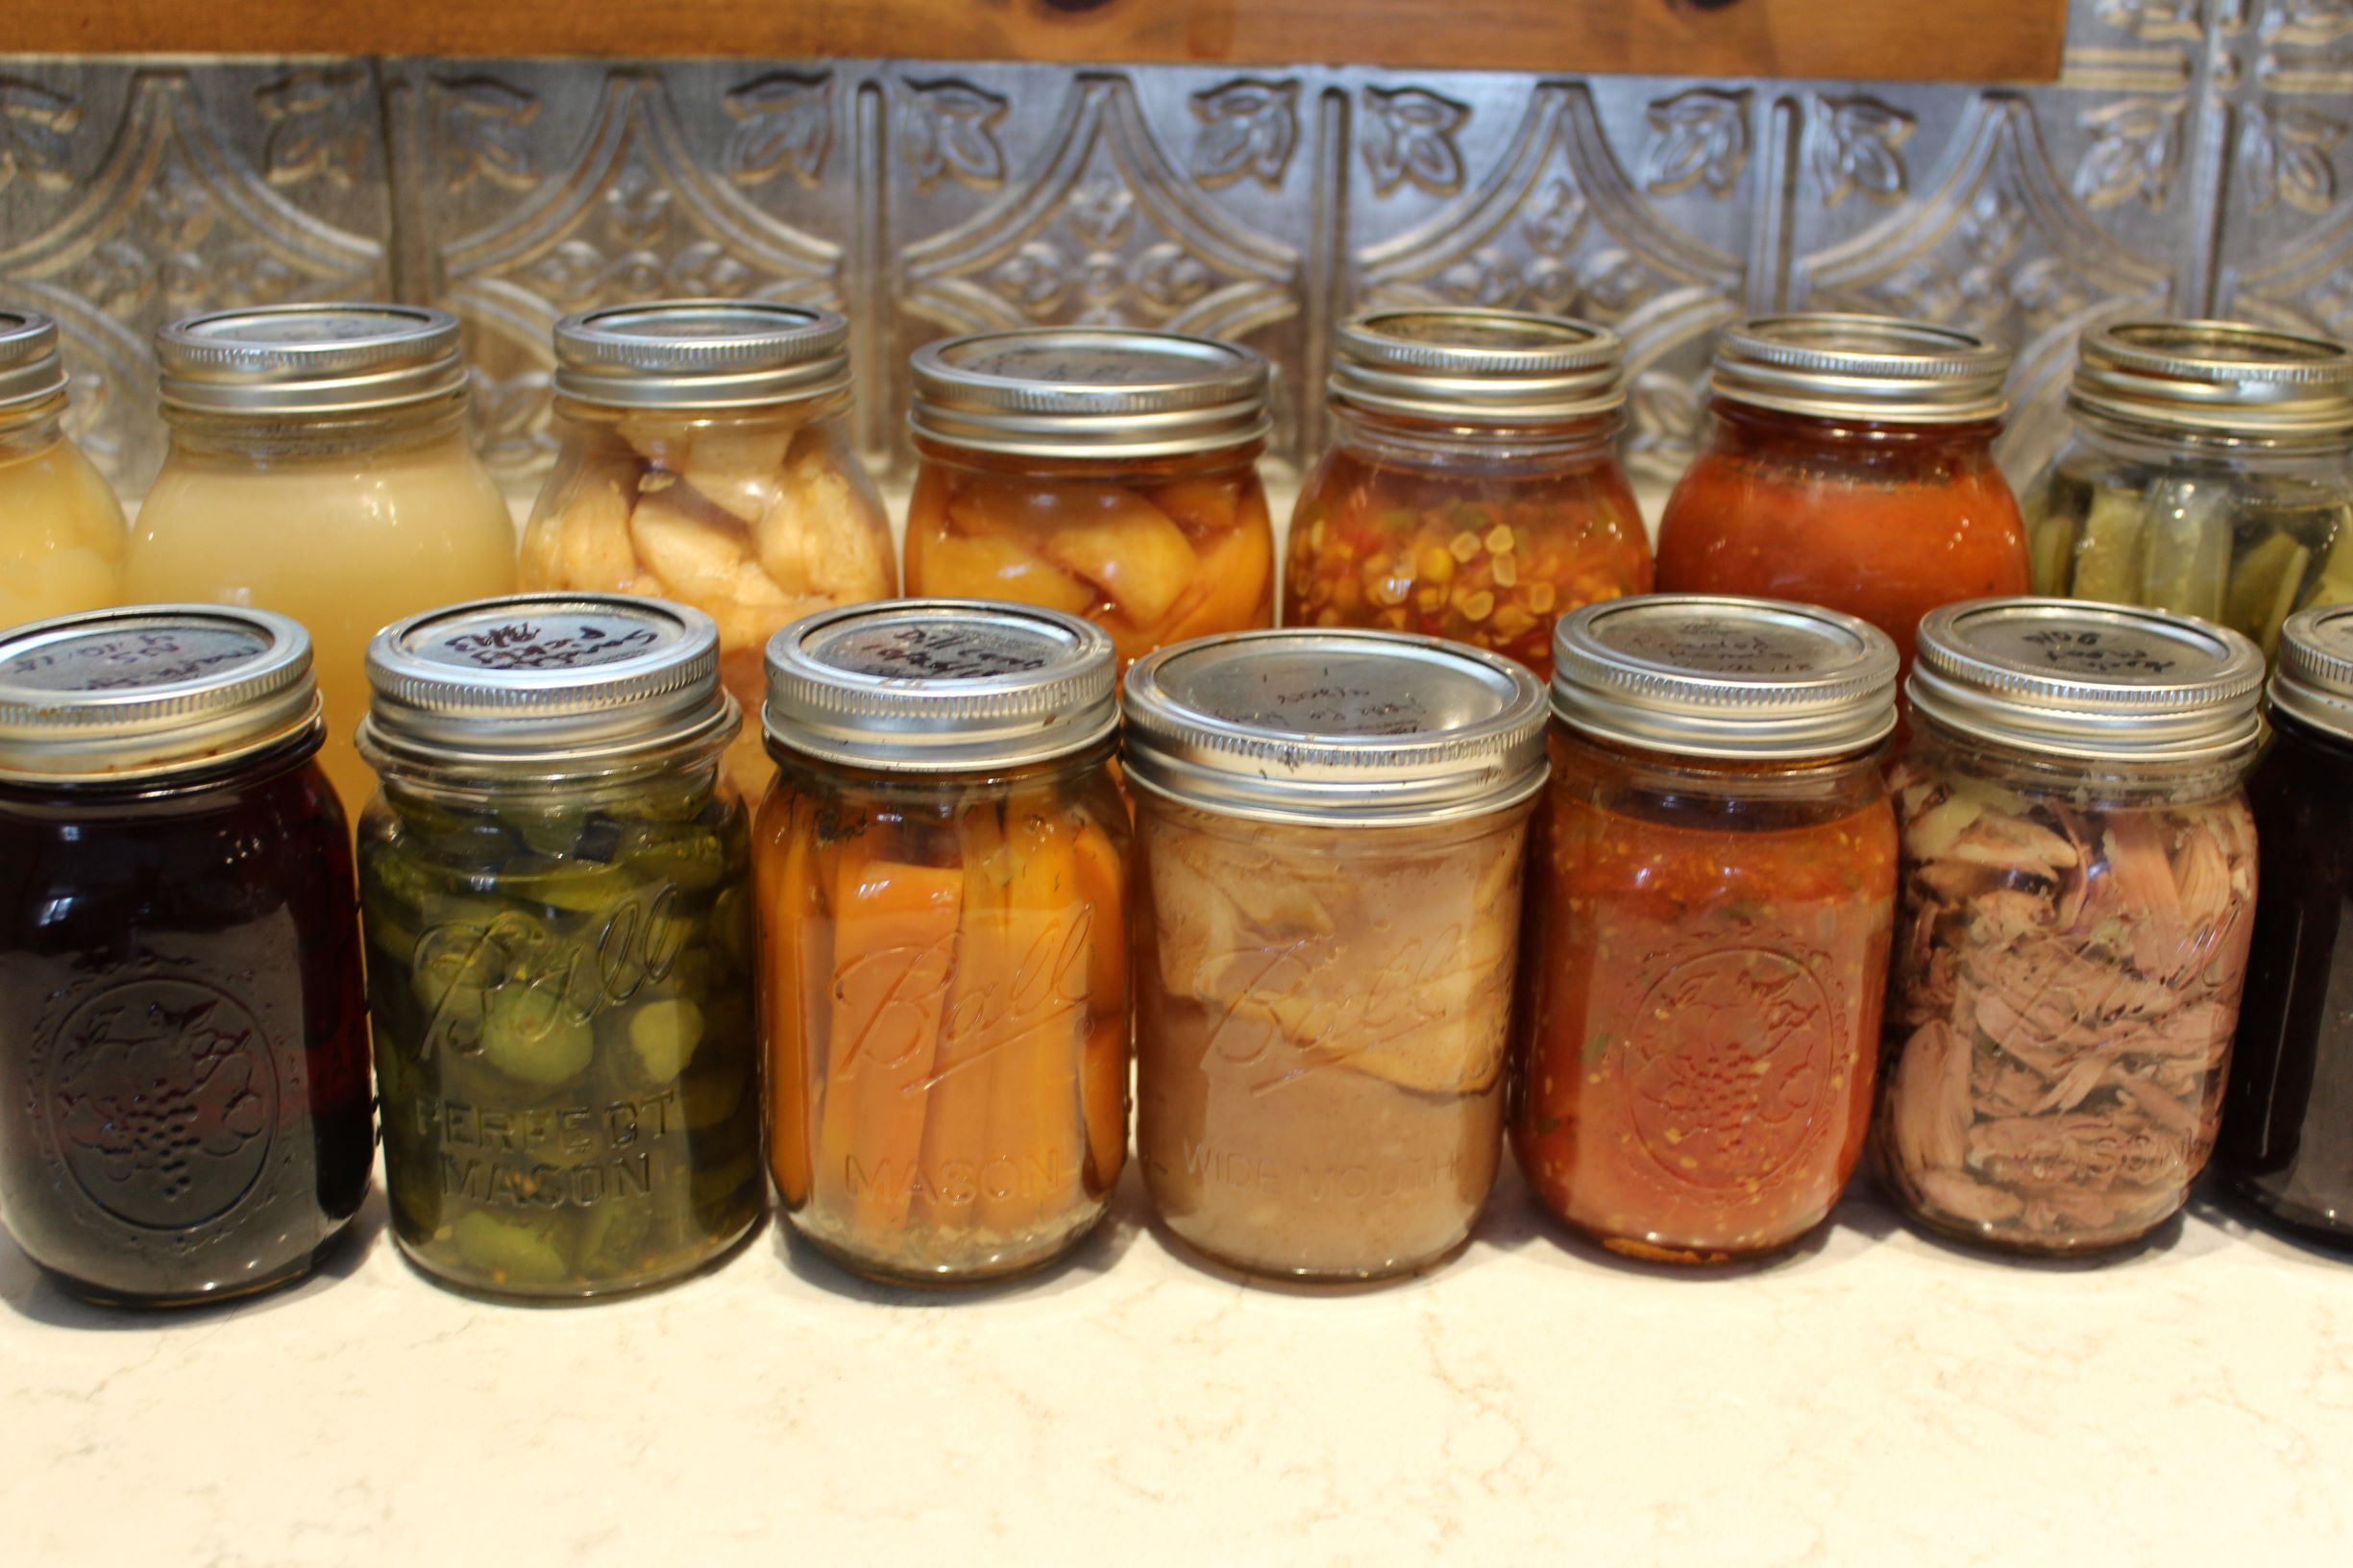
The vessel used to can our food is a glass jar. Years ago people would buy tin cans to can their food. The problem with using tin cans was that they could only be used one time. Canning jars can be purchased new or used. We prefer to use only jars that were made specifically to be canning jars. You can use some other food jars purchased from the grocery store if the lids fit; like some pickles, come in a glass jar that can be cleaned and reused for canning.
Over the years less and less of the jars from the grocery store seem to work. I never really like using them just because the glass seemed to be thinner and more likely to break in the canner, which is very disappointing. Any jars you use should be inspected for any nicks or cracks, and if you find some do not use them for canning.
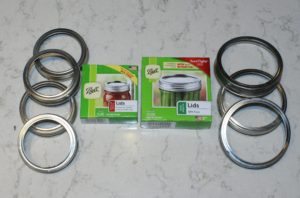
Canning jars have 2 piece caps which consist if a lid and a ring. The lid cannot be reused and it has a seal built onto the rim. The ring is threaded and screws down onto the jar and holds the lid in place until the jar is sealed. Jars come in a variety of sizes, but there are only 2 sizes of openings for the jars, regular mouth, and wide mouth. Wide mouth are nice because they are easier to pack when canning, easier to get food out when eating, and easier to clean when empty. The drawback to wide mouth jars is simply that the jars cost a little more and the lids cost more than regular mouth lids. When you can a lot those costs add up quickly. Depending on how much we freeze, we will can between 100 to 400 jars in a season.
We do use both sizes of jars and we favor regular mouth for things we pour; like salsa or sauces. When we can things we spread, like jams and jellies, we prefer wide mouth jars because it is easier to get the knife in. Don’t overthink which jars to use; especially when you are just getting started you probably won’t can enough to make the cost of lids a factor.
Lids and Bands
Lids and bands come in two sizes, wide mouth and regular mouth. You will match the lids to the opening of the jar you are using. After you fill a jar with food, you must wipe the jar rim clean of any food that may have spilled. If the rim is not clean, it can cause a lid to not seal properly. We keep a wet cloth close by to wipe each jar before putting on the lid.
After you have ensured a clean rim, center a clean, unused lid on the jar. Screw a band onto the jar to hold the lid in place. Bands should be clean and free of rust (a little rust doesn’t hurt).
Canning Utensils
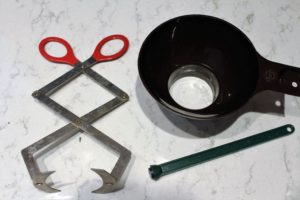
Jar Lifter– A jar lifter is a regular use tool when canning. It allows you to move jars in and out of hot water without touching the water or the glass. You could get by without one, I suppose, if you were very careful or didn’t plan to can often. There are different styles of jar lifters on the market, unfortunately, my favorite is no longer made, and I can only seem to find them used. Be sure that the lifter you select gives you a good grip on the jars.
Lid Lifter– This tool was at one time a must for canning. With older canning lids the instructions called for you to heat the lids in a pan of water prior to using. The lid lifter has a magnet in the end that would allow you to pick up a lid and place it on a jar without touching the hot lid. New lids only call for you to wash them in hot soapy water. I haven’t used my lid lifter in quite a while since then.
Funnel– A jar funnel is a must, in my opinion. A jar funnel is made specifically for filling canning jars and works on both wide and regular mouth jars. Using a jar funnel makes the job neater and quicker.
Headspace tool– A headspace tool is a multipurpose tool. One end of the headspace tool is notched with different increments of headspace so you can quickly measure headspace to see if you have added too much food, or if you have room for more. The other end of the tool is used as a bubble remover, it is thin and somewhat pointed. The purpose of this is so you can slide the tool inside the jar between the food and the glass, slide it in and out in a few places to release any trapped air pockets that can form when filling the jars. I do not use a headspace tool. I can estimate headspace quite well is, if you are not as good at measurements this may be a helpful tool. I have found that a butter knife works just fine for removing air pockets when needed.
Food Safety
“Is my food safe?” I think everyone who starts to can and wasn’t raised doing it, probably has a healthy fear of canning something and then making someone sick from their food. There is good reason to be concerned about food safety. Things like salmonella or botulism are a real danger.
When I began canning I remember being concerned about food safety. I made food safety a much bigger deal than it had to be. If you use your senses and follow instructions, you will do everything you need to ensure that your food is safe. What I mean is, there are scientific ways to guarantee your food is safe, and they are built right into the instructions. If you are using sanitary equipment, fresh food, and process at the temperature or the pressure the instructions call for, for the correct amount of time, you will have done all you need to do. When it comes time to use your canned goods, make sure you use your senses. There may be a time when a seal fails on a lid allowing the food to spoil. If the contents of your jar do not look or smell right, don’t use them. In all our years of canning, I don’t think we have ever had that happen to us. We have had some jars where over time, the food didn’t look quite right. So, when in doubt throw it out.
Good luck as you learn to can. I hope that you have enjoyed this crash course to canning and that it may have helped some of you who are just getting started. Here at Misty Acres, we are getting close to berry season as I write this and we are about to kick off our canning season in a few weeks! Feel free to send us a message if you have any questions and we will answer them to the best of our ability.
Don’t forget to check out my first article, “Canning… The Great Mystery.” and sign up for the Put ’em up Challenge. This is a personal challenge that will help you focus on the foods you will eat and help you keep track of your preserving. Don’t be afraid to sign up! It just might help kick start you to finally learn how to can.
-Dianiel
