Our 2 garden mistakes & 8 successes
{This post may contain affiliate links. You can read our Disclosure Policy HERE.}
The weather is cooling down and I am out picking the last fruits of our labor in the garden. I can’t help but look around and take note of the mistakes we made and the successes we had this year. The failures can really drag you down, but truthfully they are not failures. They are things to improve on next year and lessons learned. Here are our 10 Gardening Tips & Tricks that you can read about through our 2 gardening mistakes & 8 successes for the year.
I would love to come on here and show you our amazing looking garden, which is perfectly weeded and has rows of flawless looking vegetables hanging off of every limb. But, that is not real life. The truth of the matter is that you win some and you lose some. Every year is different. The weather, the pests, the time you are able to spend on it. These conditions all play a huge roll in how your garden turns out.
Summer Challenges
This year in Wisconsin, it was WET! We had record amounts of rainfall. One nice thing about that, we hardly had to water the garden. It also meant that we had an increase in powdery mildew, it was sometimes hard to get out there to weed, and the plants that prefer dryer soil did not turn out as well.
It was also a cooler summer. We never even installed our window air conditioner! That is just crazy to me! There were only 2 miserable nights, that I remember. After that, a fan in the window kept us cool enough each night. For the garden, that meant that some plants did not produce fruit until much later or not at all.
This post was written to encourage you and maybe even give you some garden tips as well. Hopefully, you can learn from 2 of our garden mistakes and 8 successes. Take heart, that you are not the only one who blundered this year in your garden.
Our 10 Gardening Tips & Tricks Learned from our 2 Mistakes and 8 Successes
Let’s get right to it by sharing our mistakes. These are hard to admit because they are things that could have been improved on with a little more work and consistency.
Mistakes
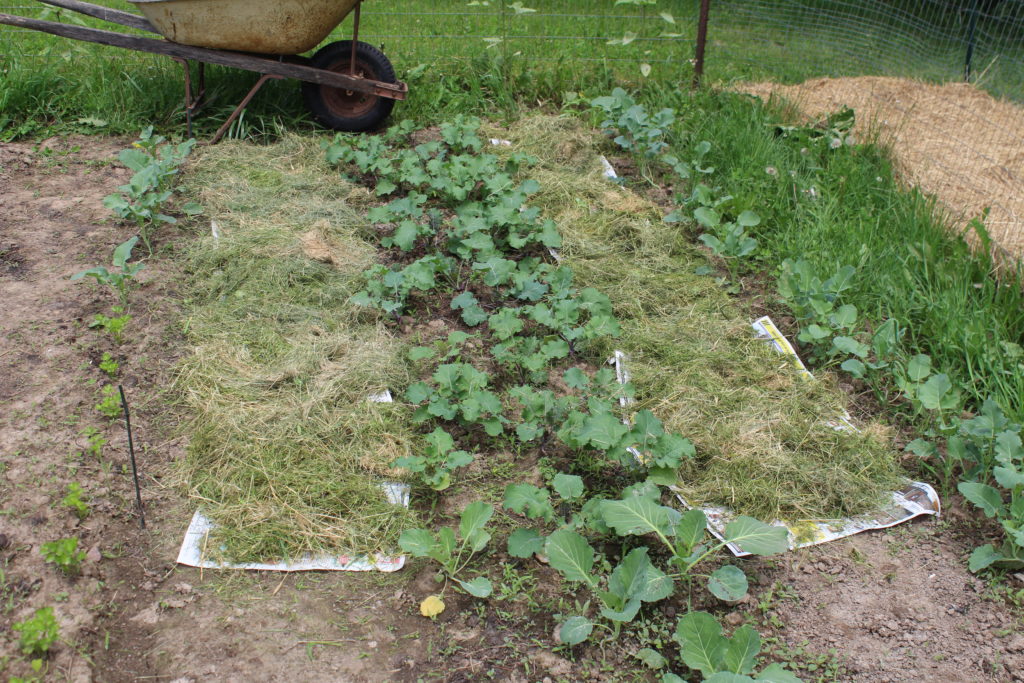
Mistake #1) Not putting down weed protection
One of my top garden tips is to put newspaper down my rows for weed protection. I weed the row, sprinkle DE (Diatomaceous Earth) across it for natural bug control, put down newspaper, and then cover with grass clippings, straw, or hay. Then, spray the rows with water to hold it down. This is a huge time saver!
This year, I only did this in a few places. I always planned to go back and do this on each of my rows, but time got away from me. It did not take long for me to regret that I missed this important step.
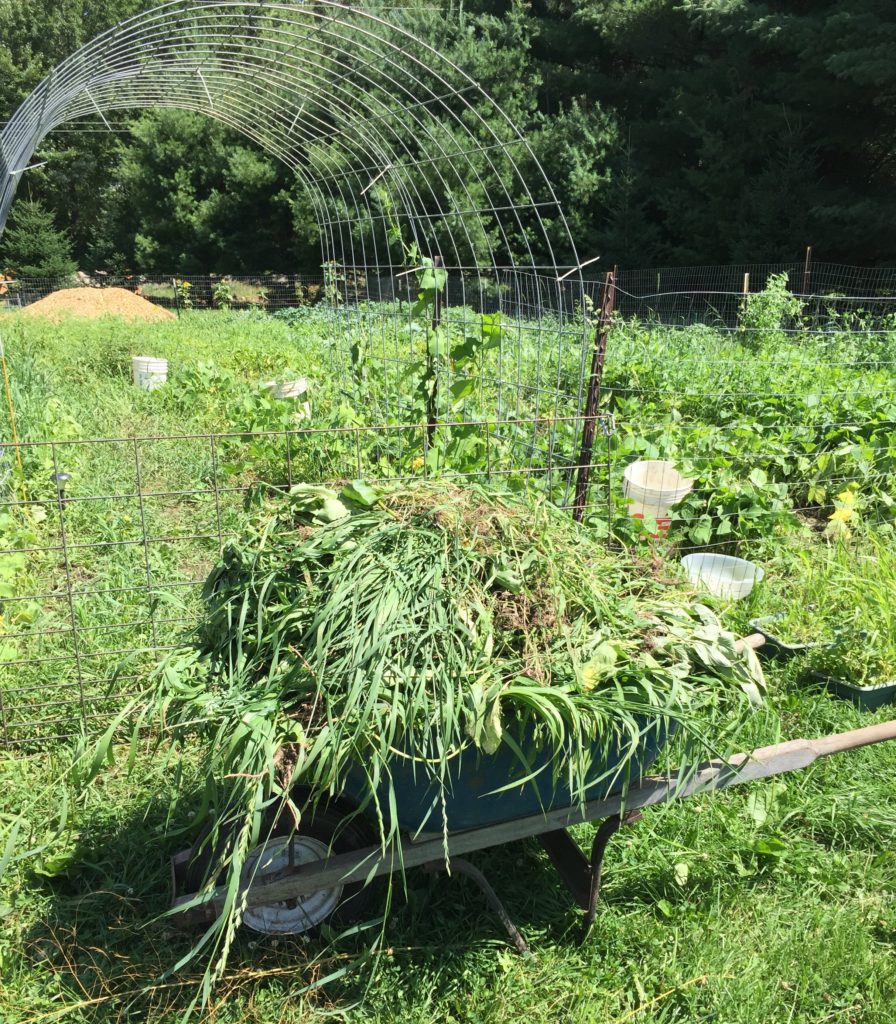
In turn, I spent several extra hours in my garden weeding out my rows to find my plants and filling wheelbarrow after wheelbarrow with weeds. How embarrassing! The few spots where this was done, the plants have benefited from it. I also can’t help but give a sigh of relief every time I see the newspaper row. This one-step really pays off.
The weeds will always get you in the long run. It is better to do this step initially and reap the benefits when the summer is sweltering and miserable. Next year, I will not miss this step.
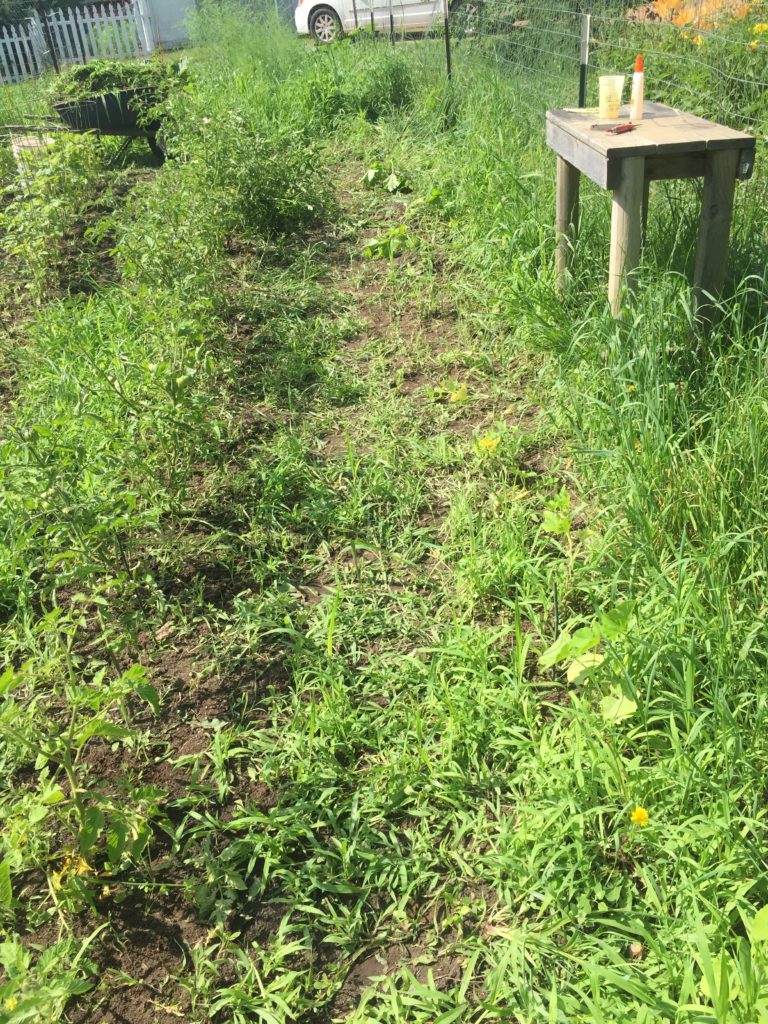
Mistake #2) Not propping up my tomatoes
This year, I declared to my husband, “I do not want to use tomato cages!” I was sick of them! They take up so much room, you have to re-adjust the tomato plants all summer to grow up them, and most of all, I hate cleaning them up at the end of the year. I put my foot down and said, “No more!”
I had a new plan for keeping those tomatoes up and my husband had a different plan. We both said we would look into which way would be better. And guess what happened…. NOTHING!
I only have myself to blame here. I should have thrown up the white flag in defeat and just put those tomato cages around my tomatoes when they were little. But, I didn’t. My stubbornness got to me and now I have to deal with the outcome. Instead, we struggled to put tomato cages around our fully grown tomatoes, knocking off green tomatoes and breaking limbs. Some tomatoes could not be propped at this stage of the game. It was a HUGE mistake.
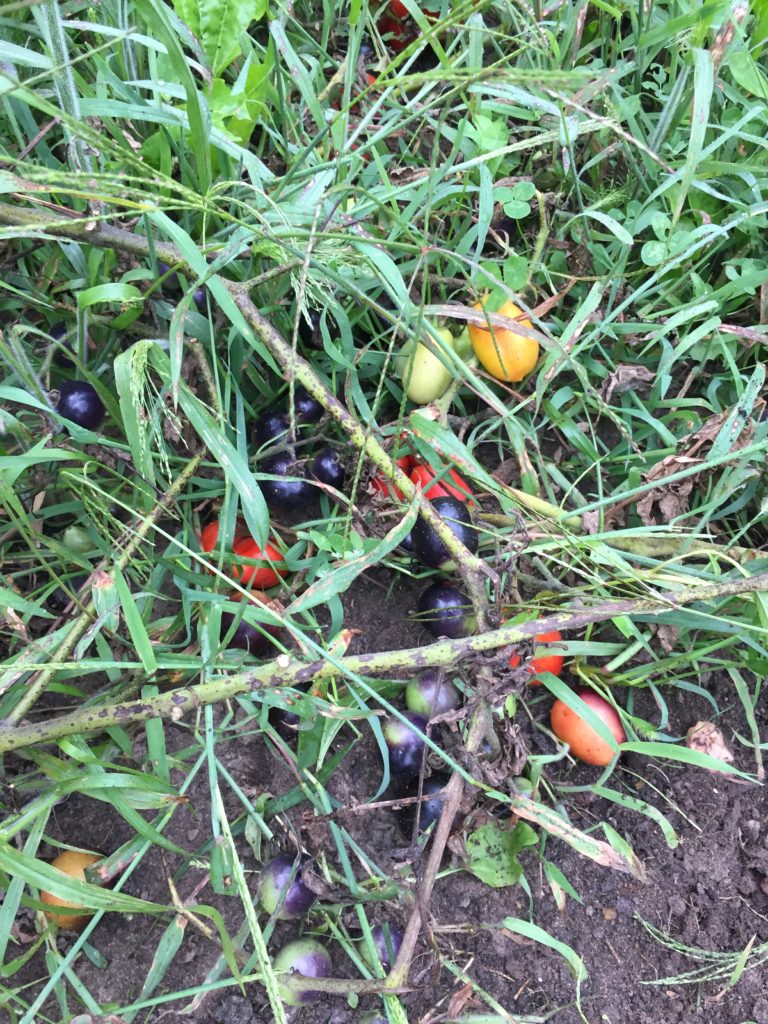
Thankfully, tomatoes still grew even with the lack of support. I had to search for my tomatoes while they laid on the ground in a weedy mess. Martino’s Roma Tomatoes are amazing! These little tomatoes are so hearty they can sit on the ground and still ripen nicely. I also love how great they are for sauces!
Another mistake I will learn from. It is always better to use what you have, instead of attempting to do something new and never getting to it. Is there an Aesop Fable for this one?
Successes
Success #1) Purchasing Quality Seeds
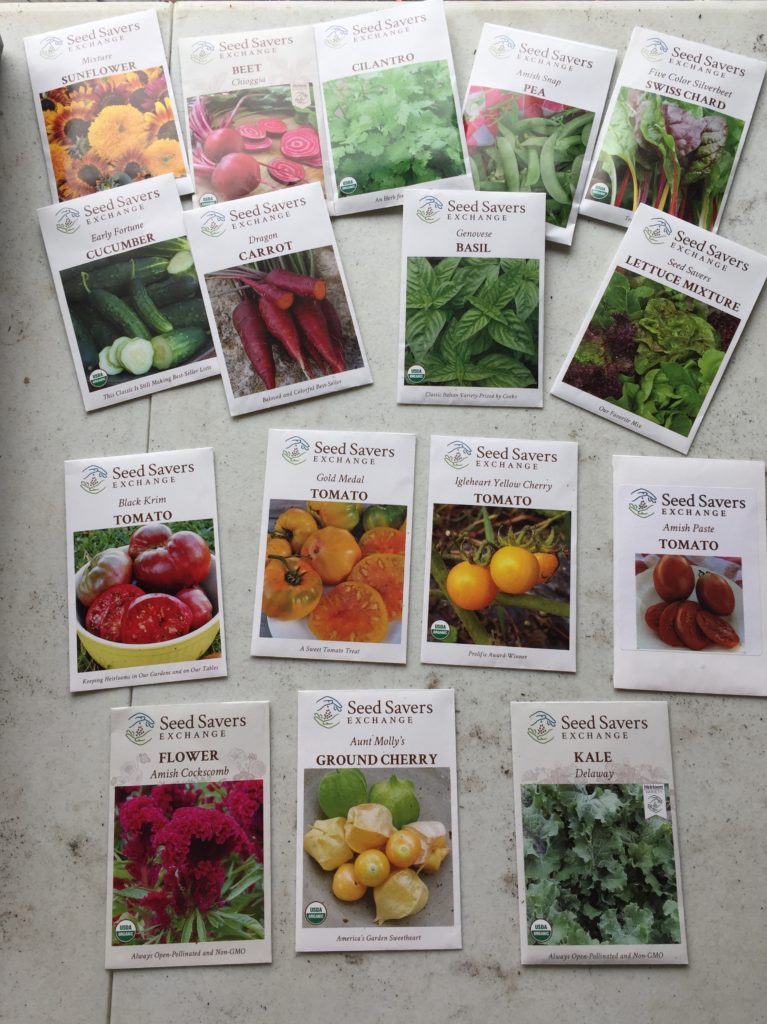
I usually buy all of our seeds from local stores, never really caring where they came from, as long as they were the type of plant I wanted. I would basically find the seed packet, try and remember if I liked that seed packet in the past, and throw it in my cart, never paying attention to heirloom varieties or any of the other words on the packet. It’s safe to say that I mostly purchased on convenience alone. My seed search would always begin at a garden center and a hardware store that is known for having better quality products, but if they did not have what I was looking for I was not selective at all.
Truthfully, I never really thought that the quality of seed was that important. I figured that if I used the right kind of fertilizer, gave it more sunlight, and watered more, that I could overcome any difference in the quality of the seed. This year’s garden made me second guess that.
This last winter, I decided to purchase some of my seeds from Seed Savers. I do start my plants from seed indoors and right away could see the difference in the quality. These plants were healthy right from the start. The stems were thick, the plants grew nice, and I had no problems transitioning them into the garden.
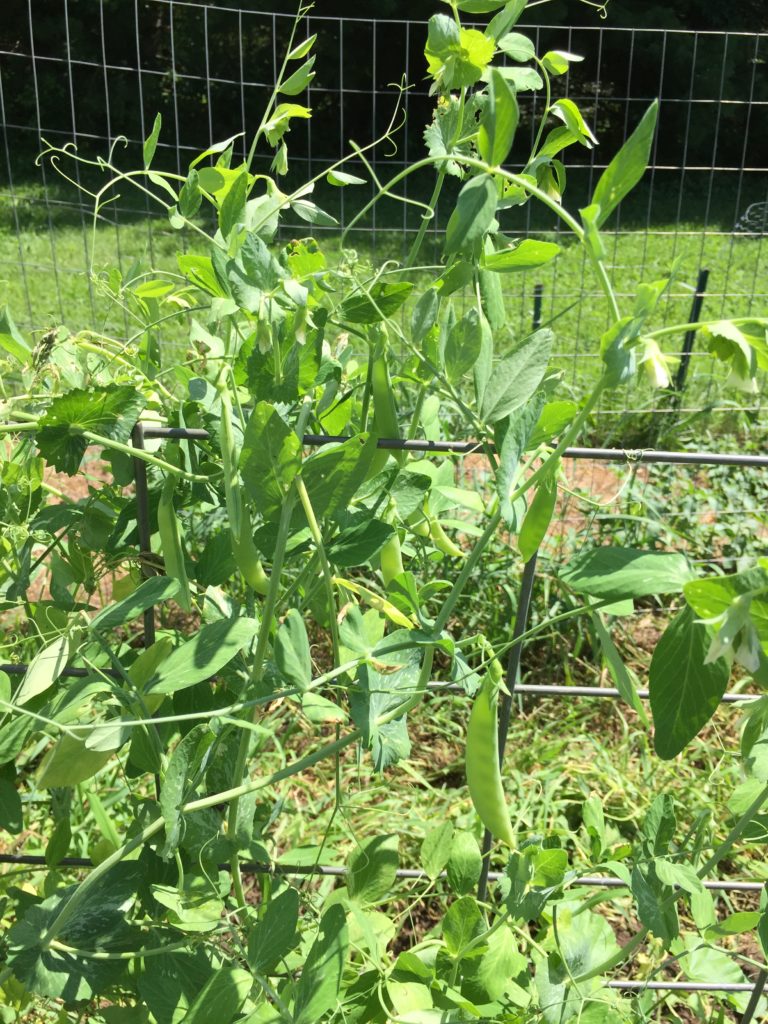
Now that I have been able to eat most of the fruits from these plants, I have to say that I am very happy with the quality of the produce too. In particular, I was so happy with these Amish Snap Peas. I am a sweet pea snob. I want my sweet peas to be crunchy and not stringy. Every year, I am unhappy with the peas that I grow. Not this year! These peas were amazing. Crisp, not stringy, and they had just the right sweetness to them. I can’t wait to save these seeds to use again next year.
This was quite eye-opening for me. I really started to think about seed quality and why it is important. If you are looking to learn more about hybrid vs heirloom, I thought that Burpee did a great job explaining the differences in this article, What is an Heirloom.
In a nutshell, heirloom seeds are typically seeds that have been saved from generation to generation since WW2. How crazy is that? These vegetable seeds have been passed along unchanged all these years. If that were me, I would only save my very favorite seeds, the ones that produced good tasty fruit. You can expect quality produce that has been handed down from generations, is tastier, and more nutritious (which is debatable) than hybrid varieties. And, you can save those seeds if you want. I don’t know about you, but I like the idea of saving them if I want. Not that you have to.
True Leaf Market is a Great Place to Buy Quality Heirloom Seeds & Micro Greens
Free Shipping on Orders Over $35
Hybrid seeds are a cross between 2 different breeds. They typicaRk9DSElJTUdKQ0dLSUdOSwlly cross to make the plant more pest resistant, weather resilient, and to have more uniform-looking produce. You will not be able to save seeds from hybrids, because you are not guaranteed to have the same produce the following year.
Whether you choose to purchase heirloom varieties or hybrids is really beside the point. It is a personal preference. If you have grown seeds in the past and are happy with that, good! Stick with it! But, as many hours as you are going to spend tending to your garden, you may want to consider purchasing a higher quality seed. Maybe you choose a specific seed company to try or choose a select heirloom seed. You may pay a little more, but it may be worth it in the long run.
I do not think that Seed Savers are the best place to buy all your seeds from either. There are many good seed companies and good local stores that stock quality seeds. I think you should consider the vegetables you want to grow and try something new that interests you.
Success #2) Putting up a Tunnel Garden Entrance
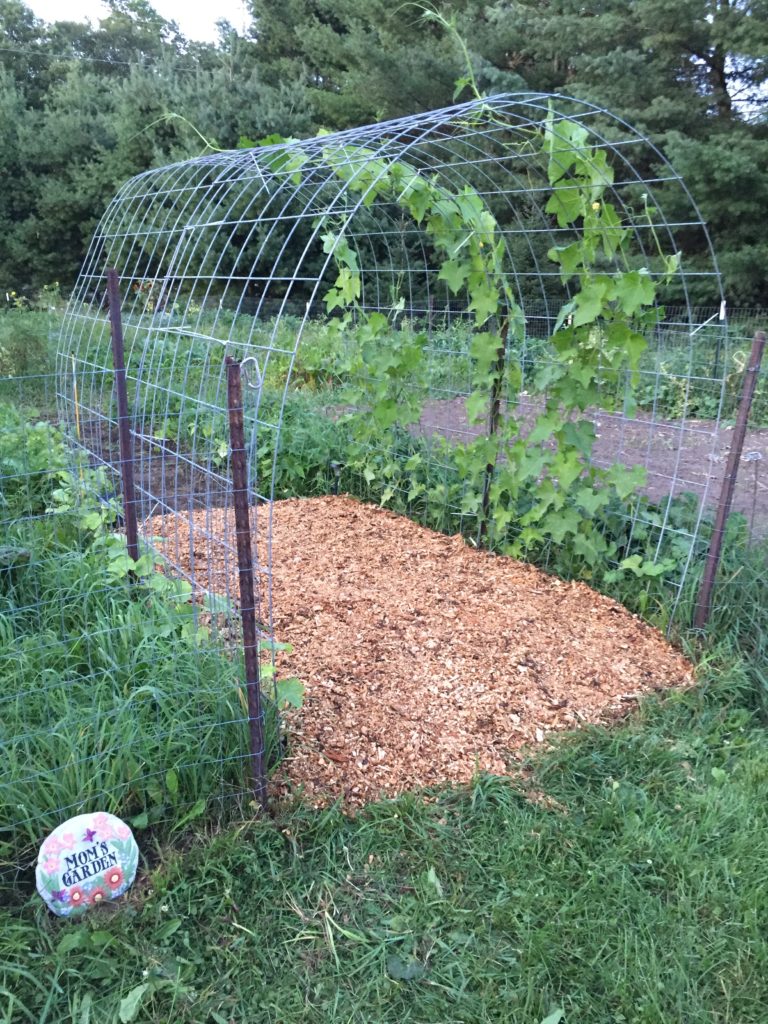
My husband had this idea years ago and I always fought him on doing it. We didn’t need to update our garden entrance. But this year, our entrance needed to be fixed. I told him to go for it. It turned out amazing!
It is multi-purpose. Not only is it beautiful to look at, but you can (and should) grow plants up it. This year I grew luffa on one side and cucumbers on the other.
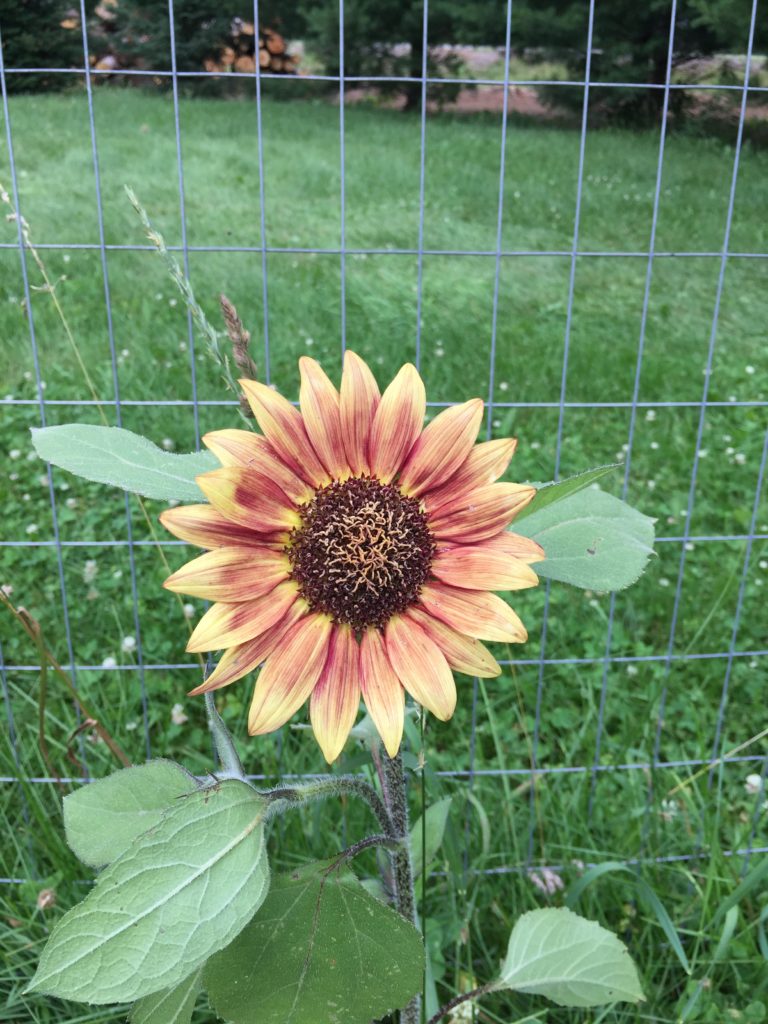
Success #3) Growing Sunflowers in the Back
I love sunflowers but never knew where to grow them in my yard. This year, I decided I wanted to showcase them in the back of my garden. I really liked having them as my backdrop.
They also increased my pollination. I frequently saw bees and hummingbirds drinking from them. I know that helped my garden out in the long run.
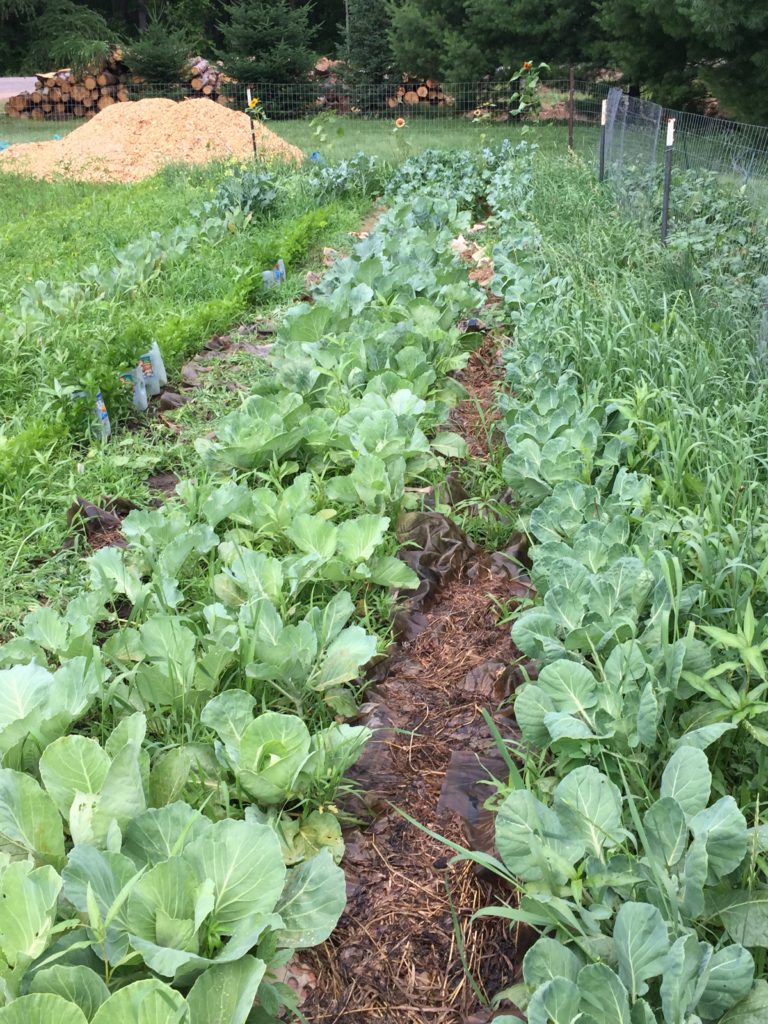
Success #4) Maximizing Row Space
Garden space is always an important real estate. You only have so much room to grow your vegetables. I don’t care if you are container gardening or have a large garden, like us, you still want to use your space wisely.
This year, we decided to double or even triple the vegetables that we grew in each row. Some may call it successive gardening. For example, we grew our cabbages in such a way we planted 2 next to each other and then one in the middle part of the planting row. It looked like a number 5 on a dice. We did this so that we could fit more cabbages in our row.
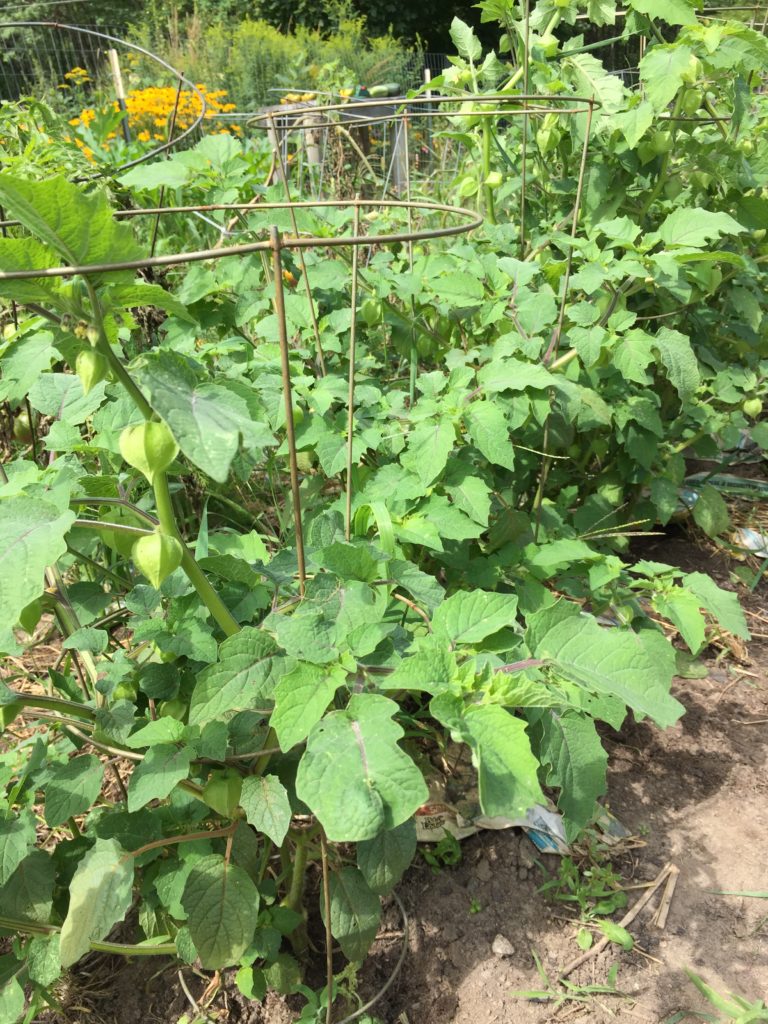
Success #5) Growing Ground Cherries
I have heard of these for a few years now, but have never tried them or even grown them. All I knew about them is that you can make pie from them. I was curious and added them to my seed list this year.
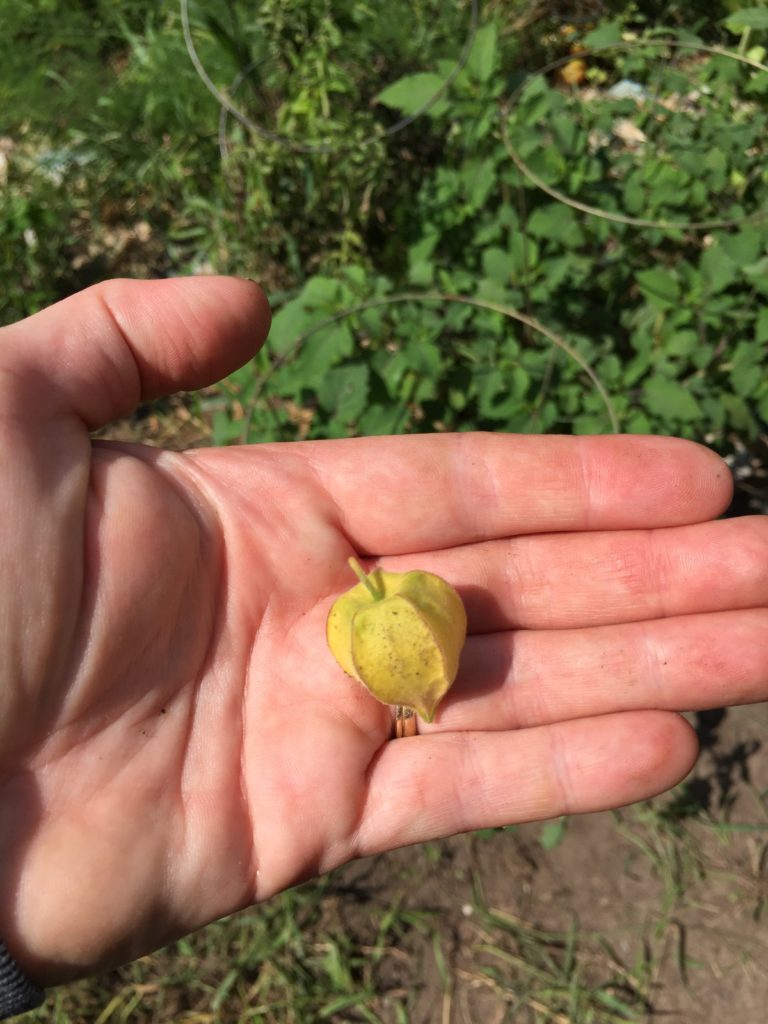
I grew Aunt Molly’s Ground Cherries. They were not only delicious but also a really fun addition to our garden. My kids and husband loved them. It is almost as if you were rewarded every time you entered the garden and found a little treasure laying on the ground. A ground cherry falls off the stem when it is ripe. The darker, browner sides will mean that the groundcherry is ripe.
Sometimes you just have to add a few new items to keep gardening fun!
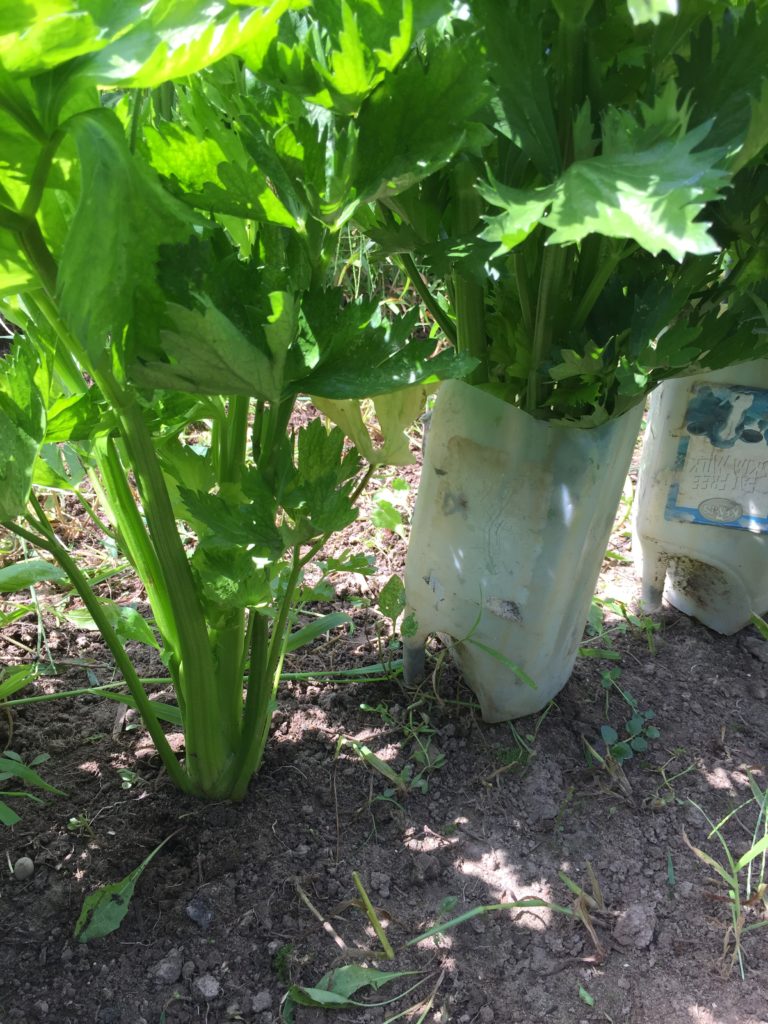
Success #6) Using Half Gallon Milk Cartons to grow Celery
This is another one of my top tips for gardening. We learned this little tip from the previous owners of our property.
We have used this same tip for 2 years now and it is amazing to see the difference between the celery that is protected by the plastic and those that are not.
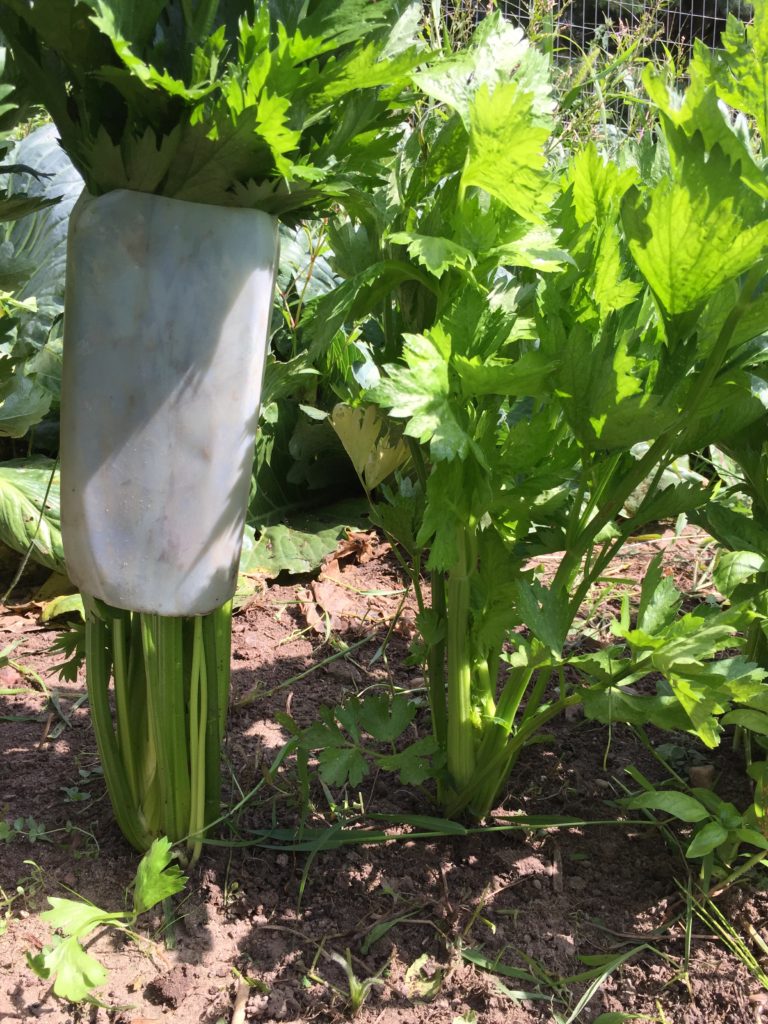
Look at the difference in the hearts of the celery. The ones that grew in the half-gallon container is much thicker and fuller.
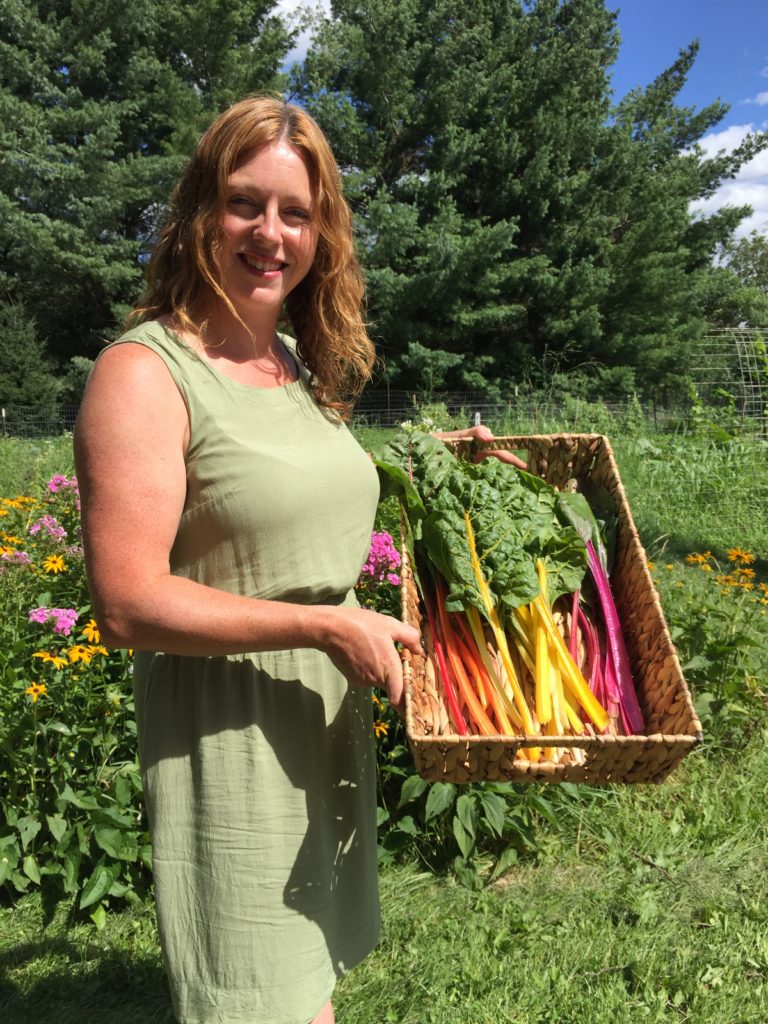
Success #7) Growing a Rainbow of Colors
This year we planted a bunch of colorful varieties of vegetables. These were not only fun for me but the kids enjoyed them too. I was able to get them to eat new things just because they were pretty.
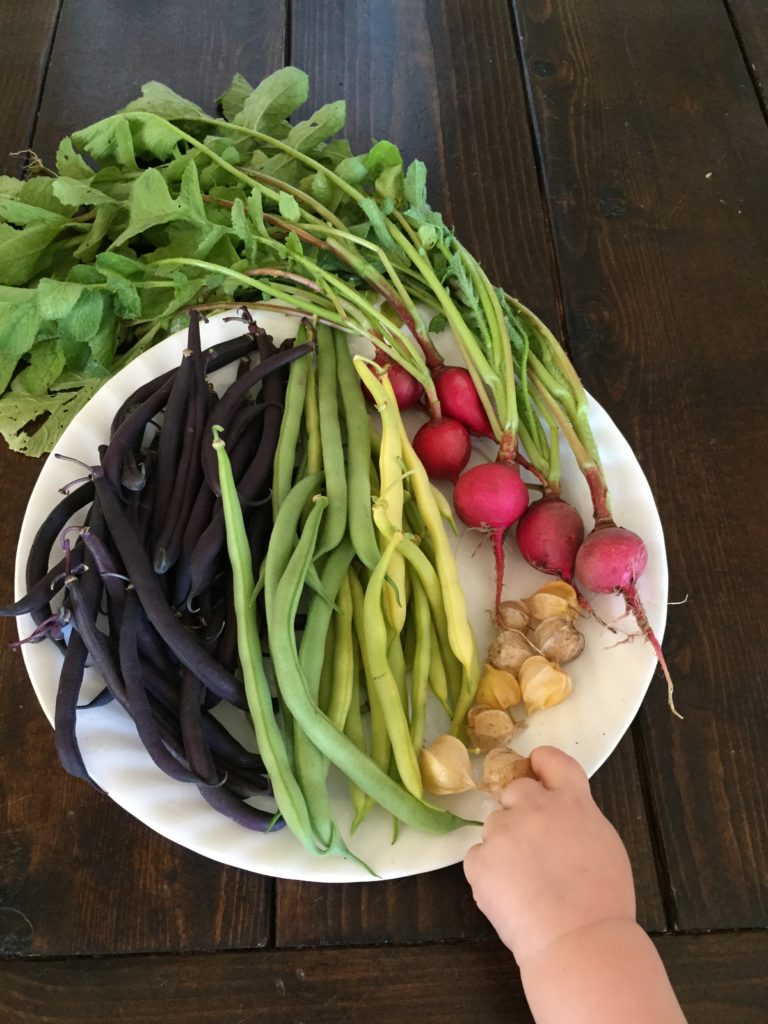
Some other fun colorful varieties: Rainbow Swiss Chard, Dragon Carrots, Tri-Color Bush Beans, and Livingstone Seeds Watermelon Radish.
Success #8) Planting the Potatoes in Hay or Mulch
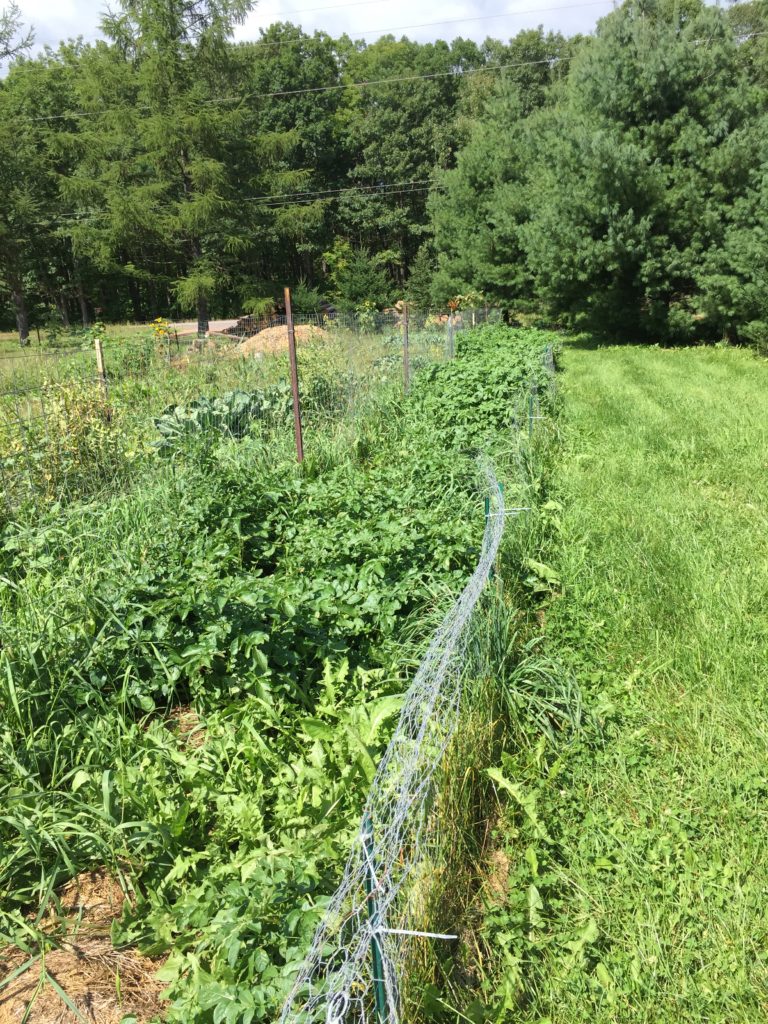
This way of growing potatoes was OH SO EASY! We started by fencing in a small area next to our garden and cut the grass short to the ground. Next, we cut up the seed potatoes and threw them right on top of the grass. It doesn’t have to be perfect, but we try and disperse them evenly. We used leftover hay that we had on hand to cover the seed potatoes with about 6 inches of mulch. You probably could also use shredded leaves, straw, grass clippings, or some other types of organic mulch.
We covered the seed potatoes with the mulch. Watered the mulch down. When the potatoes start to grow, we added more mulch to the top and watered them down again. Our goal was to stop most of the weeds, but allow the potatoes to grow up. Then let nature take its course.
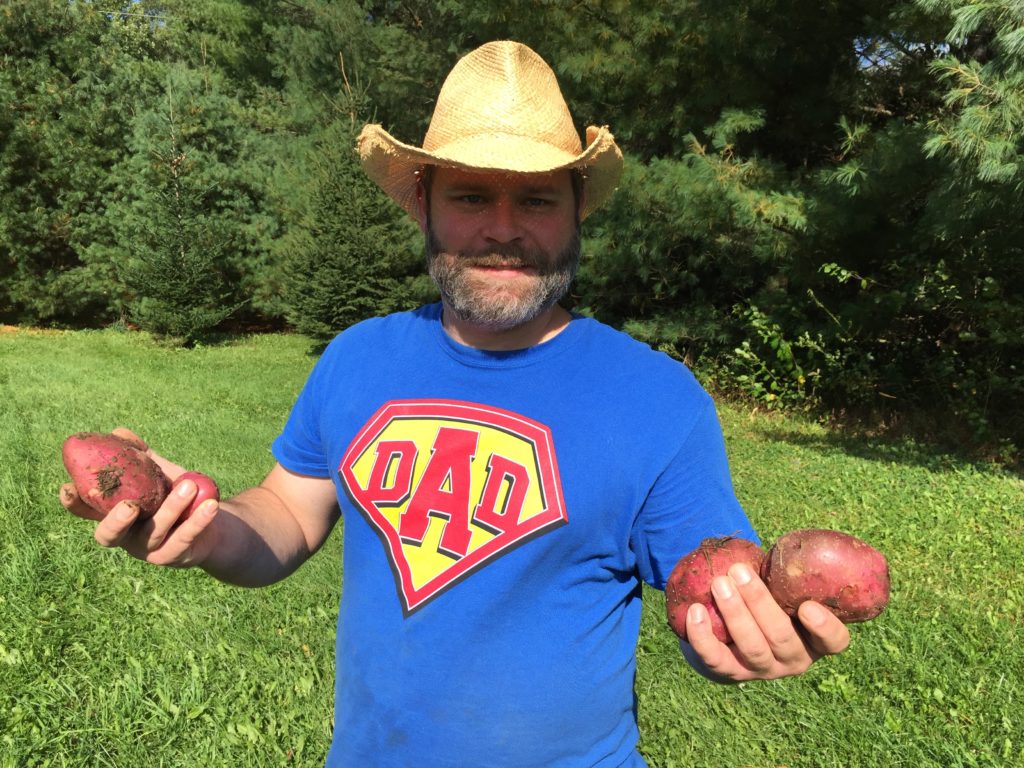
This process was so simple and the potatoes grew great! The potatoes are also much cleaner then they would be if grown in dirt, and there was no digging! Next year, we will add even more hay. Some potatoes were growing on top of the hay and had sun damage. This was still our best potato harvest yet!
Summary
I hope these 10 Gardening Tips & Tricks seen through our 2 Garden Mistakes & 8 Successes from 2019 helped you. Every year in the garden we gain more experience. New lessons are always learned. That is one of the reasons it can be so rewarding and fun, yet sometimes, so frustrating and demoralizing. I am thankful to the many gardeners before me, who shared their tips and ideas to help us have a rewarding garden this year. That is what a community is for.
Pin Me For Later! Don’t forget to Follow Life on Misty Acres too.
We have learned many lessons in our gardens throughout the years. You can read about our very first garden as a married couple in It All Started With Tomatoes. I also share about the 16 Seeds I am Excited to Grow This Year.
What kind of failures and/or successes have you had in your garden this year? Did you learn any new tips? Please share them with us below.
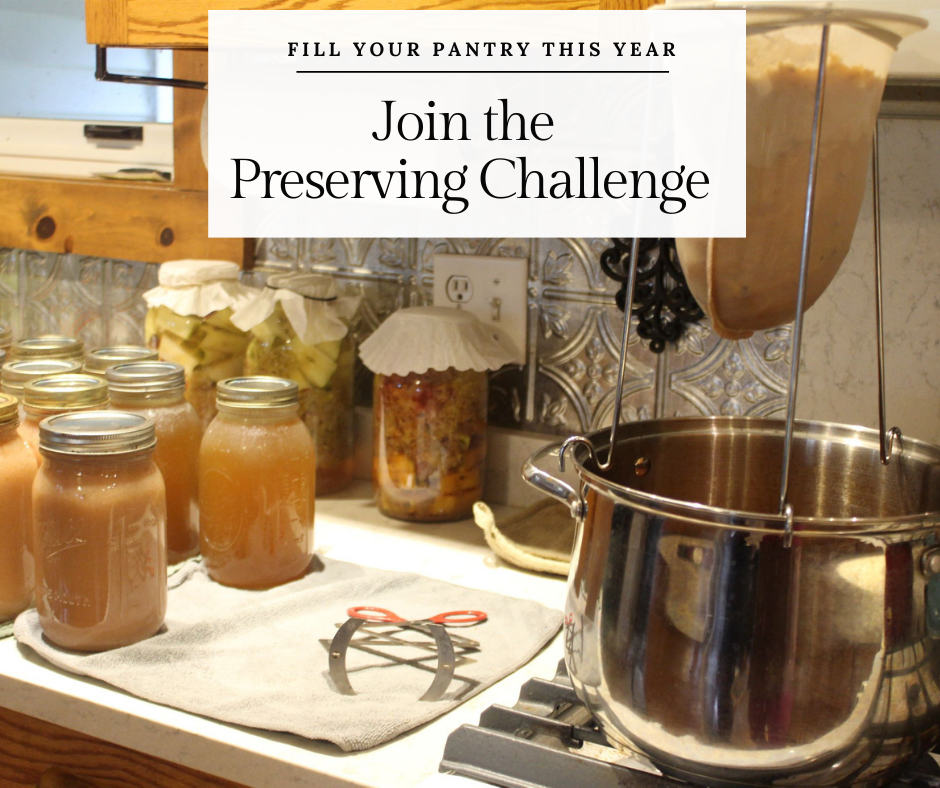
What do you do with all that fresh garden produce? Join the Preserving Challenge to make preserving food a priority this year. Even if you are new to preserving food, this is a great resource to help encourage you and keep you motivated. Free Printable Tracking Forms and Planning Sheets here.
Follow us on Facebook and Instagram and see what we are canning, making from scratch, growing in the garden, and raising on Misty Acres Farm.
-Lindsay from Life on Misty Acres


10 thoughts on “Our 2 garden mistakes & 8 successes”
Lindsay, I love this!! Thank you for sharing!! I love following your blog and all your great ideas!! I really want to try celery next year now too!! I didnt know how hard it would be to grow but you make it look easy!!
Also, we found a few years ago that growing our tomatoes up along the side of a hog panel works great! You have to steak them down well because those panels are HEAVY but several plants can grow along the panel on either side! You just have to train them up the panel like you would with anything else that grows up a trellis. I wasn’t convinced of these at first…now I love them!!
I’m also super excited about your comments on mulch. I hate weeding! We spent H Ou RS and HOURs weeding every week this year. I’m trying the mulch idea next year!
Keep the great ideas coming my friend! Happy Harvest!!
Stacy, Thank you so much for all your kindness and support! One hard thing about celery is that it has a long growing season. I always start mine indoors with my tomatoes and peppers. The 1/2 gallon jugs have really helped us out. Before we used them, we never had any luck with celery. I have heard of people using a hog panel for tomatoes but never tried it ourselves. I think we are going to have to try that next year! Thank you for the suggestion. I am happy that we weren’t the only one spending hours weeding. It’s so time consuming! Putting down newspaper is a very affordable way to keep those weeds down (and it turns into compost later). Happy Harvest to you too and please share any new things you learn in the garden too! Sending our love and prayers to you and your family!
I want to grow potatoes next year so this was super helpful! All of the tips were! I’m definitely going to need to find a better way to deal with weeds without using chemicals!!
Thank you Nicole! We found that growing potatoes in hay was extremely easy! Definitely going to grow them that way again. Weeds! They are always the worst! Putting down newspaper and grass clippings really helps get the bulk of the weeds down in the row. You just have to weed around the plant and that doesn’t bother me so much. I also heard of people putting down cardboard. It’s worth a shot. Wishing you the best of luck on your next garden season!
Great information! I love the idea of putting the newspaper down and covering it with grass clippings. We have an acre, and never work a garden, but really should. Thanks for the inspiration.
Thank you Jennifer! I am happy that you learned something new. I think having a garden is a great summer project. I hope that you give it a shot next year.
Love this! I always put a weed barrier down around my rows because I HATE dealing with weeds. But I never thought about putting diatomaceous earth under the barriers. I bet that helps reduce bugs so much! I’m definitely doing that next year.
Thanks Emily! DE helps a lot with bugs. It was a wet summer for us and we hardly had any slugs. I hope it works well for you too!
Oh, I love reading your gardening journey! It’s so hard to ever catch up if you let the weeds get ahead of you! This summer I need to fence my garden and the resident deer clan think I’ve planted just for them!
How nice of you to share with the deer like that! Our deer enjoyed our pumpkin patch last year, so we are hoping to fence that in too. Good luck with your project! Weeds and deer are the worst!