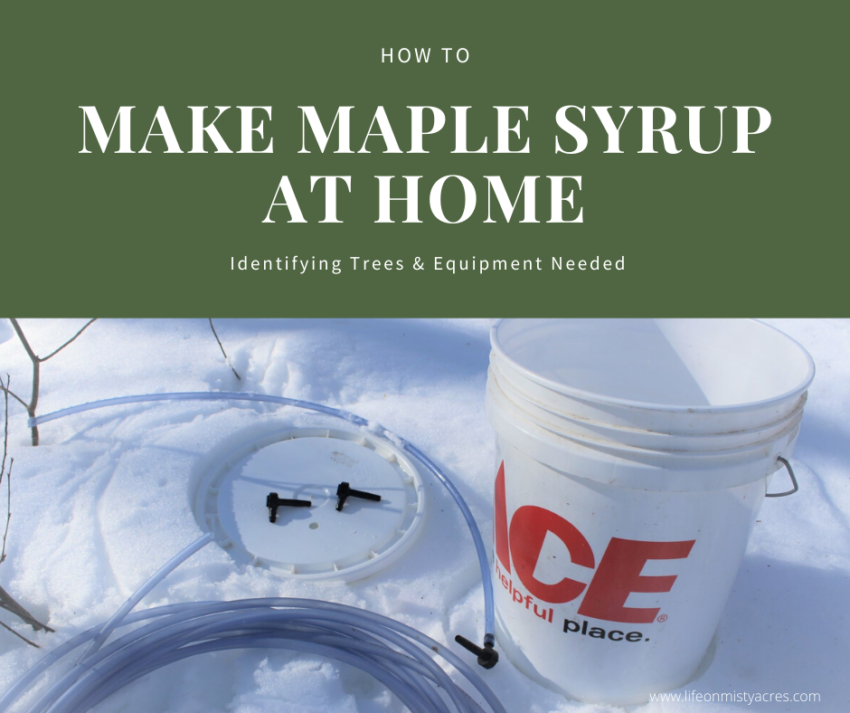
Maple Syrup Making: Identifying Trees & Equipment Needed
{This post may contain affiliate links. You can read our Disclosure Policy HERE.}
Maple Syrup Making: Identifying Trees & Equipment Needed
This is part two of our Maple Syrup Making Series. In this post, we will talk about Identifying Maple Trees and the Equipment Needed for Tapping and cooking the sap. We will discuss the 3 of the most popular ways to tap your trees with the pros and cons to each, and the different ways to boil down your sap. We hope to give you enough information to help you make an educated decision on the method that will be best for you. For an introduction to Maple Syrup Making, why you should consider tapping your trees, and how we started, and why we are hooked on the hobby, check out our 1st post Maple Syrup Making: Tapping into this Valuable Resource.
Maple Syrup Making Series Posts:
Maple Syrup Making: Tapping into this Valuable Resource
Identifying Trees & Equipment Needed
Tapping & Collecting
Boiling Down the Sap (or Evaporating)- We have several videos on our cooker and how we boil the sap on our YouTube Channel
Preserving the Gold
Take Down & Clean Up
Identifying Your Maple Trees
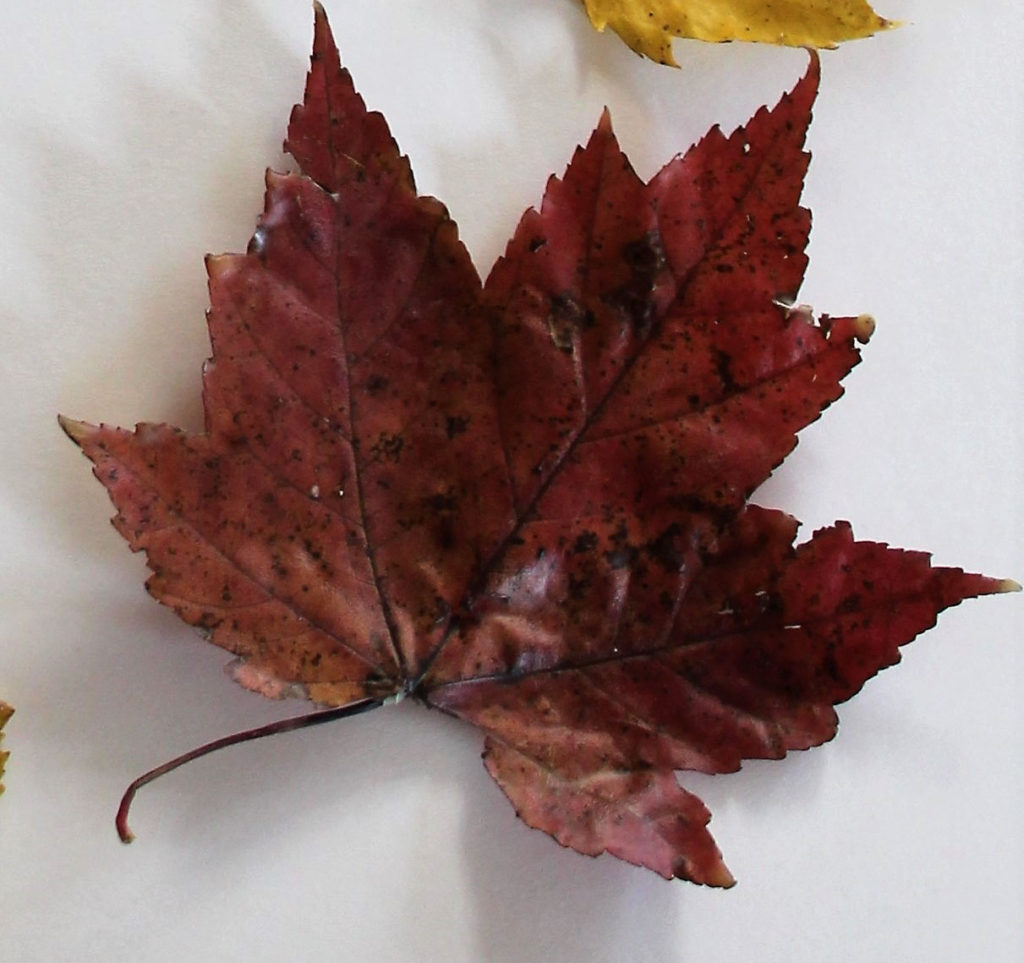
Any type of maple tree can be tapped and the sap can be turned into maple syrup. Sugar Maples are often the most popular trees to tap because they have the highest sugar content. But, any type of maple tree can be tapped!
The best time to identify your maple trees is in the Summer or Fall when the leaves are full-grown. It’s hard to miss the beautiful fall colors. Flag all the trees with string or tape that will survive the winter for easy identification in the late winter/early spring. You want to find mature, healthy-looking trees that have a 12-inch diameter or larger.
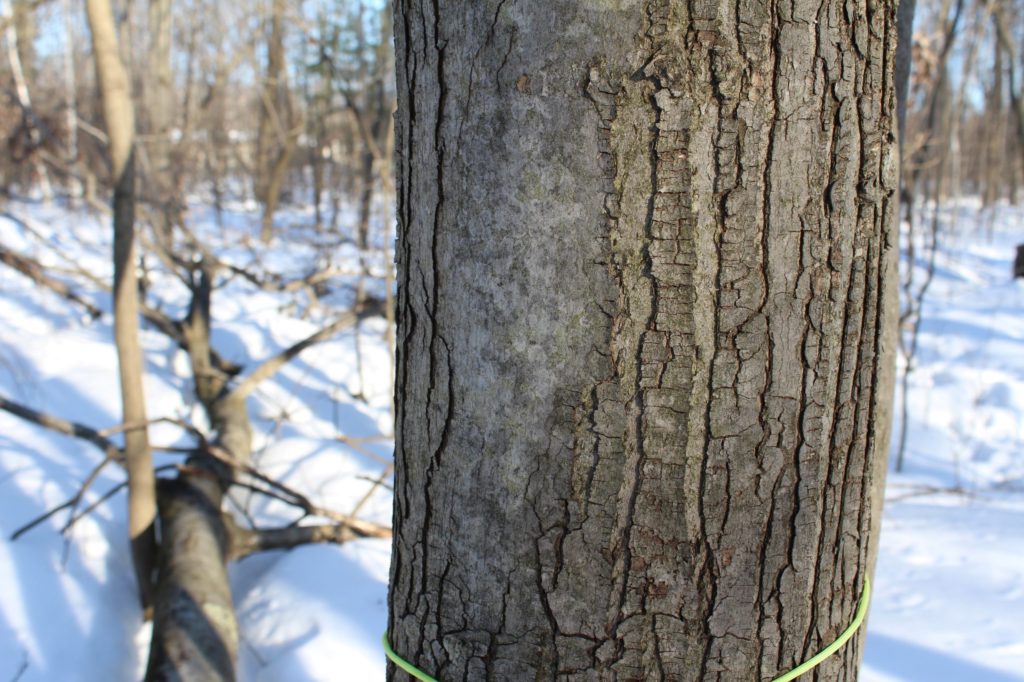
But, if you are like we were the first year and decide to jump in right before the first sap run, you can still identify Maple Trees in the winter by the look of their bark, buds, and branches. This is a little harder but can be done. Use a tree identification book to help you or this article (3 Ways to Identify Sugar Maple Trees.)
We tapped 2 kinds of maples this year. The tree below has 2 different bark styles. It has a smooth side and a thicker space side. We found these trees to be running today when the other type of maple was not.
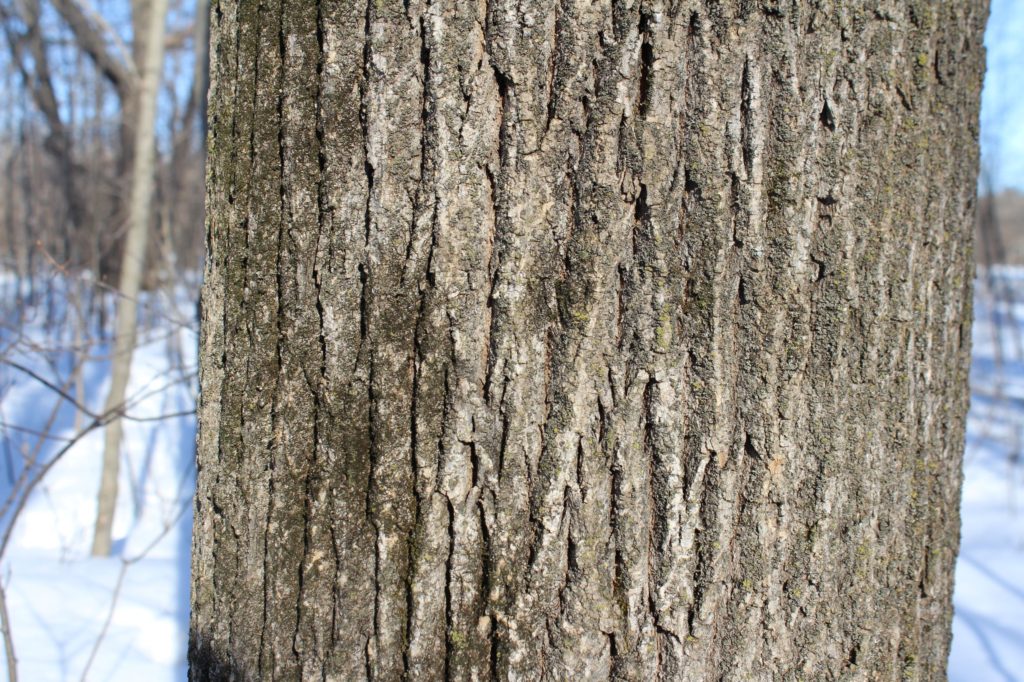
You should also look up. You may notice pink/red buds starting to emerge on the maple trees. I find that oak trees will hold onto a few leaves but on a maple, all the leaves will be gone. Look for opposite branching and paired buds. This article has some great pictures for helping you identify maple trees and will help you rule out Ash and Dogwood Trees.
If you are still struggling to identify maple trees, search maple tree identification on youtube. There are a lot of videos out there to help.
Equipment Needed
There are three methods of tapping that are very popular with the backyard tapper. You can use bags and bag holders, tubing and buckets, or you can hang pails or containers directly on the tree. At this point, our preferred method is to use tubing and buckets. We will talk about the other methods as well, so you can decide which way you think will work best for you. Backyard Maple Syrup Making has become more and more popular and you may be able to find all the equipment you need at your local Hardware or Farm Store.
What You’ll Need When You tap
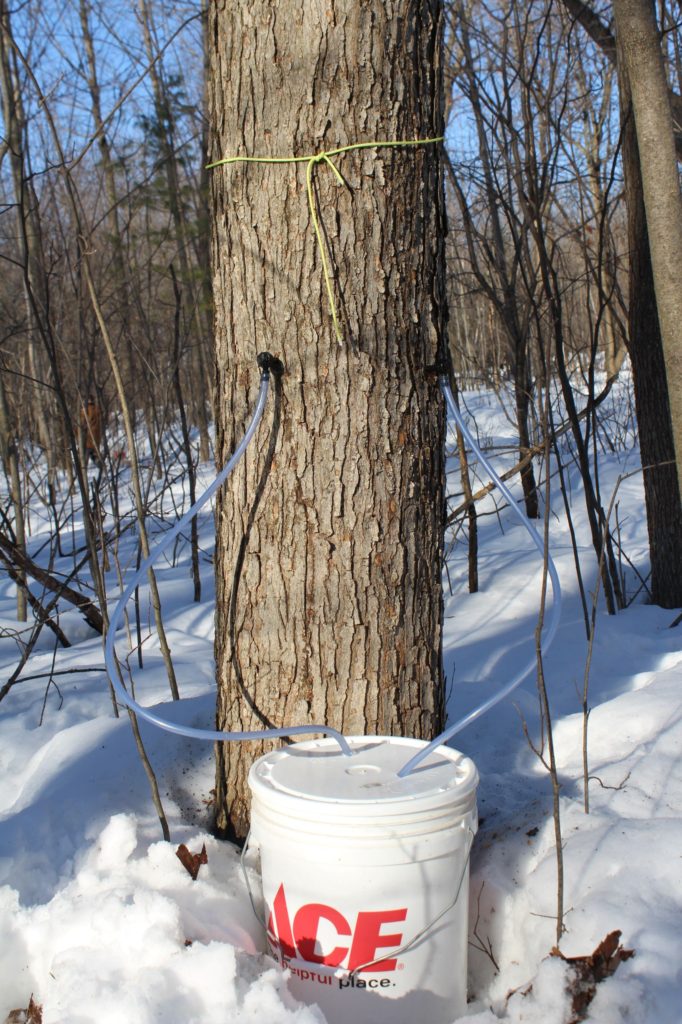
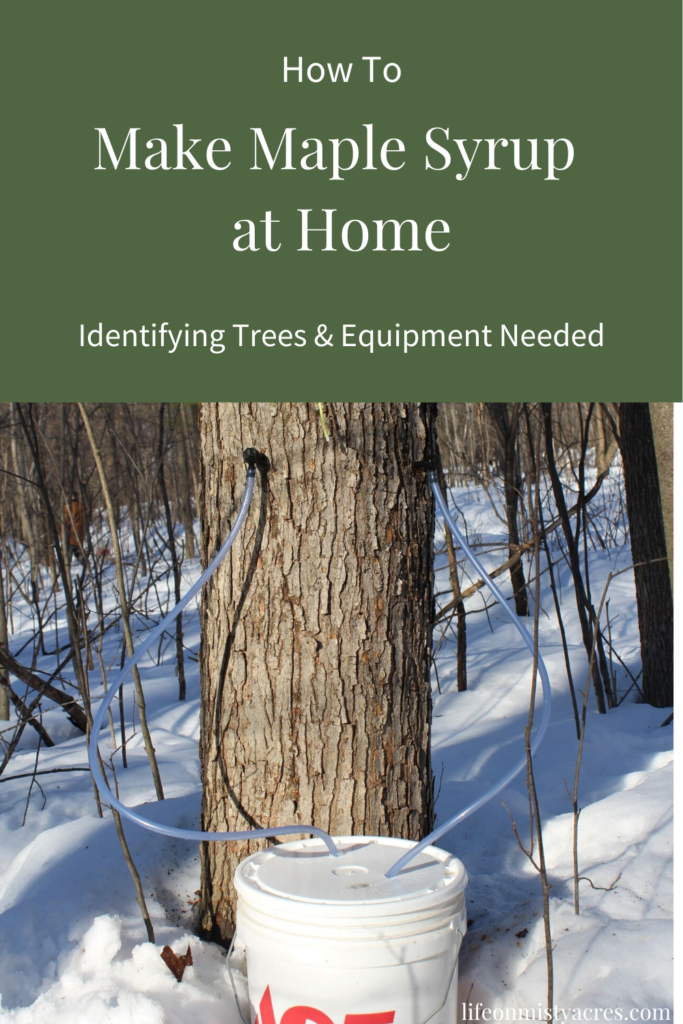
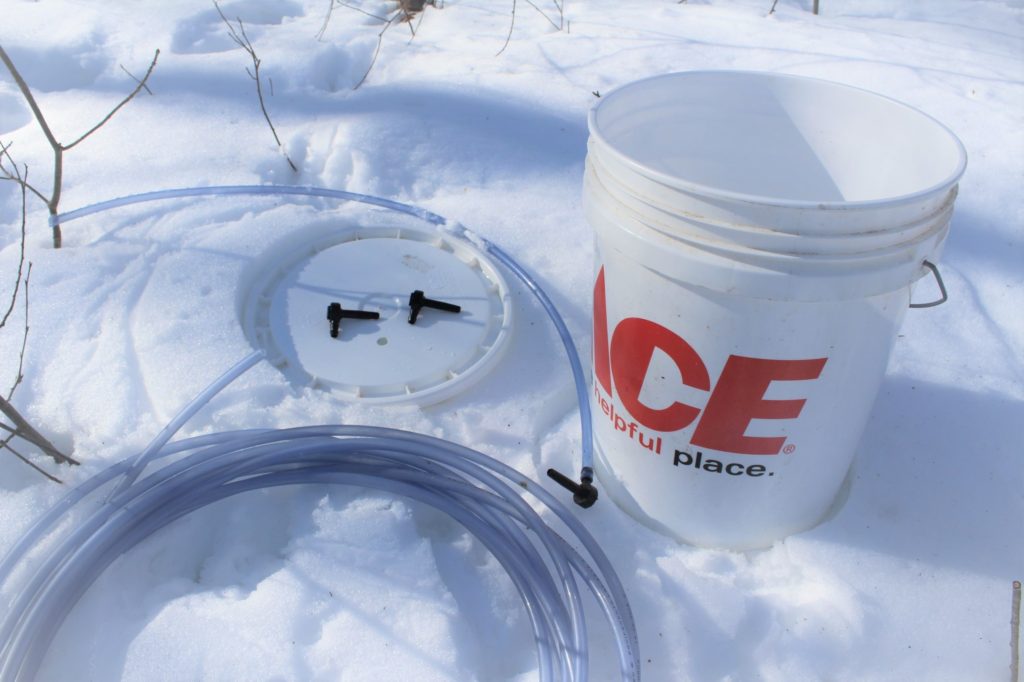
If you are using tubing and buckets you will need:
Tubing Taps
Drill & Drill Bit (7/16 or 5/16)
Food Grade Tubing 5/16- Blue Food Grade Tubing is preferred. If you cannot locate Food Grade Tubing clear vinyl tubing will work but will not last as long and will gather mold much more quickly. It will not stay as flexible in the cold temperatures
Hammer
Good scissors or tubing cutter
Buckets with Lids
Prepare ahead of time:
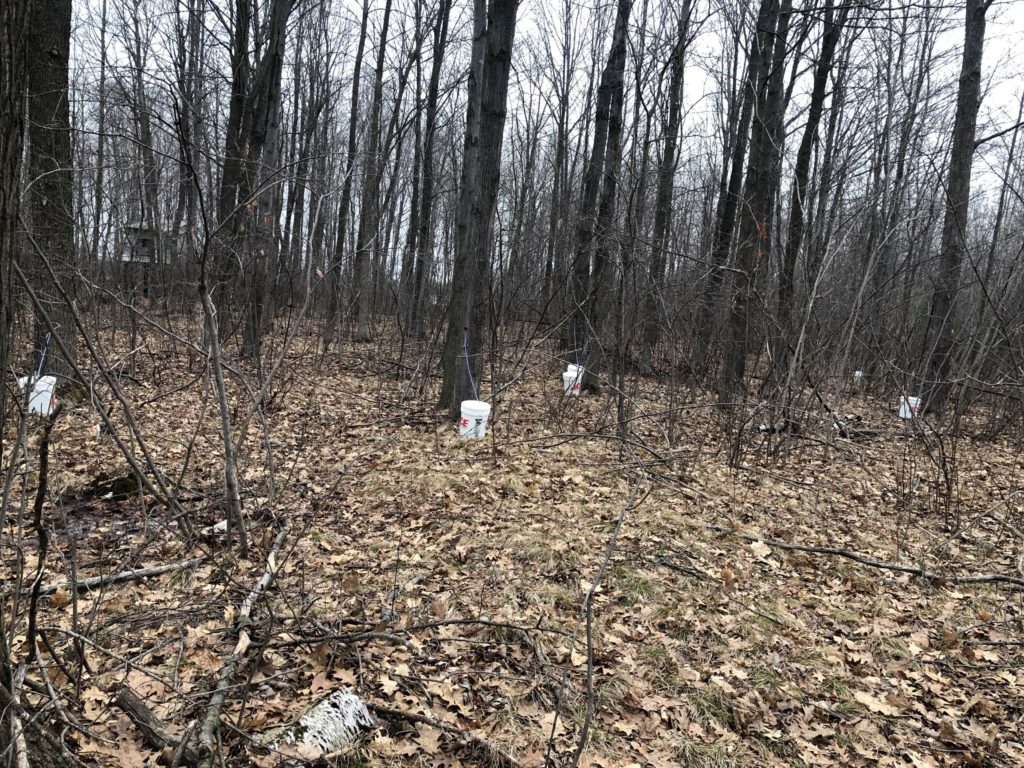
Drill Holes at the top of the Bucket Lids. Most of our bucket lids have one hole on top. You can see in the picture above, that we are using one bucket to collect the sap from 2 trees. We bring the drill along with us when we tap and drill a double hole in this bucket if needed.
Pros: You do not have to collect as often because you can use 5-gallon buckets which won’t fill up as quickly. You will not get too much debris or bugs in your sap. You can reuse all your equipment every year. Buckets make for easy sap collection.
Cons: You have more equipment to store and sanitize. Buckets can be expensive if you have to buy them new and they can tip over as the snow melts. Buckets can also be heavy when they are full of sap.
If you are using bags and holders you will need:
Taps/Spiles
Drill & Drill Bit (7/16)
Hammer
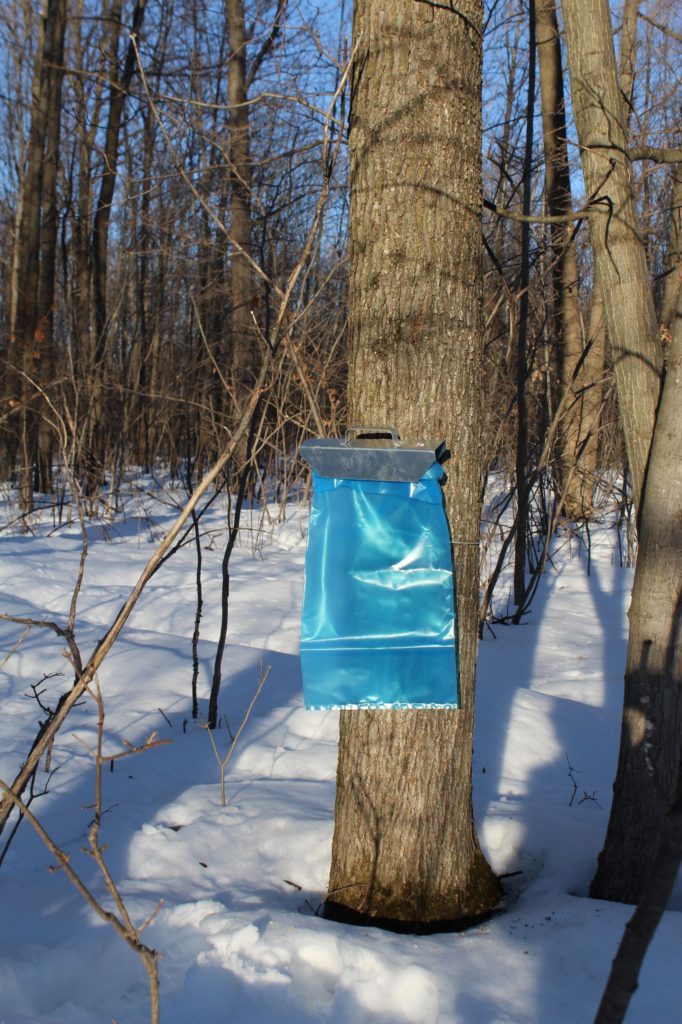
Bag Holders
Sap Collection Bags
Pros: Clean up is easy. Bags are inexpensive. Holders can be used year after year. Less equipment to store.
Cons: Bags are a little cumbersome to work with. Bags will need to be replaced. Sap collection is a little more awkward compared to pails. Sap needs to be collected with a little more frequency than buckets. Bags and holders are open on the top so there will be more bugs and bark in the sap.
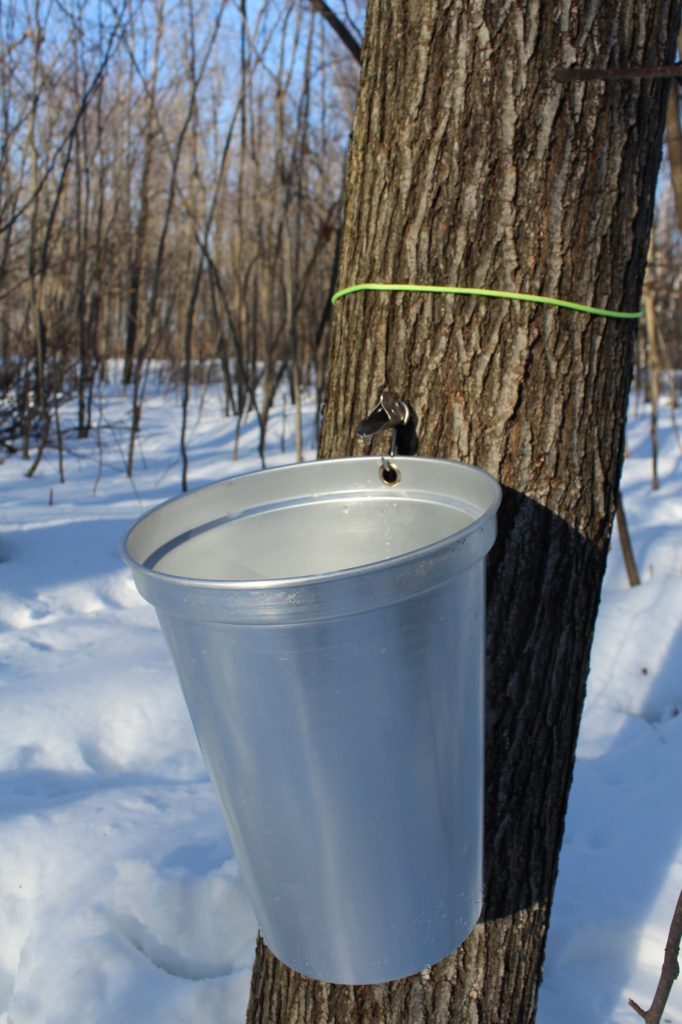
If you are hanging pails directly on the tree you will need:
Taps/Spiles
Drill & Drill Bit (7/16)
Hammer
Pails or Collection Containers
Lid for Collection Container (optional)
Pros: Very simple, I have seen many types of collection containers from old milk jugs to fancy aluminum pails with lids. Little equipment needed.
Cons: Can be expensive depending on what type of pail you choose. If you choose not to use a lid, you will get more bugs and bark into the sap. You will need to collect more frequently with this method.
For Collecting the Sap
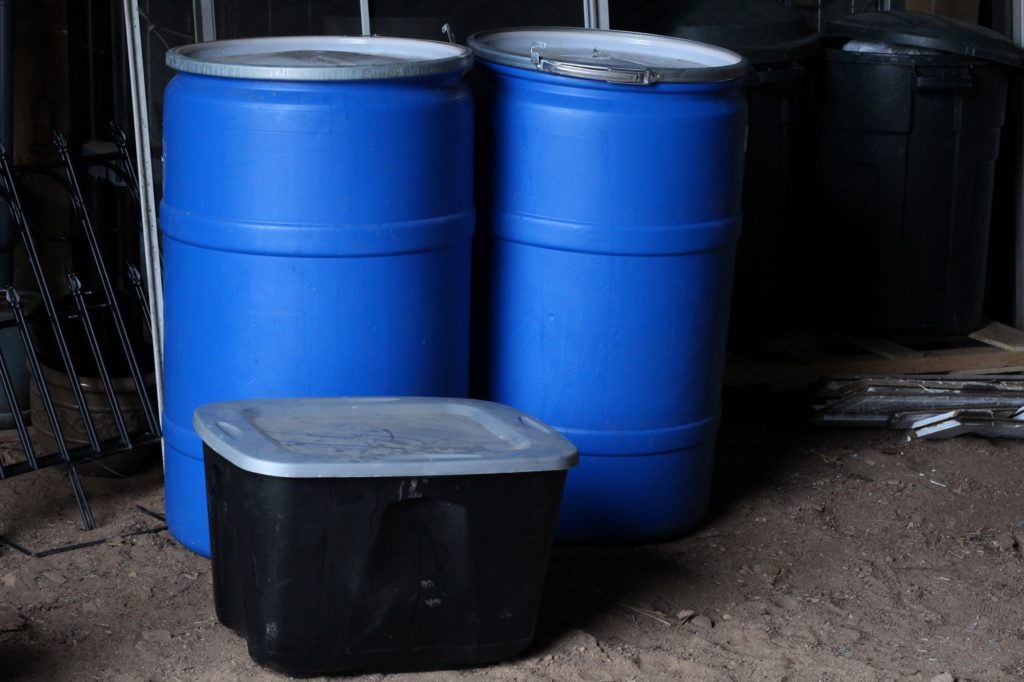
Extra buckets or totes to carry the sap
A screen/sieve/basic filter to strain out any debris in the maple sap.
A barrel or container to collect all the sap that is gathered. We store our maple sap in the blue barrels pictured above.
What You’ll Need When You Cook
The next thing to consider is your method of cooking down the sap. There are countless ways to do this and people have gotten very creative on how to evaporate sap. Below we will show you a few n a few popular ways to do this
Until last year, we used a turkey fryer to cook down our sap. It may not have been the most cost-effective way to evaporate the sap but it worked. You can cook your sap over an open fire in a nice big stainless steel pot, purchase an evaporator, or use your stove if you don’t have a lot of sap. Whatever, you choose to use, know that you will be cooking this for A LONG time! You will continually be adding more sap to your boil and there will be a lot of steam.
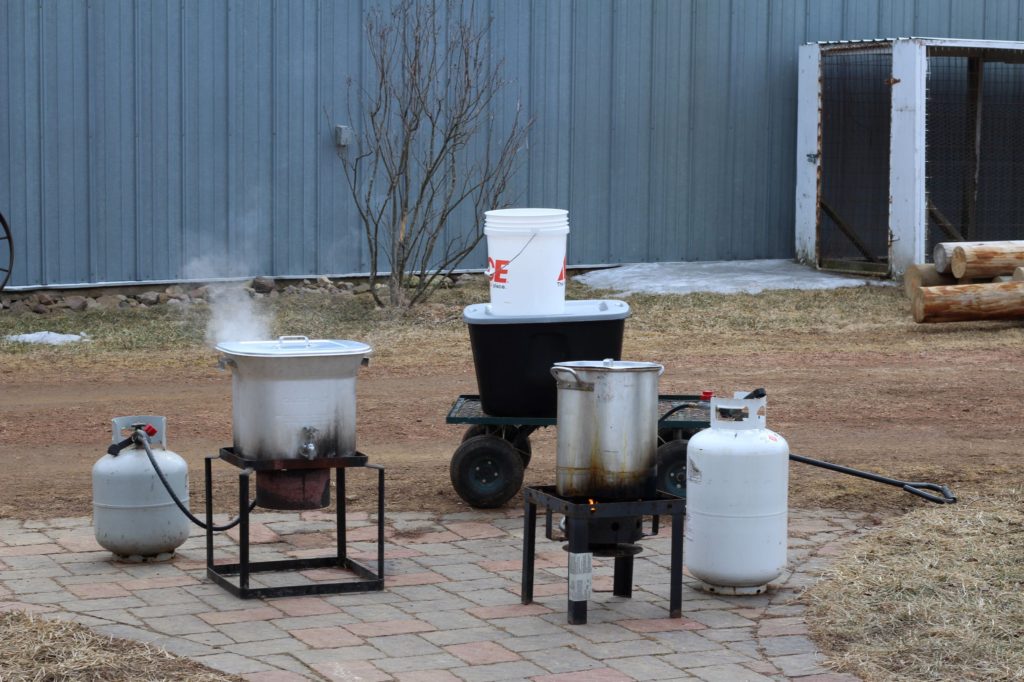
Turkey Fryers– Turkey Fryers have worked for us in the past. We go through a lot of propane when we cook like this but it does keep a consistent temperature and the steam stays outside.
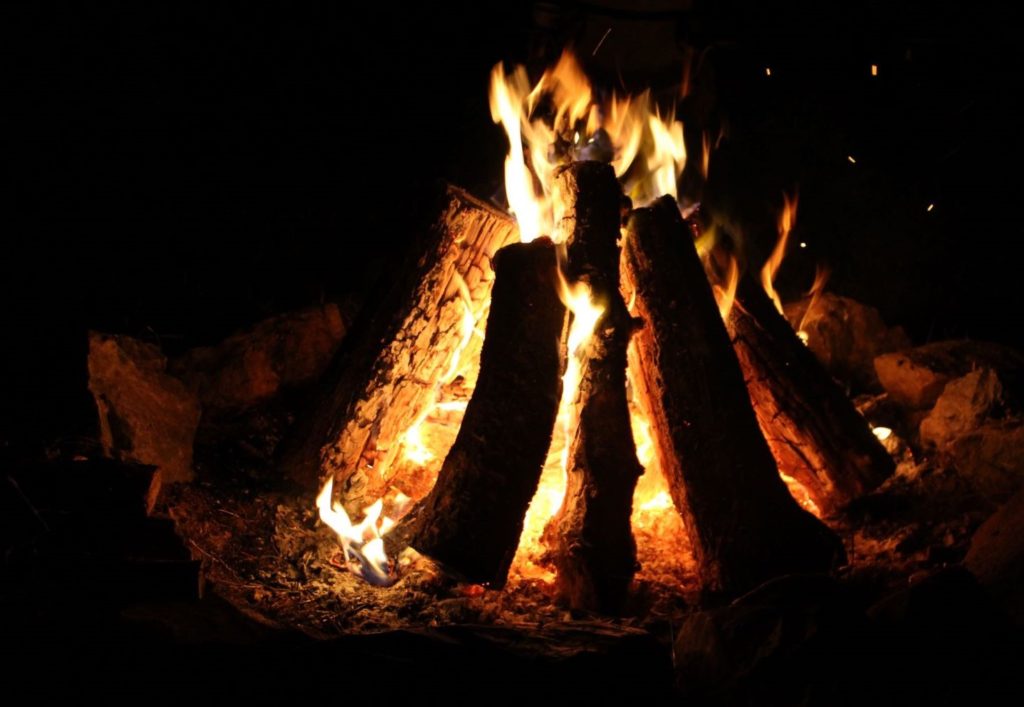
Over an Open Fire– This is the old-fashioned way of boiling down your sap. Using wood is a natural, cost-effective way to boil your sap. The hardest part is keeping the fire going for hours in whatever the weather conditions may be. There are some really neat fire setups out there. We have seen people put a grate across the fire and use stainless steel steam pans from buffet tables. I liked the simplicity of this one from Whole Fed Homestead.
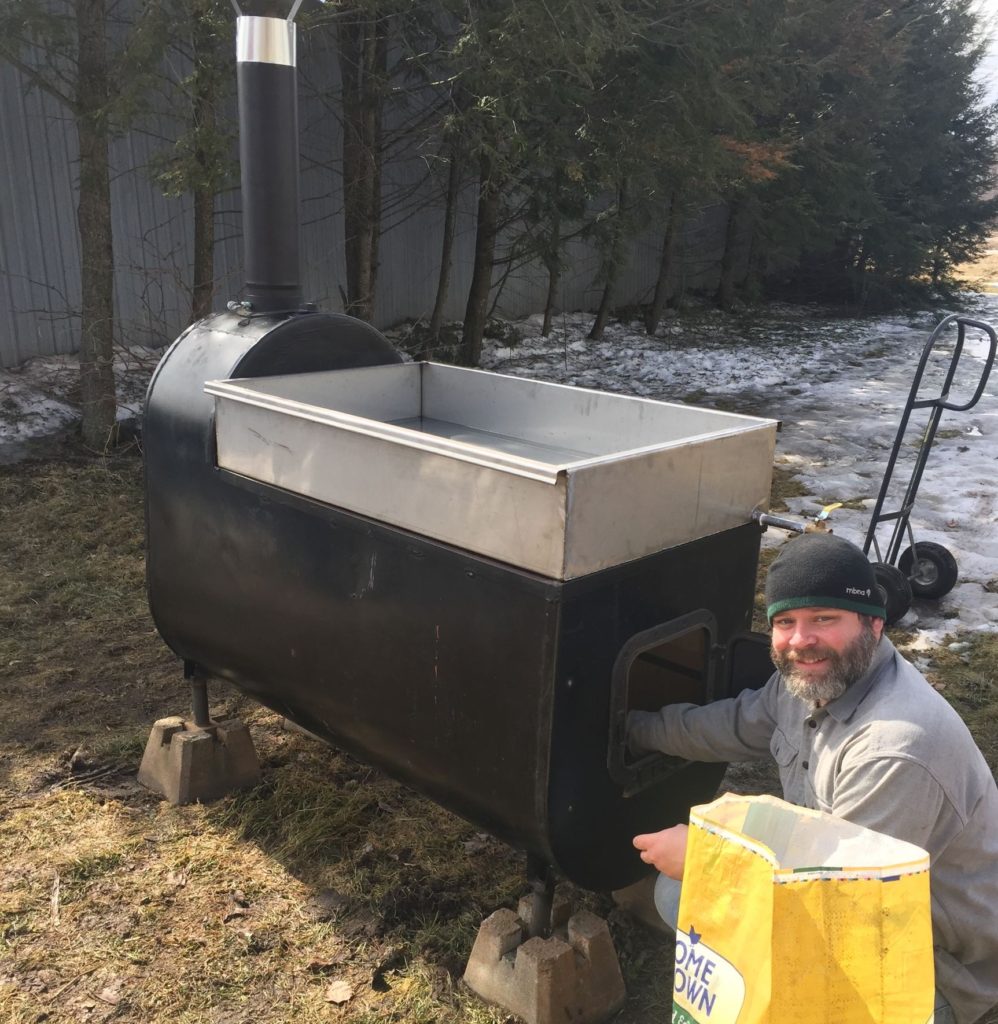
Evaporators– These can vary greatly in price and design. You can purchase one that runs off of gas all the way down to one as simple as a being made out of a metal 55-gallon drum. A simple web search will lead you to many different types of designs and creations. Great DIY project! This is usually going to be a larger investment, so you will want to make sure you really enjoy the hobby before purchasing or making a Sap Evaporator.
Sanitize Equipment
You will want to sanitize all your equipment before using them. Wash or rinse in 1 part household bleach to 20 parts water. Set out to dry. We keep our tubing connected to our spiles year after year. I soak them in a washtub with bleach water and run the water through the tubing.
Pin Me
In conclusion, I hope this article helps you identify your trees, see the pros and cons of each style of the sap collection, helps you make an educated decision on what method will be best for you, and gets you thinking of how you are going to boil down your sap. No matter what method you decide on, you are sure to have fun seeing all the sap you can collect and the many signs of Spring.
The next post in this series is How to Make Maple Syrup at Home: Tapping Your Trees & Collecting the Sap. Make sure you are following us on Facebook and Instagram to see our Maple Syrup Season highlights.
Maple Syrup Making Series Posts:
Maple Syrup Making: Tapping into this Valuable Resource
Identifying Trees & Equipment Needed
Tapping & Collecting
Boiling Down the Sap (or Evaporating)- We shared several videos on our YouTube Channel about our evaporator and boiling sap
Preserving the Gold
Take Down & Clean Up
Happy Tapping,
-Daniel & Lindsay Madsen
