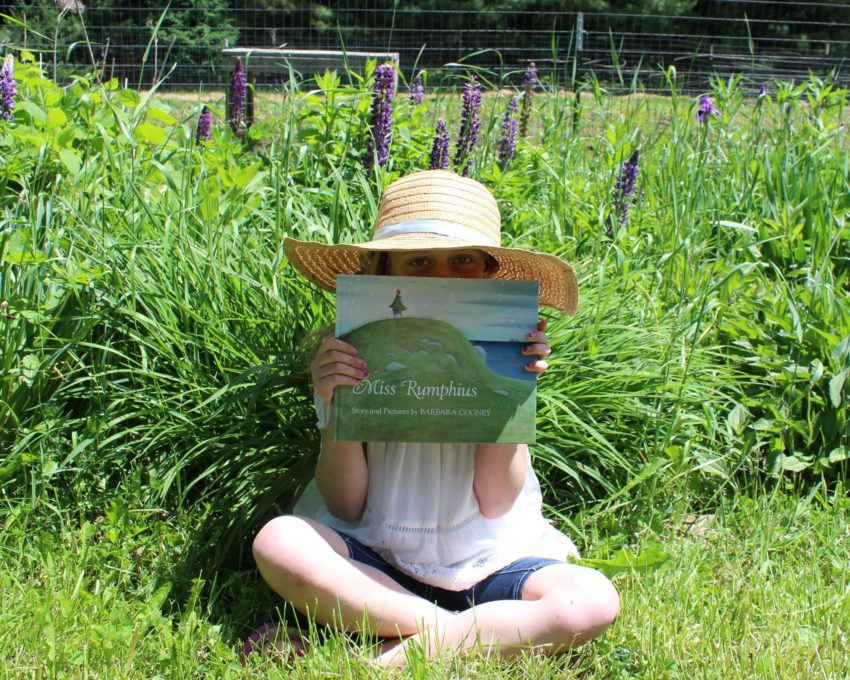
2 Easy Ways to Make Lupine Flowers After Reading Miss Rumphius
{This post may contain affiliate links. You can read our Disclosure Policy HERE.}
2 Easy Ways to Make Lupine Flowers After Reading Miss Rumphius
“Go out and make the world more beautiful.” That was the advice her father gave to Miss Rumphius when she was a child and that was what she set out to do. This classic children’s book is a must-read! It is one of our favorites and here are 2 easy ways to make lupine flowers after reading Miss Rumphius.
The Book
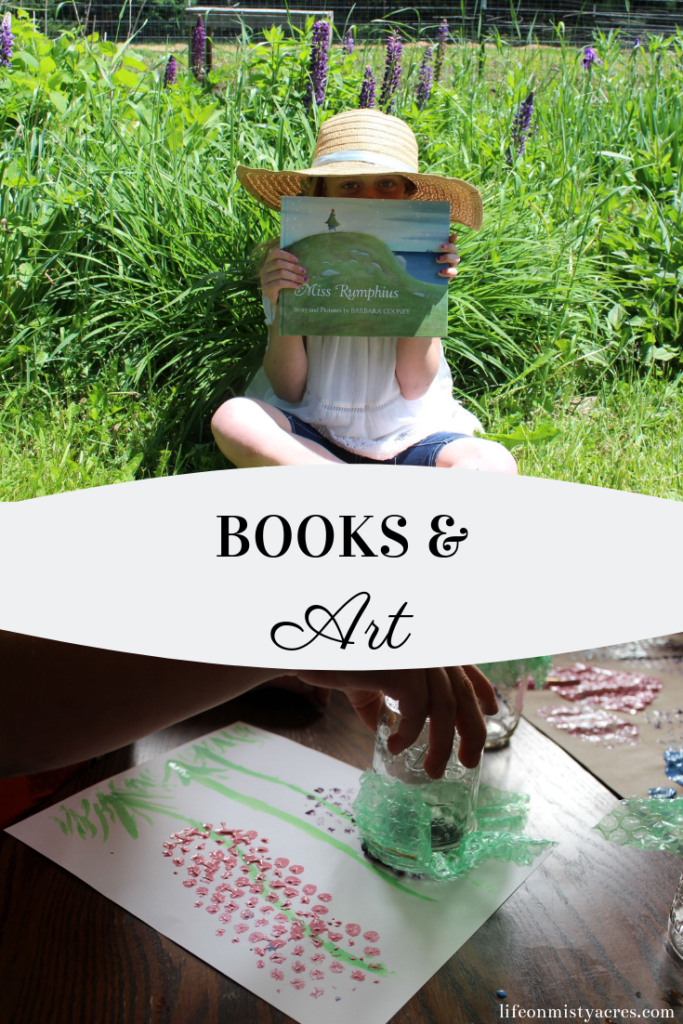
Miss Rumphius by Barbara Cooney is a beautiful children’s book is about a young girl, her adventures as she grows, and her life as an elderly woman. She sets out to do the things her father taught her to do as a child. This classic children’s book is one of our favorites! The illustrations are gorgeous! You will be inspired to make your own masterpieces too after reading it. I will walk you through creating your own bubble-wrap stamped (or finger-painted) lupine flowers to go along with the story in this Books and Art: Miss Rumphius and Lupine Art Project Post.
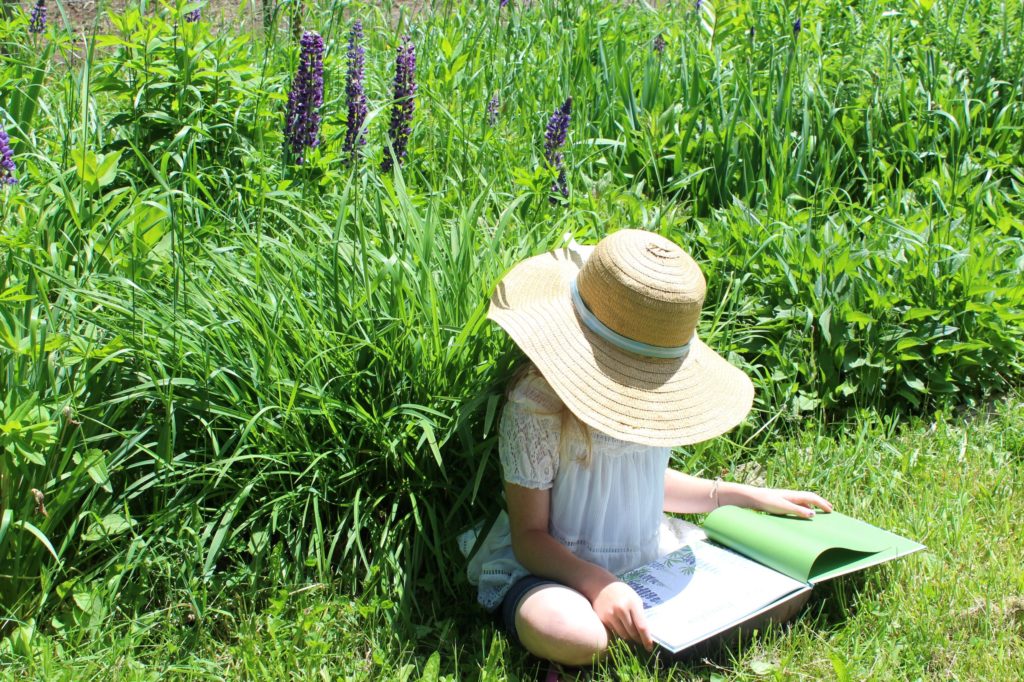
I couldn’t resist doing this art project after seeing our blooming lupines in the flower bed. We had a picnic outside (right in front of the flower bed), read this wonderful story, and then make our own masterpieces!
A friend on Instagram posted this bubblewrap art project and I knew I wanted to try it out. She originally found it on Pinterest. Of course, we had to put our own spin on it. There are a whole bunch of really neat Lupine kids projects out there if you are looking. Below is how we made ours.
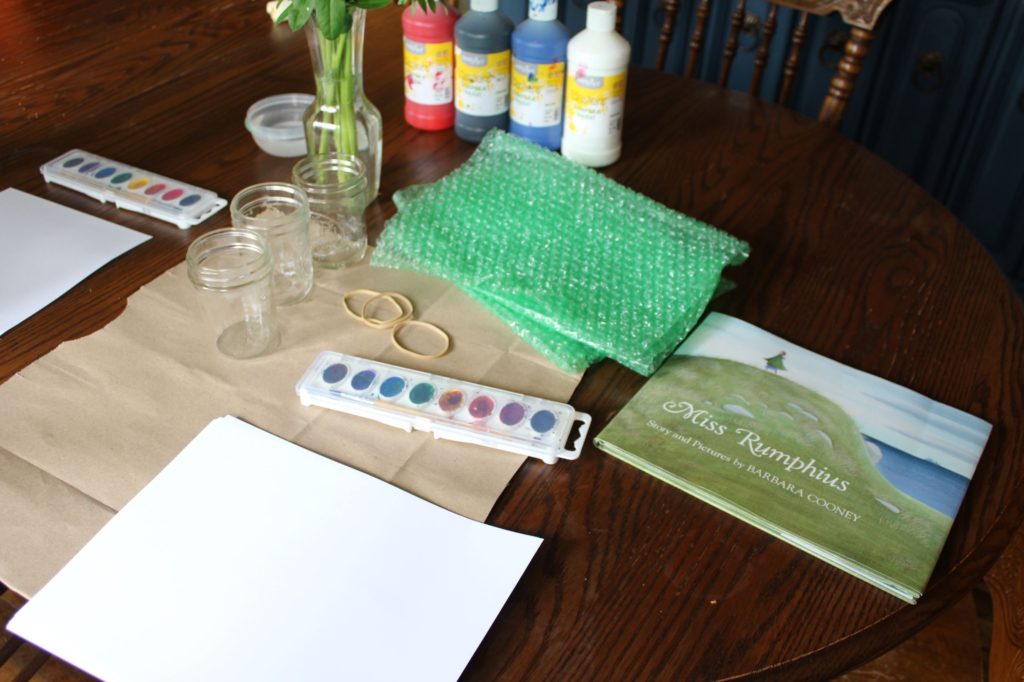
Art Project
For his project, we used watercolors, white cardstock, tempera paint, bubble wrap, half-pint mason jars, and rubber bands.
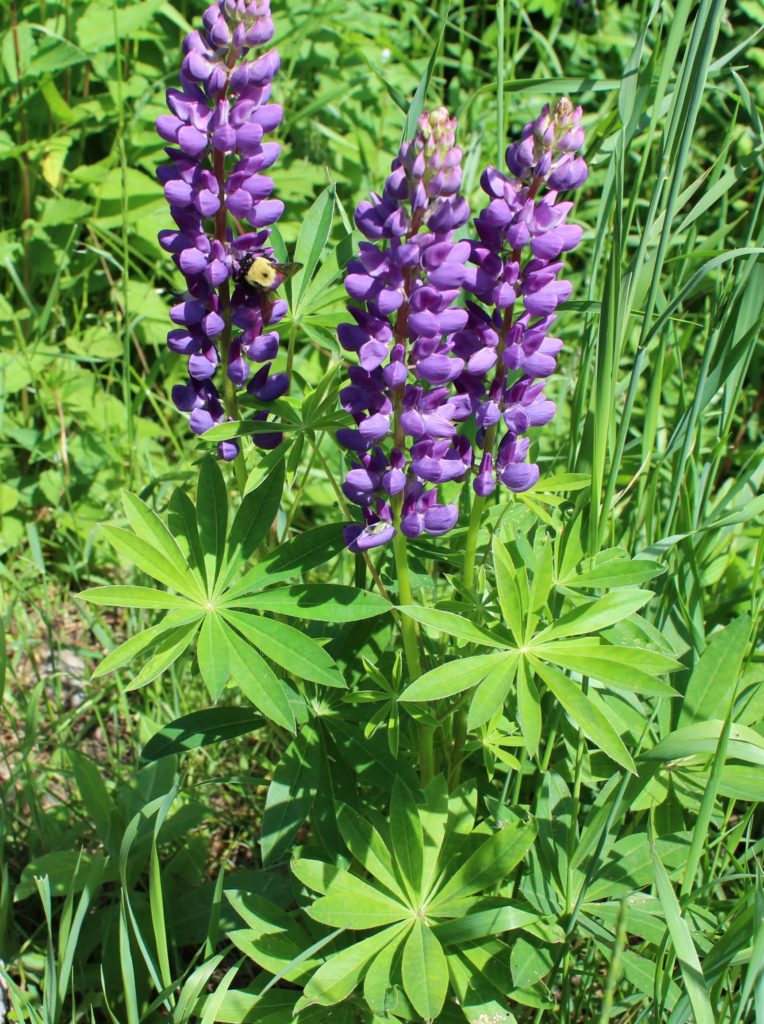
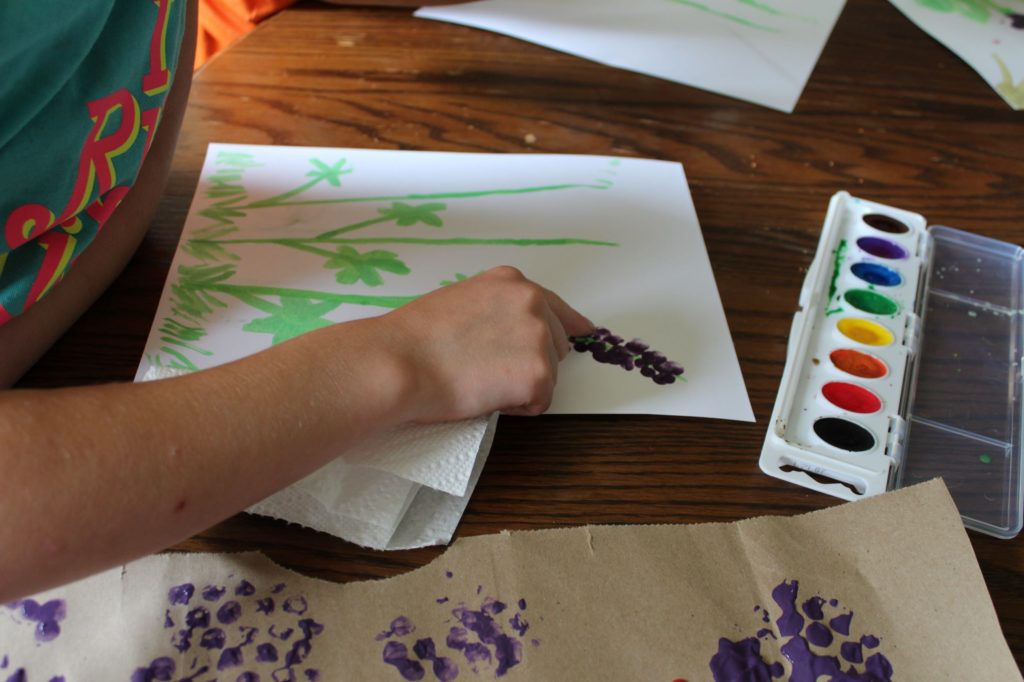
We started with the leaves and stem. The leaves of the lupine plant are very unique. They have pointed leaves in a circle. Lupine also has a long stem that extends above the leaves. We used green watercolor to paint the long stem and the pointed leaves.
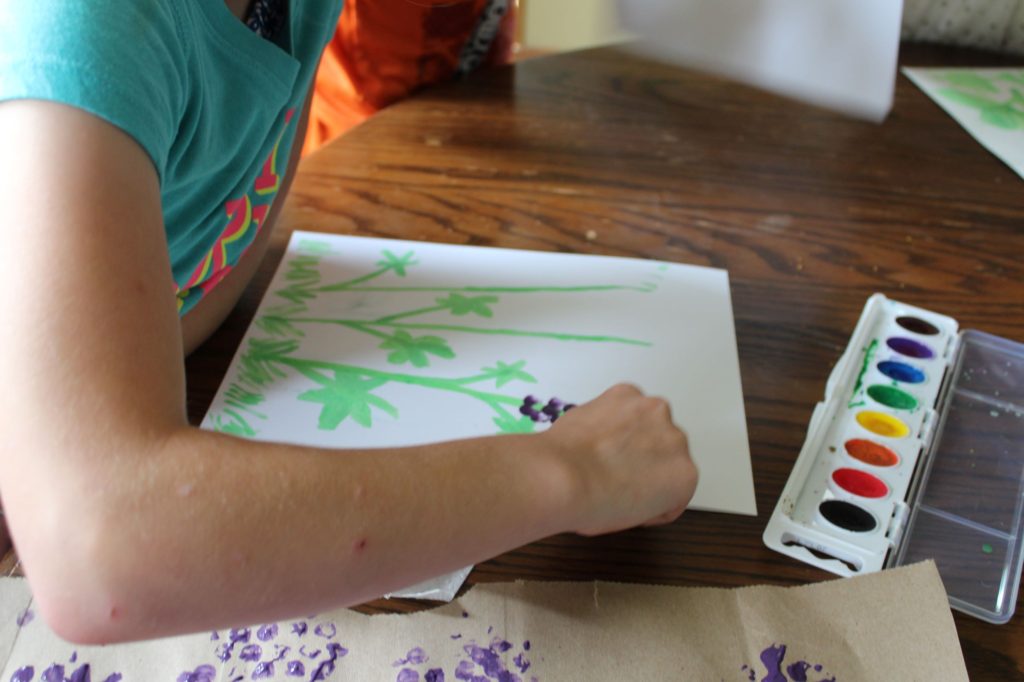
For the flowers, we mixed the tempera paint to make light blue, purple, and light pink. We tried to use the book illustrations to match the colors.
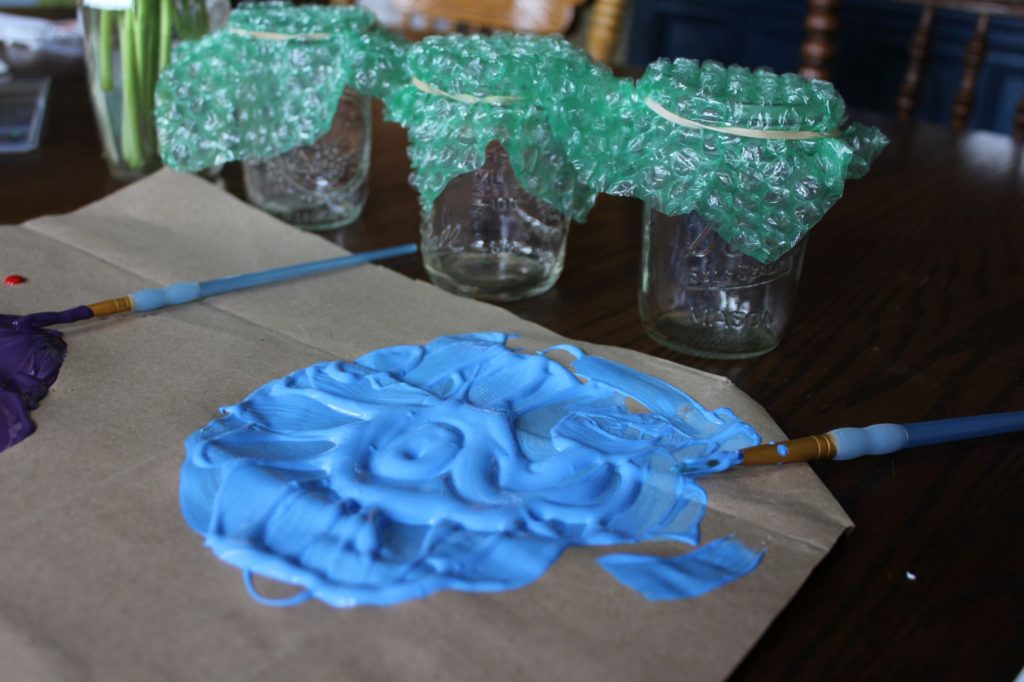
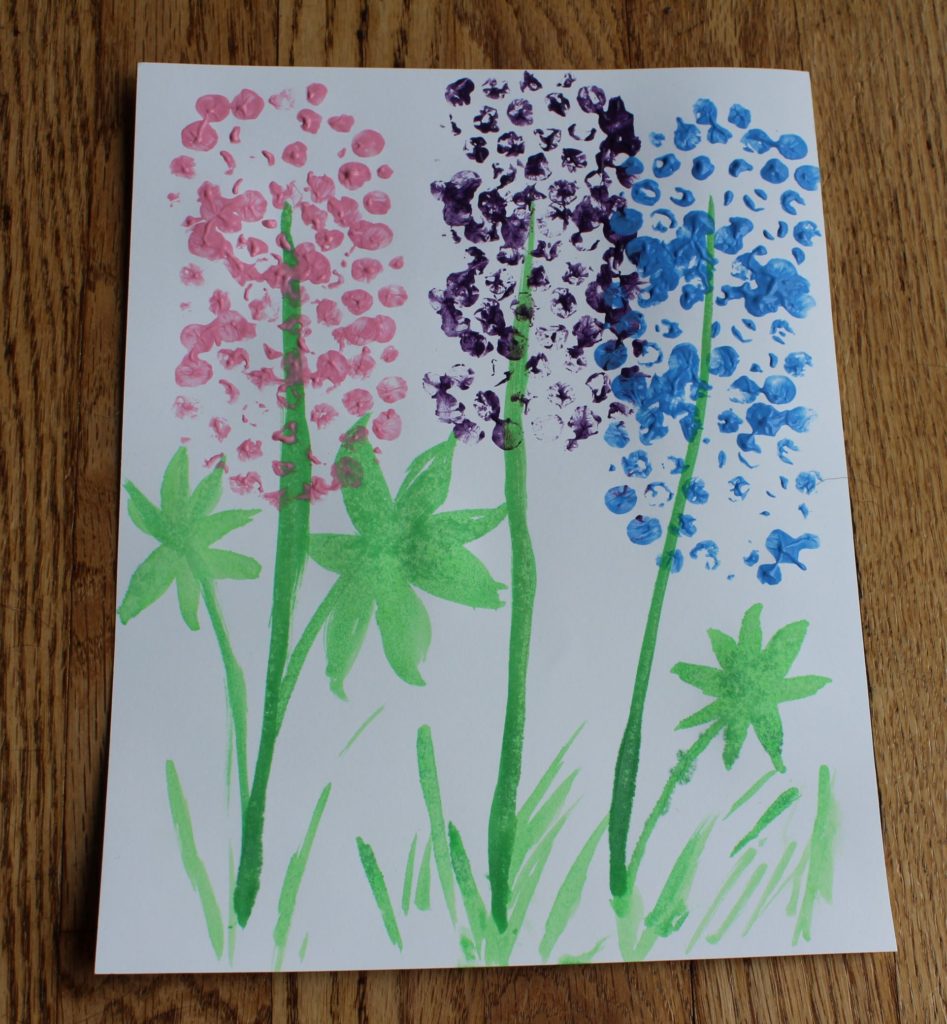
I cut small squares of the bubble wrap and put them on top of the jars and wrapped a rubber band around them, You can use any type of cup or jar that you can find.
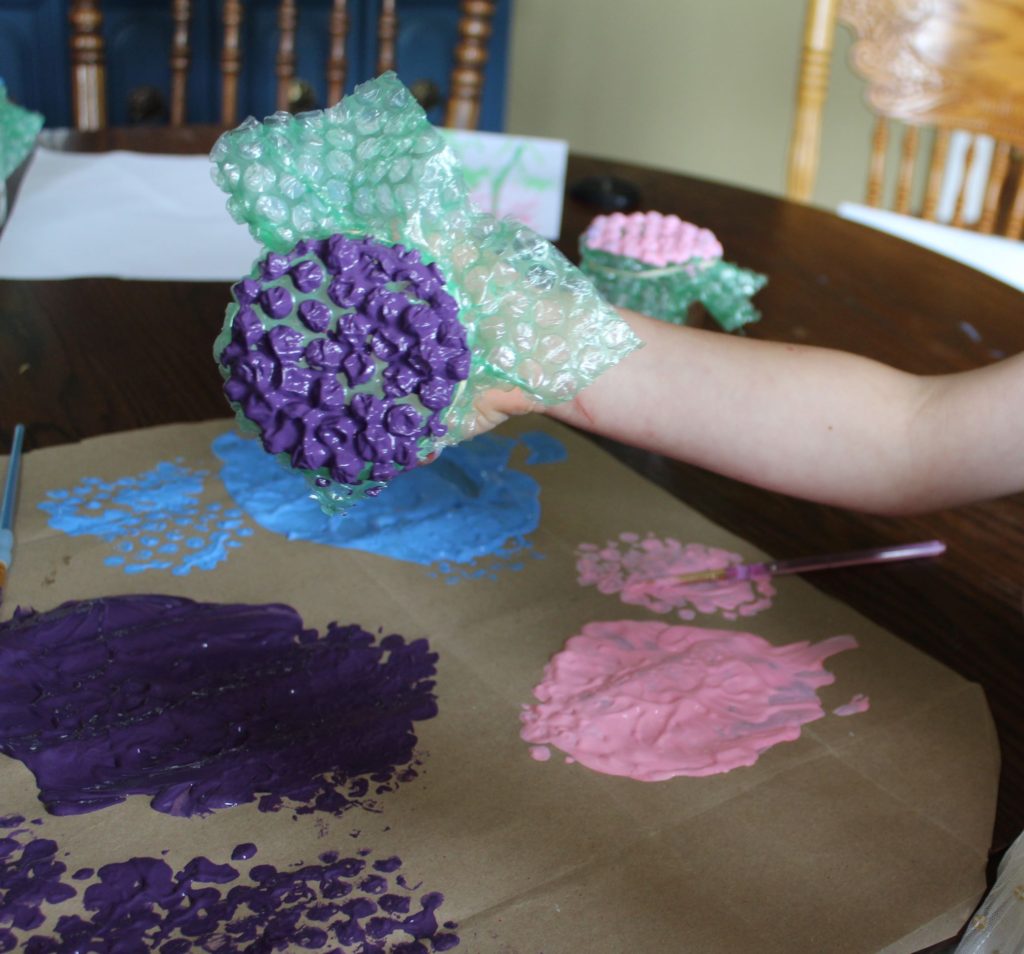
Press the bubble-wrapped jar into the paint. You want to get just enough paint to cover the air pockets. Don’t press too hard. I also found it beneficial to do a few practice stamps on scrap paper to lose some of the extra paint. When you are happy with the design, move over to your stem and start to stamp.
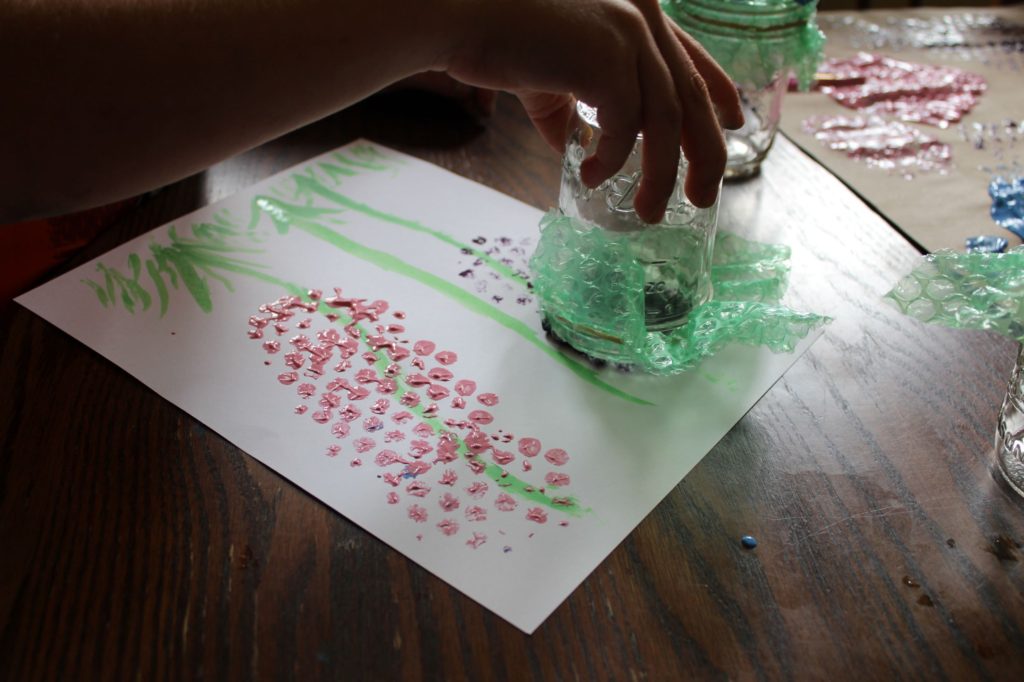
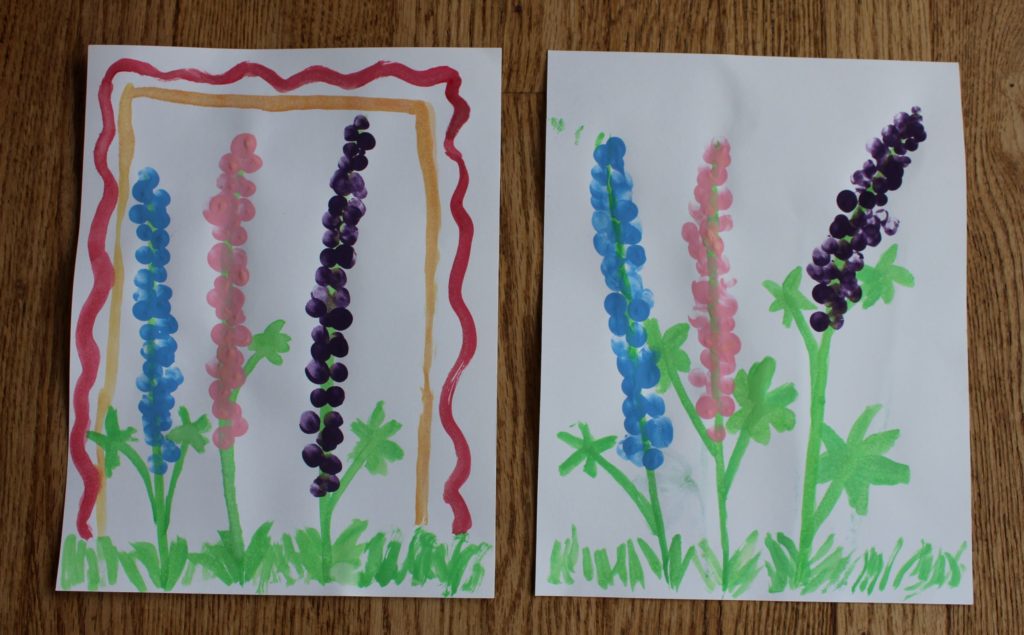
My oldest daughter was not a fan of the bubble wrap design. She used her fingers instead to make the flowers. I loved that she wanted to do her own thing. I thought that her pictures turned out beautiful too!
Our Art Gallery
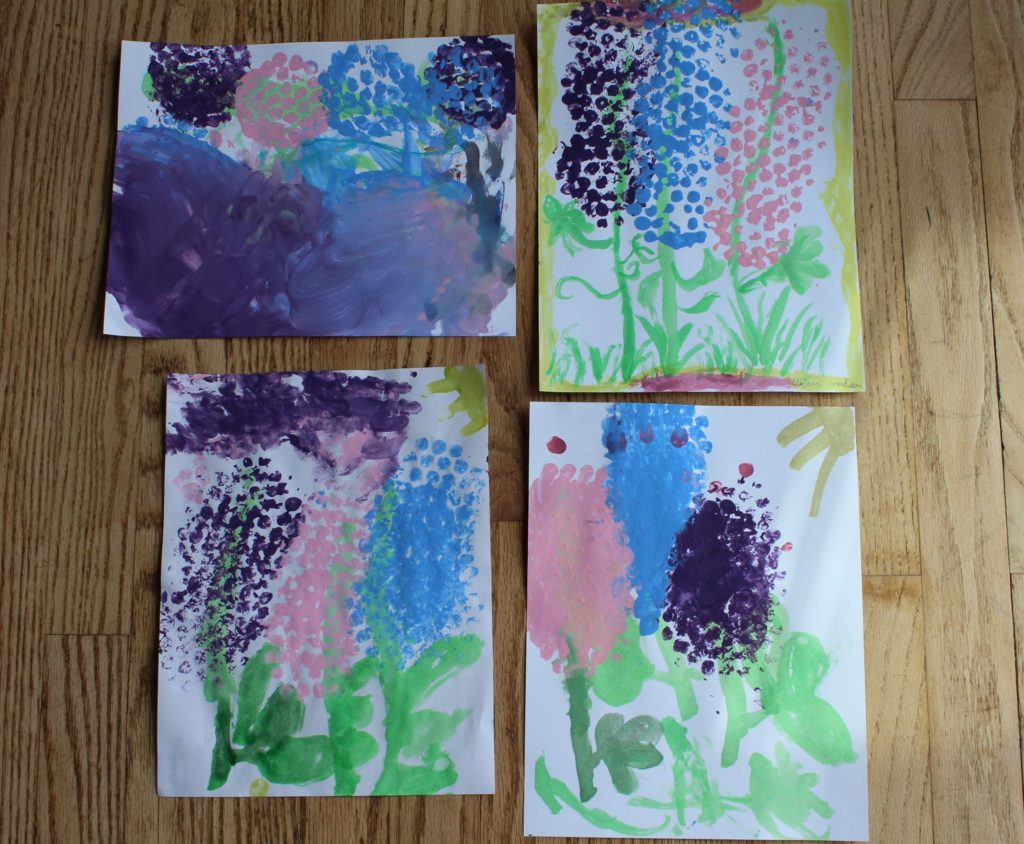
The best part about art projects is seeing how unique they all turn out. Here is our Lupine Art Gallery.
I hope you have fun reading Miss Rumphius, learning about Lupine, and making your masterpieces!
Pin Me!
Would you like to see more Books and Art? Comment below with your favorite children’s book or favorite flower.
If you would like to learn more about our family, check out Why we Homeschool and watch the video of our move from the suburbs to the farm here at About Us.
-Lindsay


2 thoughts on “2 Easy Ways to Make Lupine Flowers After Reading Miss Rumphius”
These art prints are so cute! What a fun and creative way to make the flowers!
Thank you, Karen. We had so much fun making them!