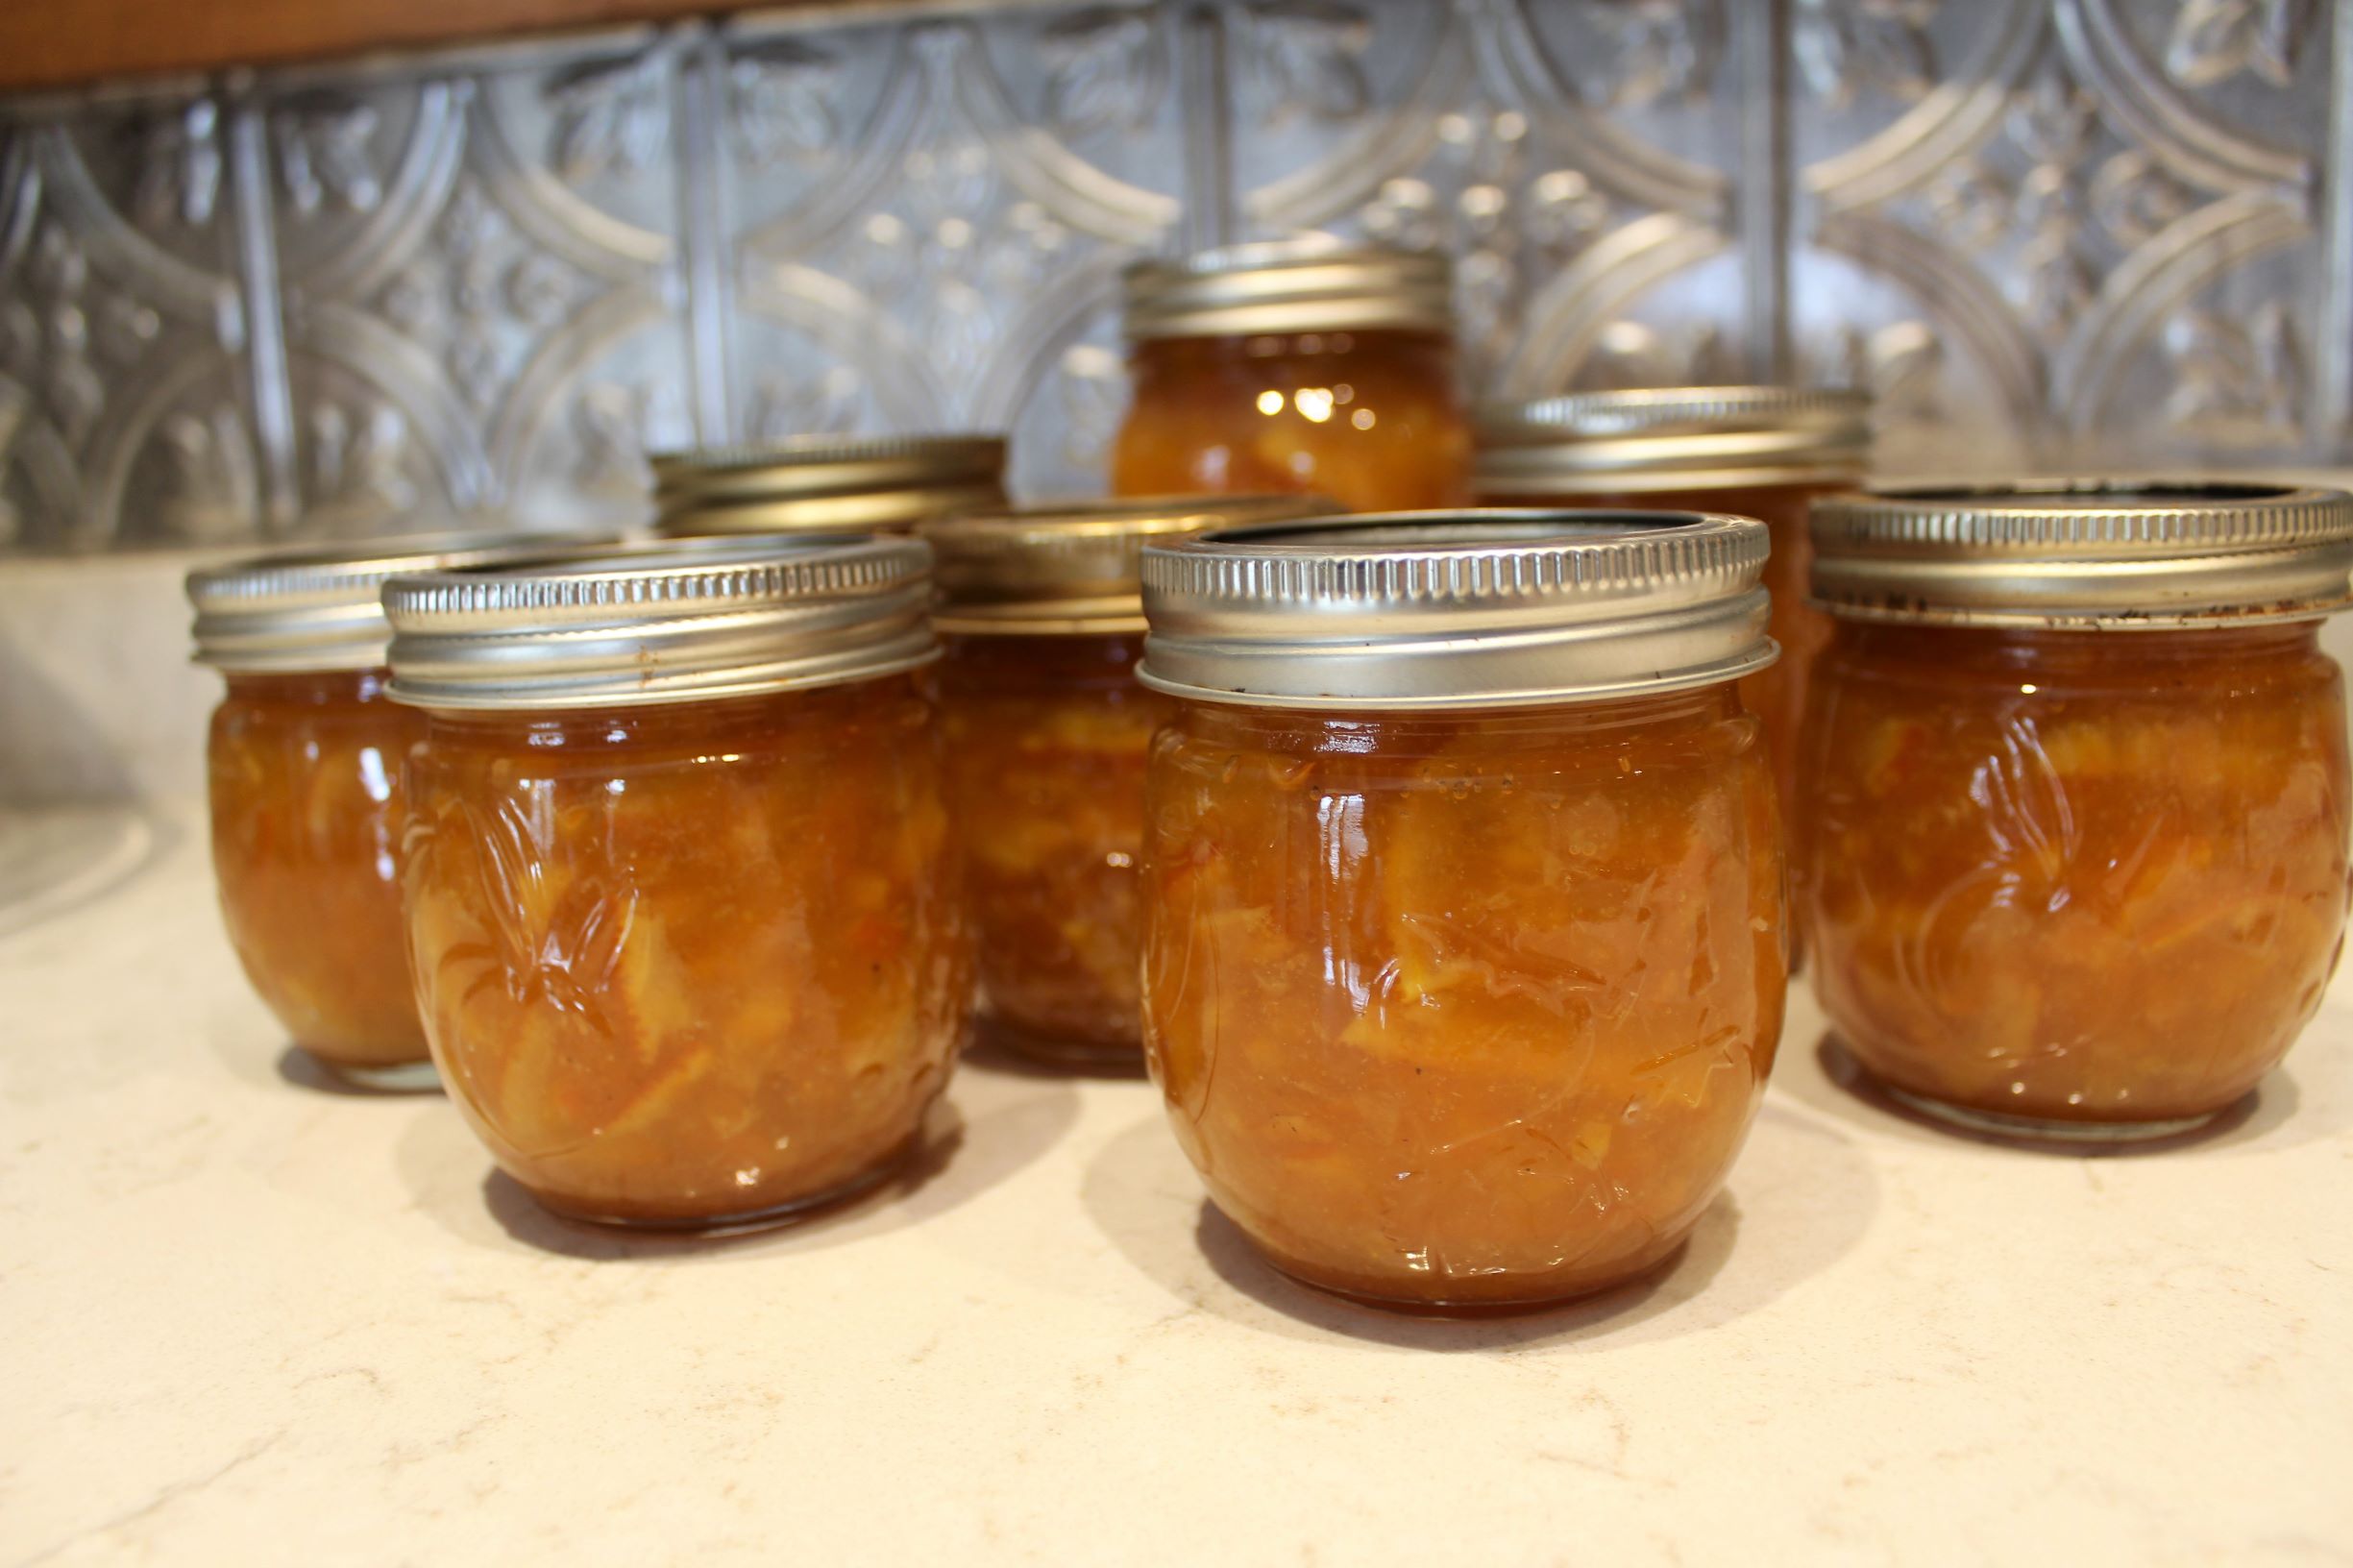
Orange Marmalade Recipe
{This post may contain affiliate links. You can read our Disclosure Policy HERE.}
Orange Marmalade Recipe
Orange Marmalade is a great addition to any pantry! Not only is this recipe beautiful and delicious, but it can turn any breakfast toast into a special treat and it makes a great gift that you can hand out on the fly. Or you may just be itching to preserve something while you wait for the weather to cooperate. In the winter, if you live in a cold climate like me, citrus fruit may be the only fruit in season and oranges are usually inexpensive and easy to find. If you have some oranges pruning in the refrigerator, this may be a great way to use them up.
Be prepared! This recipe will take 3-4 days to make. It is not hard, but you will let this recipe sit, and then boil, and then come back to it later. You will do this a few times to let the oranges soften and take the tartness out of the peels.
This recipe was adapted from Put ’em Up by Sherri Brooks Vinton.
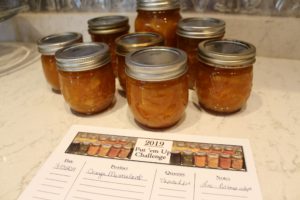
Have you received your FREE 2019 Put ’em Up Challenge Packet yet? Check out this page and subscribe to our e-mail list to receive your free packet. (2020 Put ’em Up Challenge Packets Coming soon! Subscribe to be the first to get them when they are out).
Orange Marmalade Recipe
Ingredients
12 Oranges
5 Cups Water
6-7 Cups Sugar (approximately)
6 Whole Cloves
1 tsp of dried Ginger or fresh grated
Dash of Nutmeg
You will also want to make sure you have 1/2 pint or pint jars, a water bath canner, and all needed canning supplies. When I made this, I used seven 1/2 pint jars and 1 whole pint jar. This recipe can be kept in jars in the refrigerator, if you do not want to can it. It will keep it in the refrigerator for 3 weeks.
Instructions
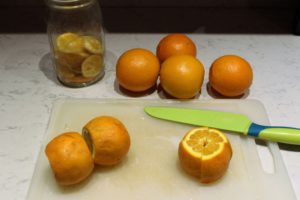
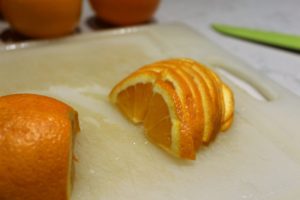
1. Scrub oranges well and cut off the ends. (The ends are great to save in a jar and make your own scented vinegar for natural cleaning. Here is the recipe I use for My Everyday Cleaning Spray.) You will cut the oranges into quarters and remove any seeds. Slice the quarters very thinly. You may even want to use a mandolin to get your desired thickness. Put orange slices into a pot and pour the water over the orange slices. Press the orange mixture down to release oils and juices. Cover the pan with a thin towel and set aside. Let rest overnight.
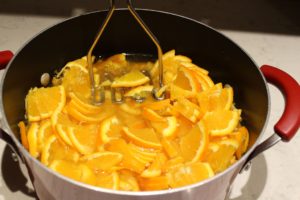
2. The next day, bring your mixture to a boil and simmer for 30 minutes. Let the mixture cool, and cover. Once the mixture is cooled, you will want to bring this to a boil again. Simmer for another 30 minutes. This is an important step that helps release the bitterness in the peels. Taste your oranges. If you feel like it is still a little bitter, then you may want to boil this a third time. I only boiled mine twice.
Cover and let rest overnight.
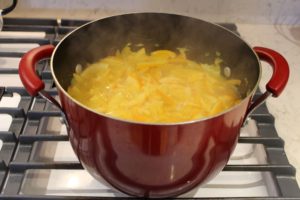
3. The third day is the fun day! Today, you will measure the cooled orange mixture and add equal amounts of sugar to it. I had 7 cups of fruit mixture and added 7 cups of sugar to mine. Give it a stir. Add your whole cloves, ginger, and nutmeg (if you desire). Bring to a boil.
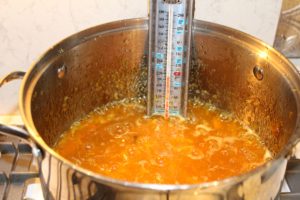
Stir the marmalade frequently while watching for signs of gel, this may take a while. Here is a great resource to help you Test Your Jelly Without Adding Pectin. I use a Candy Thermometer to keep an eye on the temperature. When your mixture is close to 210- 220 degrees Fahrenheit, you will start checking for gel.
NOTE: If you are canning, you will also want to start preparing your water bath canner, jars, bands, and lids.
Keep stirring until you have the desired thickness. Take the pot off the burner and let cool for 5 minutes. Stir the mixture and take out the cloves. Skim off any foam.
4. Bring the water in your water bath canner to a boil. Make sure your jars are sanitized and hot! We keep ours in a dish bin with HOT HOT water until we are ready to use them. If the water cools, we simply add hot water to the jar itself and let it sit on the counter until we are ready to fill the jars with the jelly. 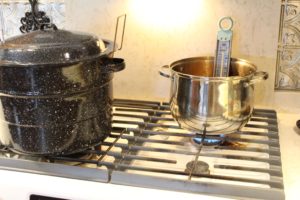
Ladle the marmalade into the hot jars, leaving 1/4 inch headspace. Release trapped air by scraping a butter knife around the inside of the jar. Wipe rims clean, place the lid on, and screw on jar bands. Carefully, put the jars in the water bath canner, making sure that all the jars are covered with 1-2 inches of water. Wait for the water to boil. Once it is boiling you will process the jars in the water bath canner for 10 minutes. Turn the heat off, carefully remove the canner lid (release the hot air away from your face), and let the jars rest for 5 minutes. Take out jars and let them cool for 24 hours. Make sure your jars are sealed. Put away in your pantry and admire all your hard work.
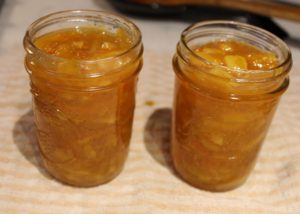
That’s it! Now you can enjoy a small piece of summer any time of the year with this delicious Orange Marmalade Recipe!

Don’t Forget to Save this Recipe for Later
I am excited, to officially have my first canned items this year for the 2019 Put ’em Up Challenge! YAY! You can keep track of all of your canned items too! It’s easy! Sign up for our newsletter below to receive your free Tracking Sheet and Planning Pages. 2020 Put ’em Up Challenge Tracking Sheets coming soon. Sign up for our newsletter to get the FREE download when it is ready.
We would LOVE for you to follow us on Facebook and Instagram. Please share the love if you are using these! Use #putemupchallenge and tag me @lifeonmistyacres in your Instagram or Facebook posts! Thank you!
Want to read more preserving posts? Check out Canning… The Great Mystery or 2019 Preserving Totals, Tips, and Top 10 Pantry Staples.
Have you started canning anything yet this year? The next thing for us will be Maple Syrup! Daniel is building a Maple Syrup cooker out of a fuel oil tank this winter; so that we can really boil down the sap. Stay posted for more!
-Lindsay from Life on Misty Acres

6 thoughts on “Orange Marmalade Recipe”
This is my dad’s favorite thing to put on his PB toast in the morning! Every single day. We always buy marmalade from the store, but maybe I’ve gotta switch things up and surprise him with some homemade marmalade!
I bet your dad would really like that Divya! Thanks for sharing.
Ohh, I can almost smell this deliciousness just looking at your pictures!
Thank you, Karen. Making this marmalade is a fun process that you can enjoy throughout the year.
i honestly don’t know if I’ve ever tried orange marmalade but you have me curious
I have seen recipes where you add orange marmalde to your chicken breast too. Another way you could use it.