How to Tap Maple Trees & Collect the Sap
{This post may contain affiliate links. You can read our Disclosure Policy HERE.}
This is Part 3 of our Maple Syrup Series: How to Tap Maple Trees & Collect the Sap. In this post, we will show you how to tap your maple trees with an instructional video, discuss why it is important to have a tapping and collecting game plan, and show you how we collect and store our maple sap throughout the season.
You should already have your Maple Trees marked and all your Equipment ready and sanitized. If not, read THIS post. Now, it is time to get out into the woods and have some fun!
Maple Syrup Making Series Posts:
Maple Syrup Making: Tapping into this Valuable Resource
Identifying Trees & Equipment Needed
Tapping & Collecting
Boiling Down the Sap (or Evaporating)- Check out some helpful videos on our YouTube Channel
Preserving the Gold
Take Down & Clean Up
Gather Equipment & Make a Plan
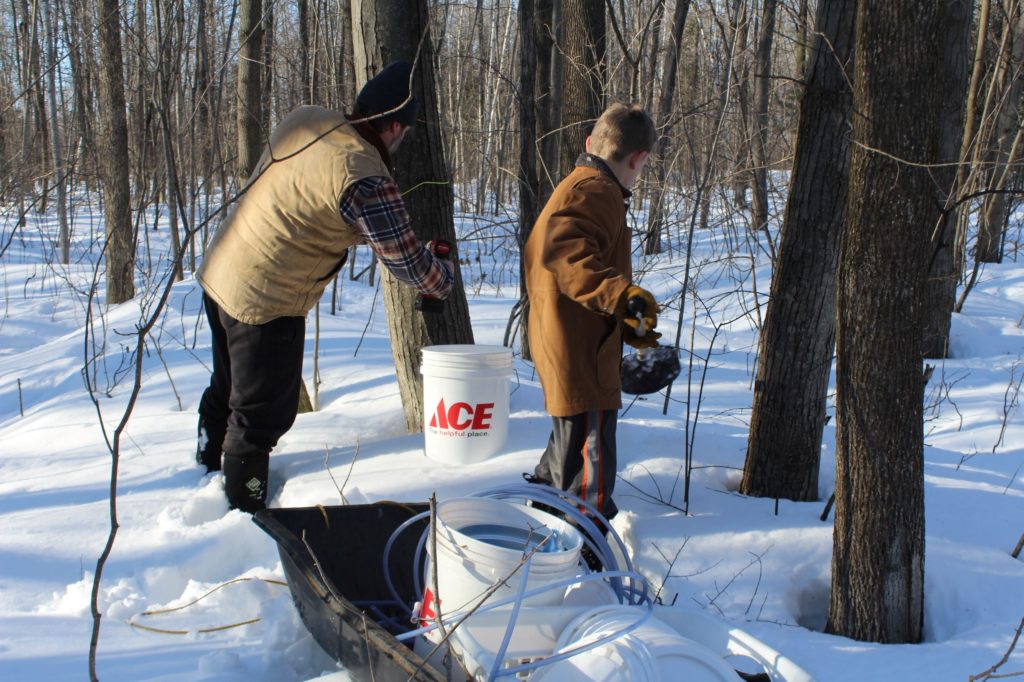
It’s the fun part now! You are going to get all of your equipment together and prepare to head outdoors to tap your trees. You will want to make sure that your taps and equipment have been cleaned and sanitized. Gather all your equipment and supplies and come up with a plan of how you will be taking your equipment in the woods.
For us, we use our ever-handy Otter Ice Fishing Sled (similar to this one). It is filled with buckets, lids, tubing, tubing cutter, taps, drill, a shovel for digging down to ground level if needed. It is not always the easiest to navigate in the snow and trees but the sled works for us. You may also consider a trailer, ATV or UTV, snowmobile, or just your snowshoes.
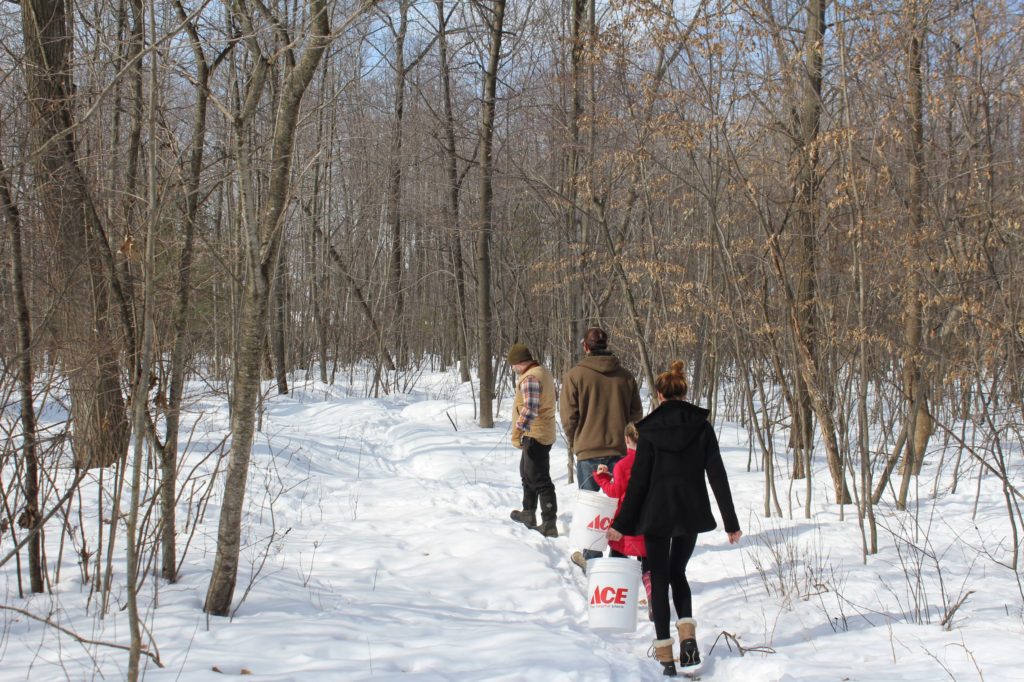
The importance of a plan: We feel that having a tapping and collecting plan is essential! Especially if you are tapping lots of trees in a wooded area. You will want to make this as easy as possible for yourself because you are going to be collecting sap several times and want to have an efficient system in place. You may even be coming out here in the late evening (with headlamps) to collect your sap and want to remember where your taps are. We like to make a loop for tapping and collecting, that way we are less likely to miss a tree. Get used to the pattern you use to collect and try and come up with a way to make this easy (or just a little easier) on yourselves. Try to make a loop, line, or pattern. Make a plan that works for you!
How to Tap a Maple Tree for Maple Syrup Making
The video above shows how we tap our maple trees with a spile, tubing, and bucket method. This is our preferred way.
Find your marked trees.
Use a drill with a 5/16th drill bit and drill into the south side of the tree about 1- 1/2 to 2 inches deep. You can go straight in or to a slight upward angle. Take care not to drill into the core of the tree. It is best to put your tap on the south side of the tree because it will get more sunlight. But, if the tree has previously been tapped, you will want to find your old hole and make sure you are 6 inches or so away. Make sure you use a new hole each year.
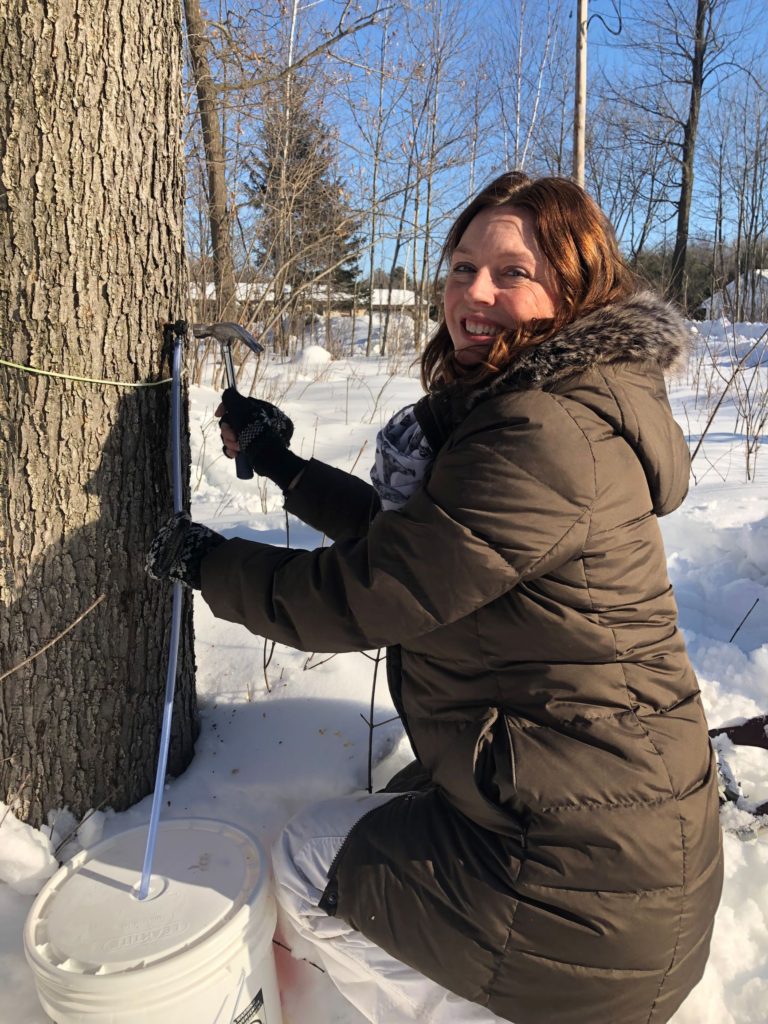
Once the hole is drilled, lightly hammer the tap into the tree until it is snug. When the tap stops moving then it is seated.
Connect your tubing or sap collection method.
You will want to use a 7/16th drill bit to put a hole on the top of the bucket and then insert your tubing into it.
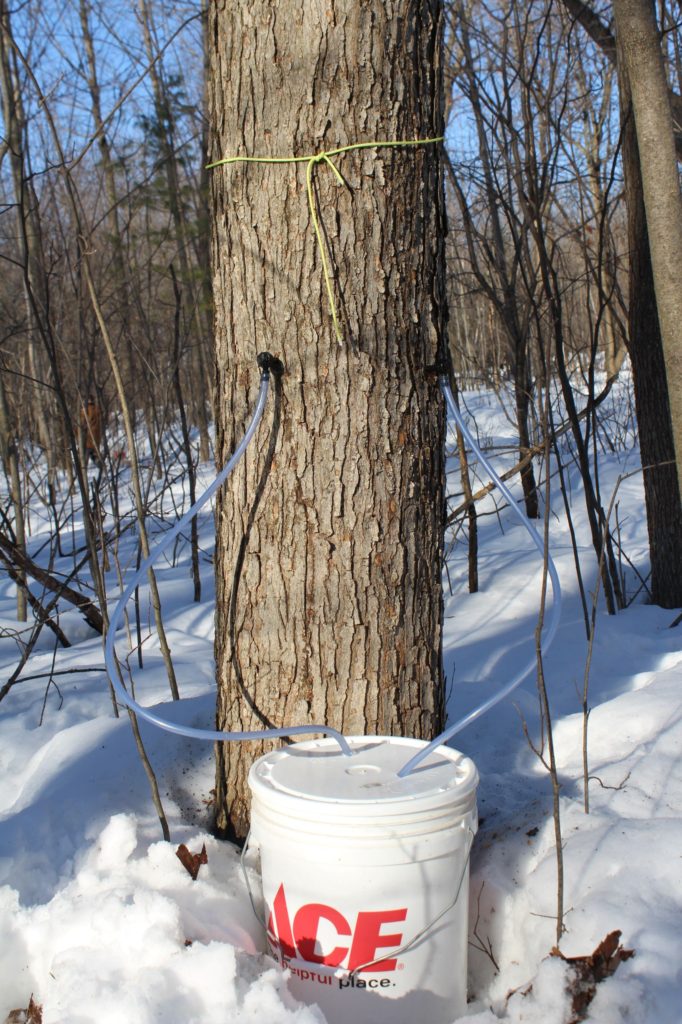
If your maple tree is 21-27 inches in diameter, you can put 2 taps in this tree. If it is 27 inches in diameter or larger, 3 taps. Keep your spiles 6 inches apart and go around the tree. On trees that we double or triple tap, we drill additional holes onto the top of our bucket lids with a 7/16 drill bit and string the tubing through the holes.
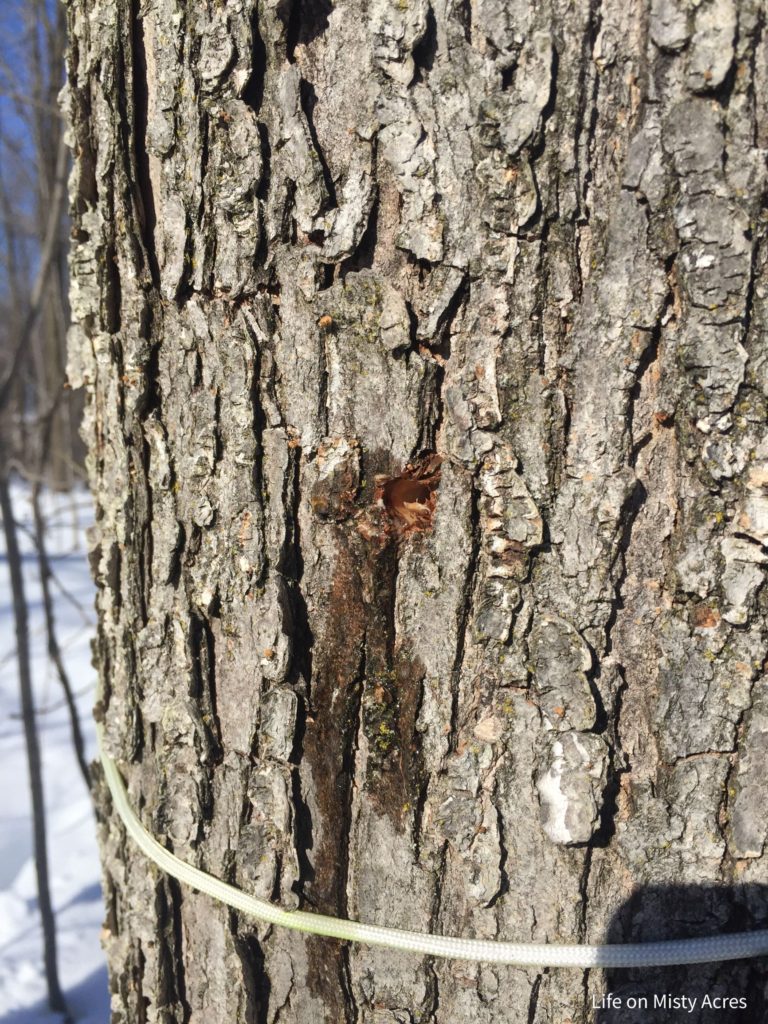
If you do this on a warm day, you may see sap immediately come out of the hole.
We re-use our tubing every year if we can, make sure you are not cutting your tubing too short. Sometimes, the snow melts and your bucket will fall several inches and if your tubing is short it will no longer reach the bucket.
Bucket Hanging Method
Use the 7/16th drill bit and drill into the tree. Insert tap as stated above. Hang your bucket on the hook.
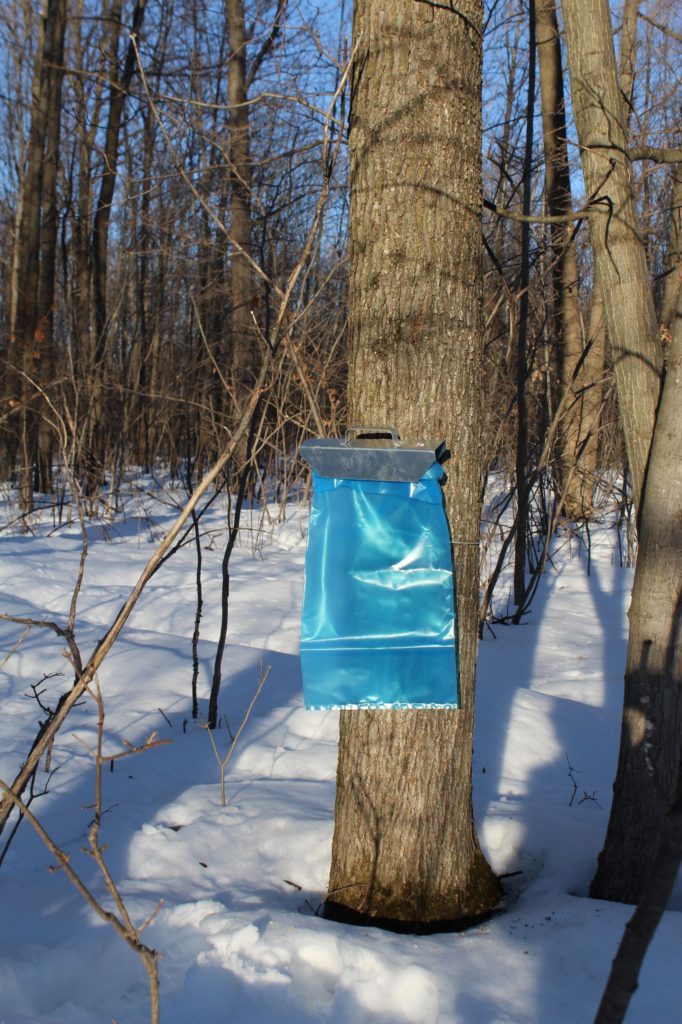
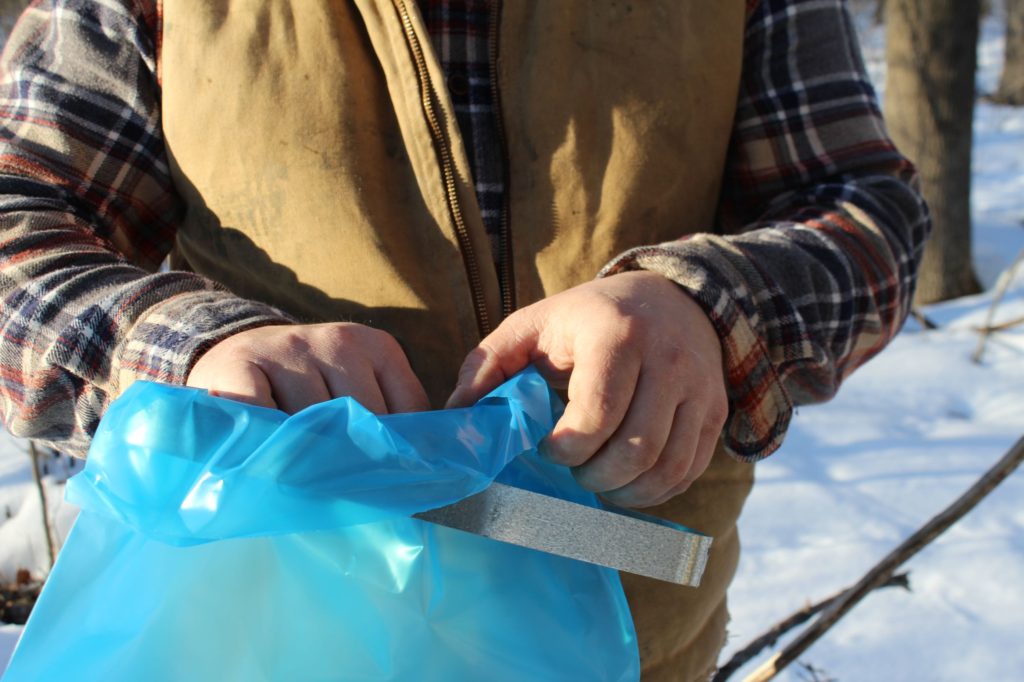
Bag Method
Use the 7/16th drill bit and drill into the tree as stated above. Hammer your tap into the tree. The bag holder has a metal band inside it that allows you to wrap your plastic collection bag around it and then slide the bad back into the hanger. On the backside of the holder, you will see a hole that will allow you to hang the holder onto the spile.
Collect the Sap
Once all our taps are in, we try to collect a few times each week. We like to wait until we have several drums of sap before boiling. In our Wisconsin weather, it is mostly cold during this time so we do not worry too much about the sap spoiling until later in the season.
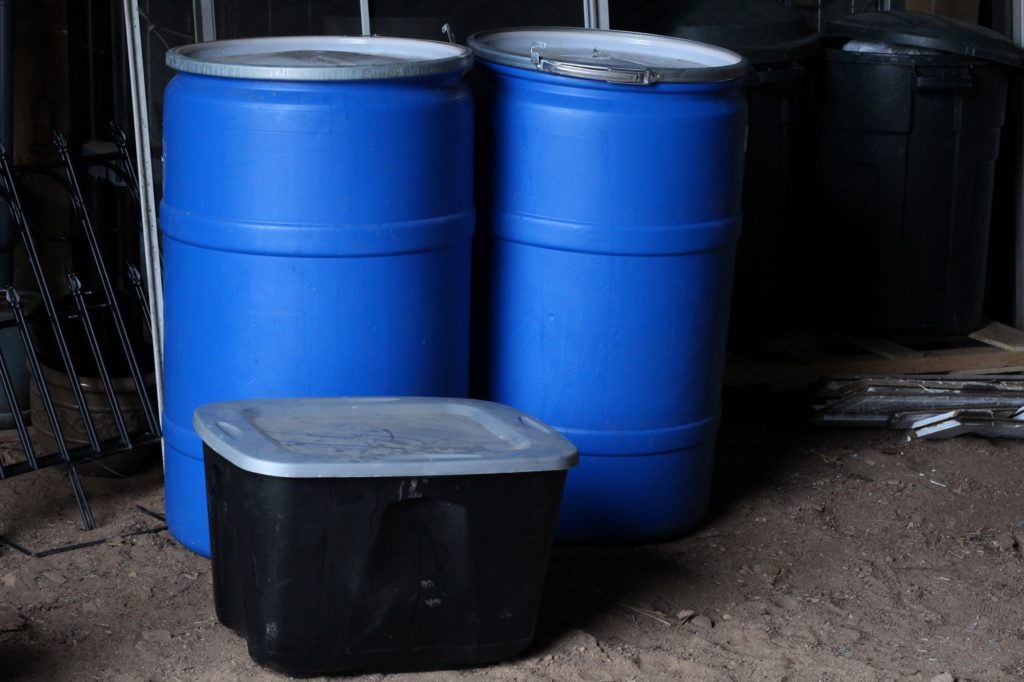
We take a few empty buckets out with us and then pour out the contents or switch out the buckets with an empty one. We haul it back to the truck and put it in totes. Then we take it back to our garage and pour it into a food-grade barrel.
It is hard work but well worth it to get delicious pure maple syrup!
In conclusion, I hope this post helped you see why it is important to have a tapping and collection plan, gave you clear instructions on how to tap your maple trees, assemble your equipment, and collect and store sap throughout the season. If you have any questions, please comment below or send us an e-mail. We would be happy to answer any of your tapping questions.
The next post in this series is How to Make Maple Syrup at Home: Boiling Down the Sap. Make sure you are following us on Facebook and Instagram to see our Maple Syrup Season highlights.
Pin me!
Maple Syrup Making Series Posts:
Maple Syrup Making: Tapping into this Valuable Resource
Identifying Trees & Equipment Needed
Tapping & Collecting
Boiling Down the Sap (or Evaporating)- We shared how we do this process on our YouTube Channel.
Preserving the Gold
Take Down & Clean Up
– Daniel & Lindsay Madsen from Life on Misty Acres

