8 Canning Tips I wish I Would Have Known Before Learning To Can
{This post may contain affiliate links. You can read our Disclosure Policy HERE.}
8 Canning Tips I Wish I Would Have Known Before Learning to Can
So, you want to fill your pantry with homegrown or locally grown foods. You want to stop being so dependent on grocery stores and learn how to store food safely in your pantry with no electricity needed. I am here to tell you that you “can” do it! Sorry, couldn’t help myself with that one. But, you really can learn to preserve food safely. Here are 8 canning tips I wish I would have known before learning to can.
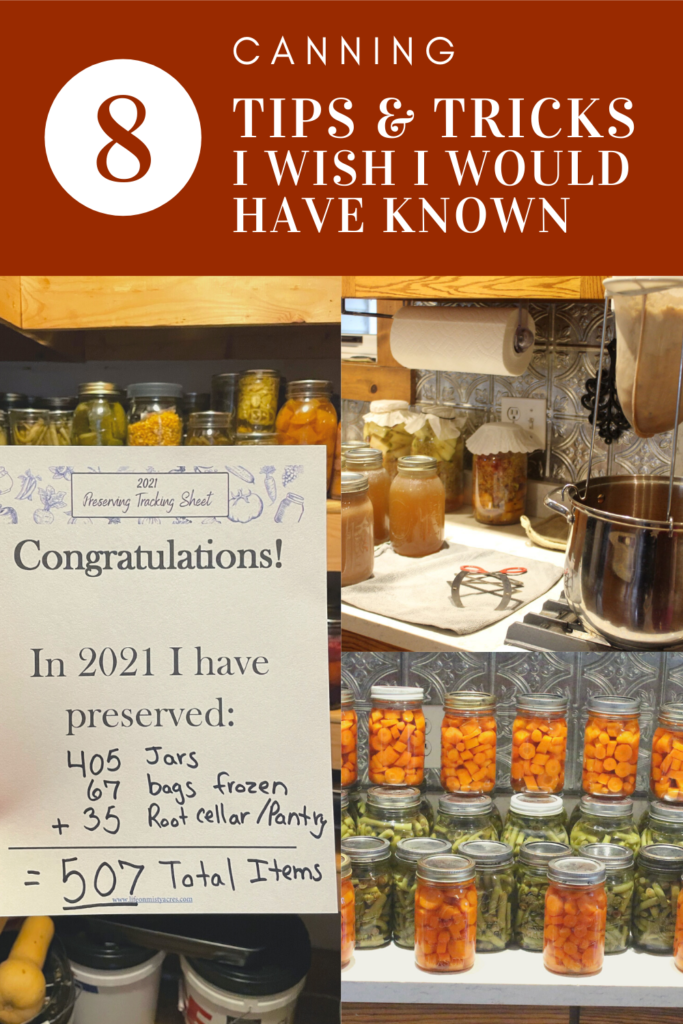
Save This Pin!
Learning the “Old-Fashioned” Skill of Canning
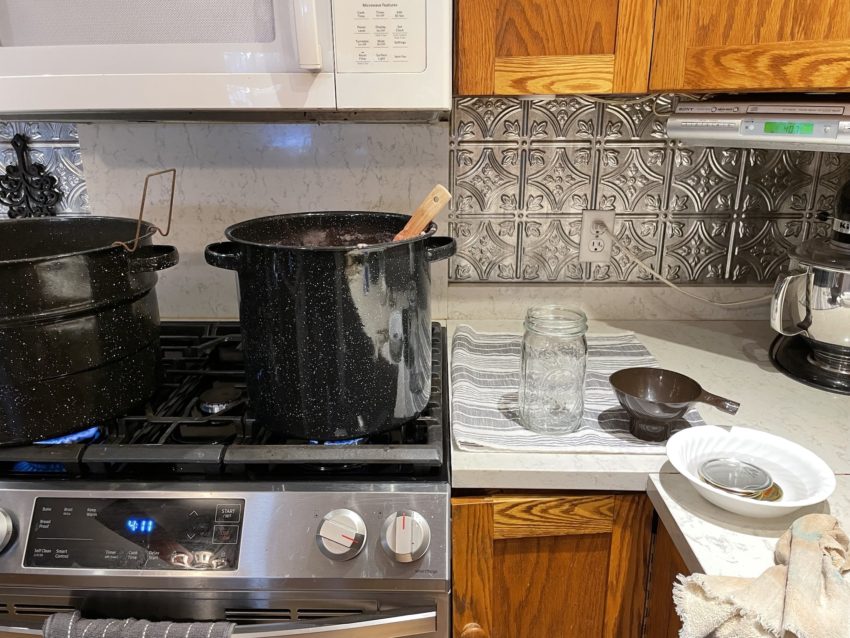
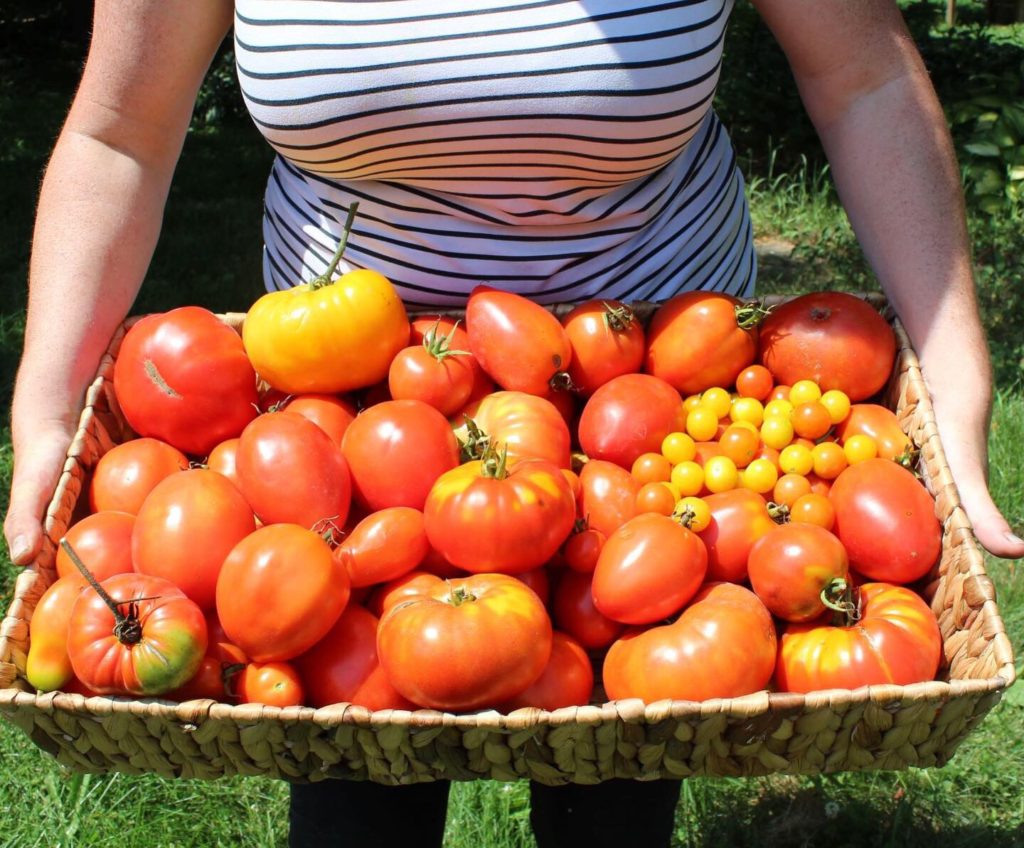
I remember when my husband and I were first married and we decided to start a little garden in the back of our lot and it grew like crazy. We had tomatoes coming out of our ears. Now, the question quickly came to pass, what were we going to do with all those tomatoes? Make salsa of course. That was the year that we stepped out of our comfort zone and learned the old-fashioned skill of canning. We remember our Grandparents and Parents doing this as children but never had much personal experience with it.
It was intimidating! We had no clue what we were doing! We took a leap of faith and tried. We made mistakes and broke jars… way too many broken jars. We learned a ton and kept trying.
This was the start of a hobby we really didn’t understand, but we knew we wanted to figure it out. We wanted to have control of our food supply, the ingredients in our food, and be able to provide for ourselves and our future family.
Canning and Preserving are now a part of our lifestyle
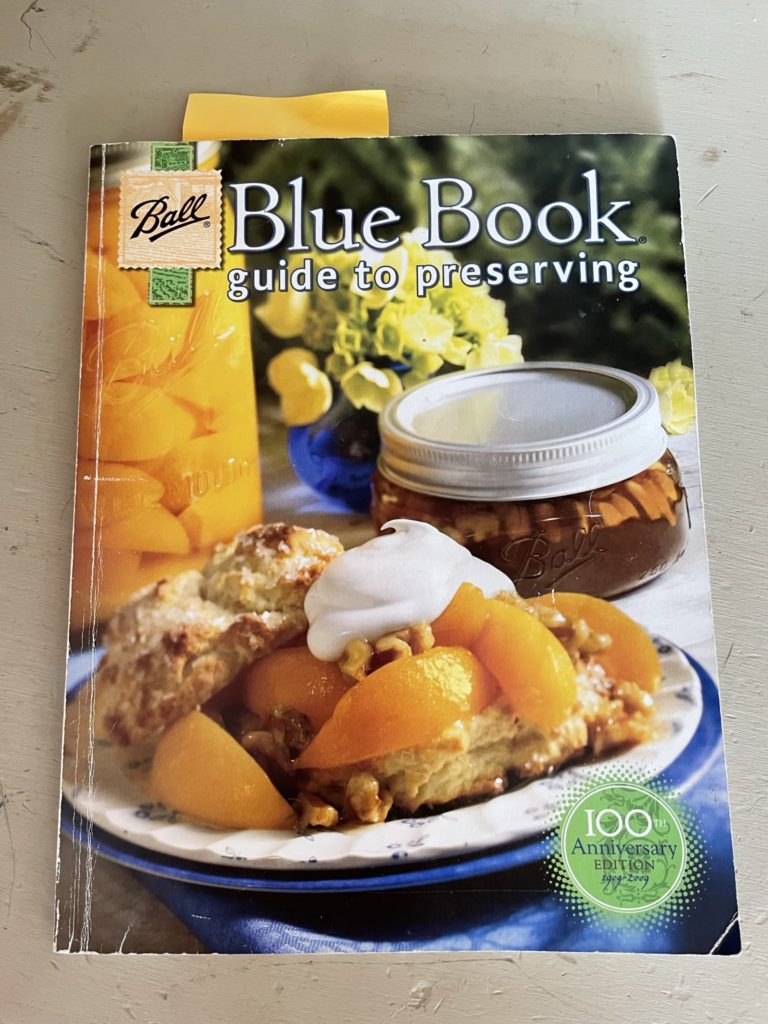
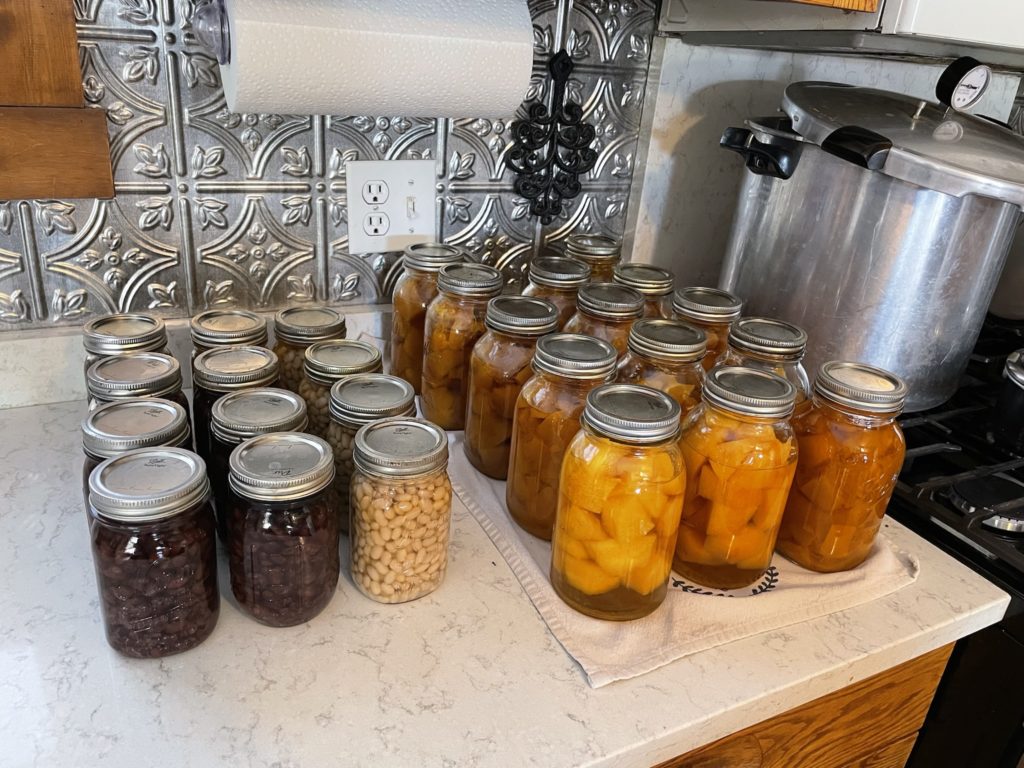
That was back in 2006, 15 years ago, as I write this article. I would never have imagined how important those first lessons were and how much of an impact they would have on us in our next decades of life. 5 kids and 2 houses later, canning and preserving have become part of our life; and now I do not even hesitate to bring out a canner on a whim, to preserve something that is close to going bad. In the beginning, that would have been a stressful endeavor and I would have to have my husband by my side and we would read the Ball Blue Book: Guide to Preserving steps at least 5 times before doing it.
I want to share with you 8 canning tips, that I WISH, someone would have told me before I started learning to can.
8 Canning Tips I Wish I Would Have Known Before Learning To Can
1) Buy the Ball Canning Book
This was the first thing we purchased. The Ball Blue Book Guide To Preserving. This is a must-have!
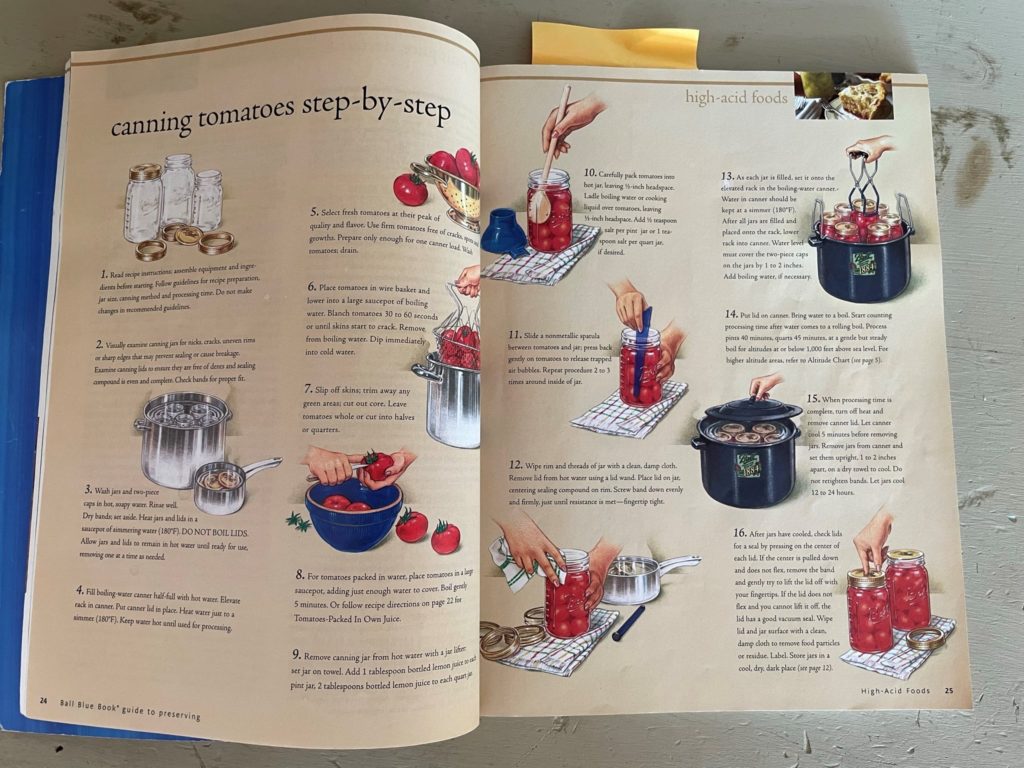
This book has wonderful pictures showing you step-by-step instructions for safe canning, as well as basic recipes for most things you will make. It tells you which type of canner should be used, how much headspace is needed in the jars, if you live in a higher altitude location, this book will tell you how much increased time or pressure you will need to have.
The Ball Blue Book also goes over freezing, dehydrating, and fermenting. This book is not a large book but I think it’s a complete guide to preserving. Ball also has an even larger Ball Complete Book of Home Preservation. This is a 400+ hard-covered book. For me, it is a little too large, but I know it is packed full of goodness.
There are a lot of other great preserving cookbooks, but we feel that the Ball Blue Book is the best one to start with.
We still look at our copy regularly for reminders on headspace, canning times, and the amount of pressure needed for pressure canning.
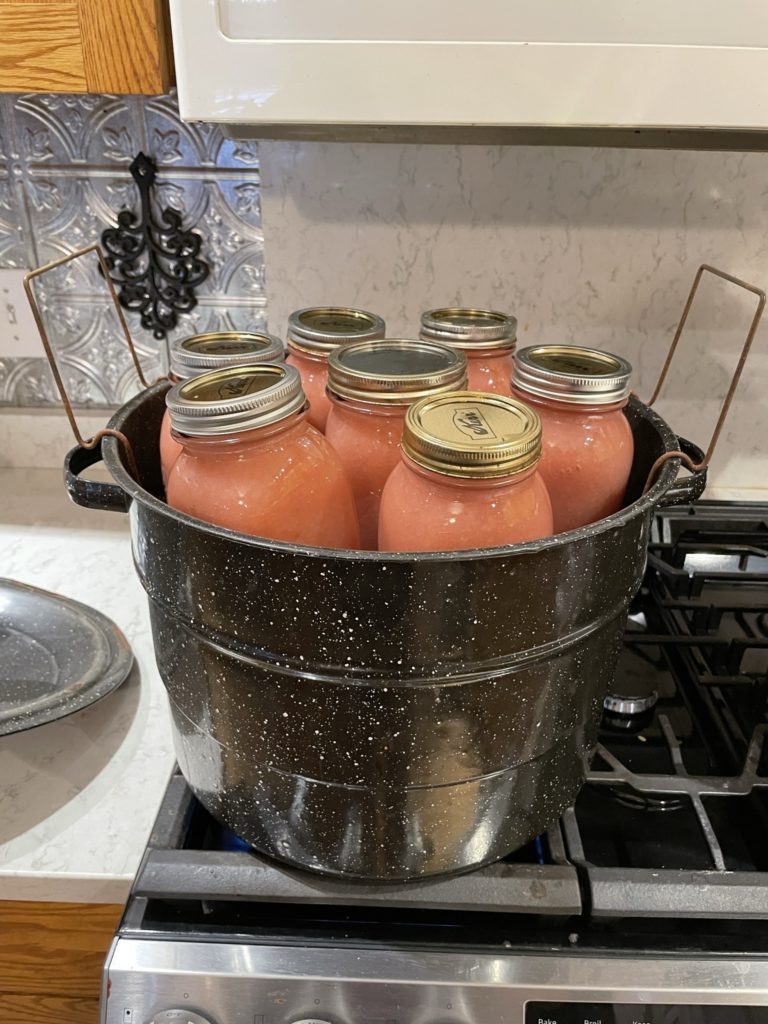
2) Start with a water bath canner
Water bath canners are a less intimidating canner. You essentially heat up water, set your jars into it, boil it for 10-30 minutes, and voila the jars are sealed.
Waterbath canners (also referred to as the boiling water method) preserve high acid foods with a PH of 4.6 or lower such as jams, applesauce, diced tomatoes, stewed tomatoes, or salsa.
Water bath canners can be purchased new for around $35 or you can oftentimes find them for sale at a garage sale or thrift stores. If you find the right garage sale, you could end up with everything you need to get started with canning. We often find cases of jars, pressure canners, and other preserving tools at a great price.
3) Make a Small Batch
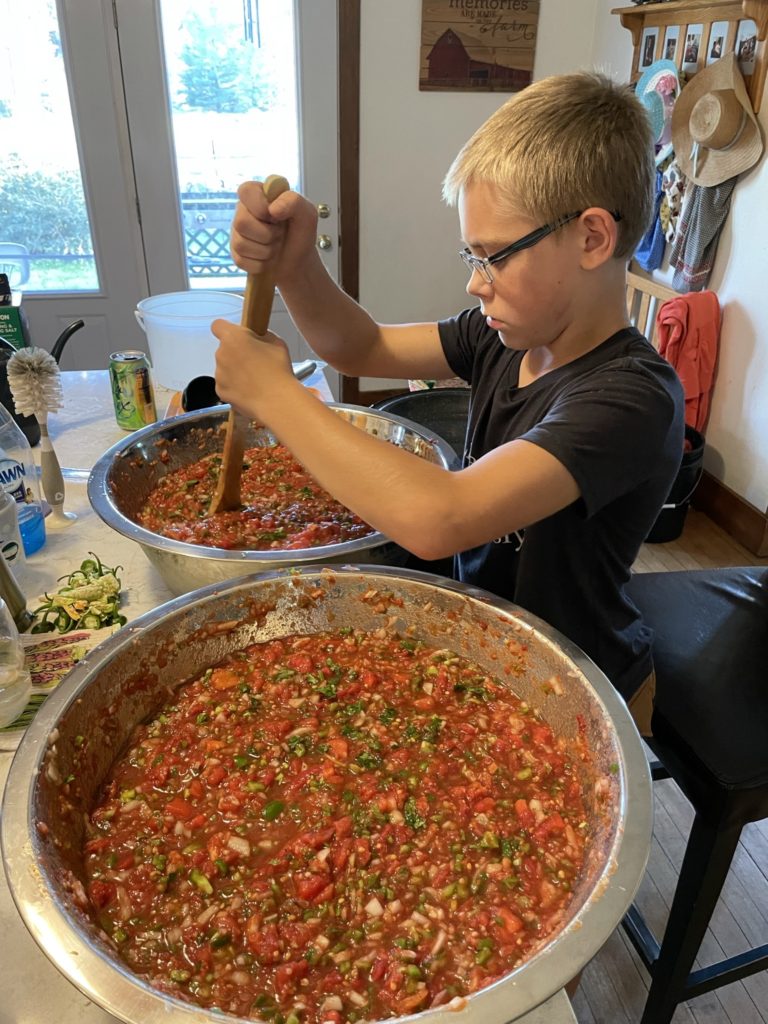
This one is definitely a canning tip I wish I would have known earlier on. Making a large batch of something can be very time-consuming! It takes a lot of time and effort to pick, wash, peel, chop, cut, and heat up a recipe, just to get your food ready for canning.
Small batches can be whipped in the same amount of time it takes you to put dinner on the table. Unlike with large batches which may take you all day to go from fresh produce to an end product. And then you have to take the time to can all of it. Waterbath canners only fit 7 jars at a time.
Also, before you jump in and make a large batch of something, make sure you like the recipe. It might look nice in the pantry, but if you are not going to eat it or use it, it is not worth the effort and time to preserve.
I would suggest fruit jams, diced tomatoes, stewed tomatoes, or this salsa, The Best Homemade Salsa (Fresh or Canned) from Mel’s Kitchen. It’s one of our favorites.
4) Temperature is VERY IMPORTANT!
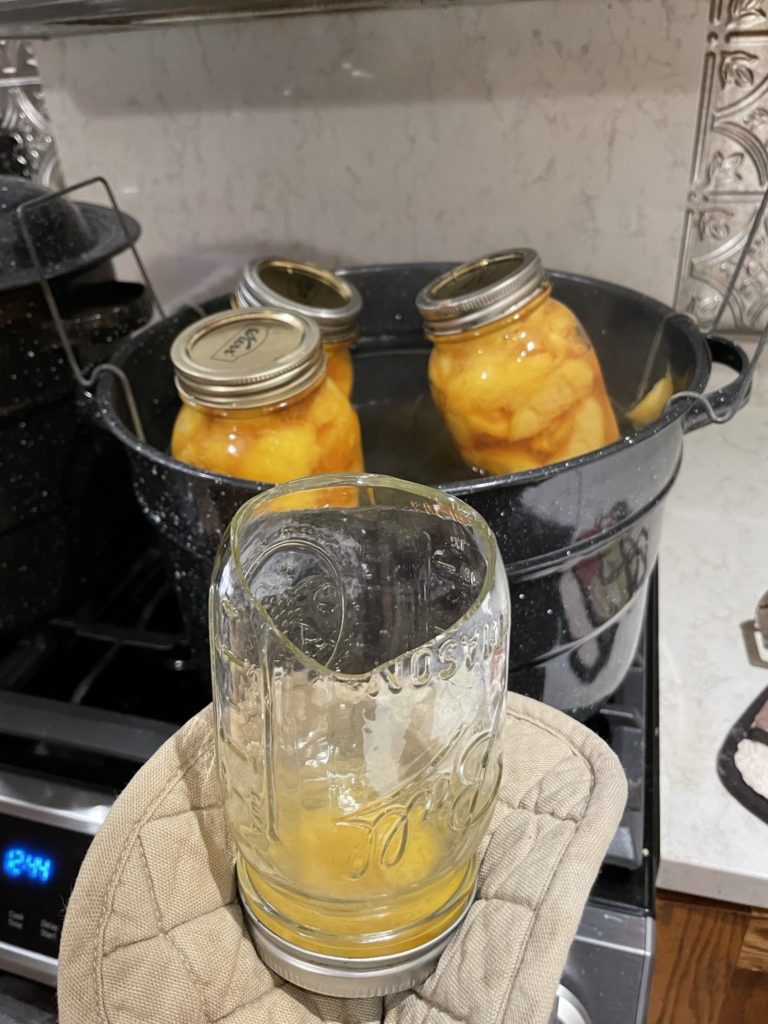
Remember when I shared about how many broken jars we had that first year. Yes, true story. We broke so many jars and I would love to tell you that after all these years of experience behind me, I never break a jar, but I can’t. It still occasionally happens. However, I can tell you that probably 99% of the time when I have a jar break it is because of temperature.
Glass jars will break when there is a significant temperature change. Okay, so you made some amazing hot salsa that you are excited to can. You need to make sure that the jars that you are going to be pouring this amazing hot salsa into are hot as well. And then once the jars are filled, the canner water needs to be at about the same temperature as the hot jars you are putting them into.
If you put hot food into a cold jar, the jar might break. If you put cold food into a hot jar and then put it into a canner with hot water, the jar could break. If you put hot food into a hot jar and then into a canner with hot water, the jar should not break. And I will say the same for cold. If you put cold food into cold jars, and then put them in a canner with cold water and heat them up slowly, your jars will not break.
You can hot pack or cold (raw) pack your jars. But remember, the science of jar breaking typically comes down to temperature. Make the temperature of your food and jars and canner water are about the same.
How We Warm Our Sanitized Jars before Canning:
All of our glass jars and rings are properly sanitized in our dishwasher beforehand. We will give them a quick clean and rinse them before using them if needed. Then, when we are about ready to put the food into the jars, we will fill each jar with piping hot water straight from the faucet and then set the jars on the countertop until we are ready to fill them. Dump out the hot water and fill the jar quickly. If the water in the jars becomes warm, dump it out and add really hot water again.
5) Use Reliable Canning Lids
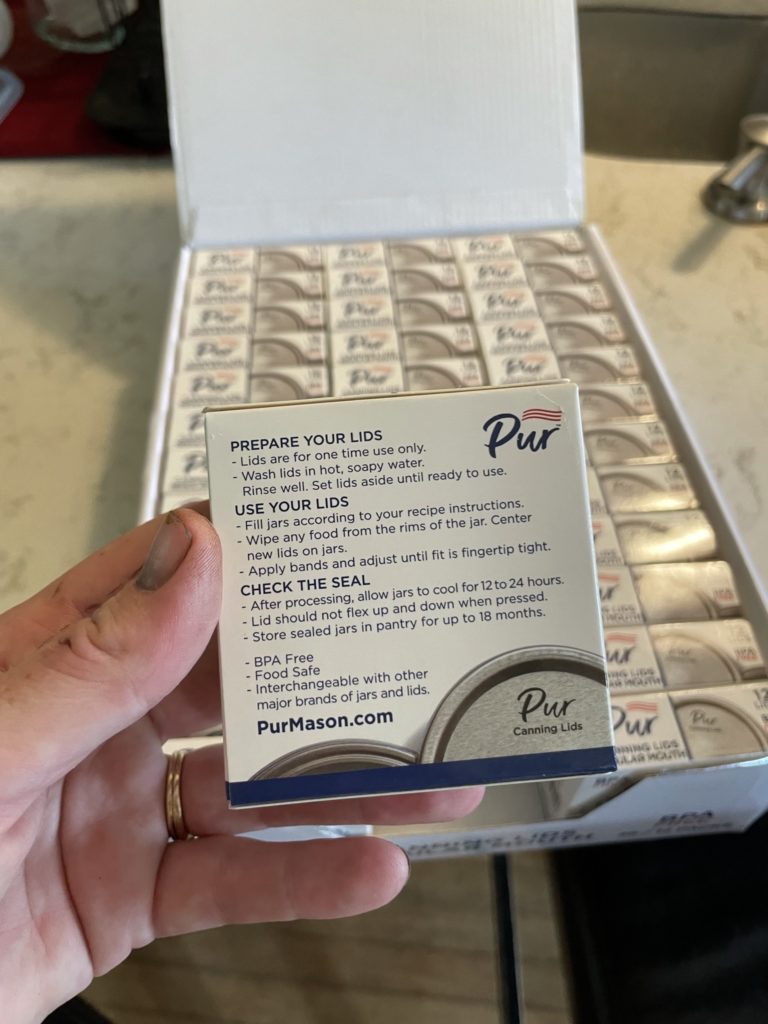
We prefer to use Ball Canning Lids or Kerr Canning Lids. But these lids have been very hard to come by and in order to continue with our canning, we had to try an off-brand. Our local Ace Hardware has Pur Canning Jars and Lids and we have had good luck using them. We have successfully canned several hundred jars of goods using them and feel that they are another good option.
In 2020, the Scotts fertilizer company did an unofficial survey and estimated there were possibly 15 million first-time gardeners. If only a fraction of these first-time gardeners attempted to can, that would add significant strain to a market that has not seen major growth in decades. It was also the same time that food shortages were rumored to be happening and a mass amount of people were revitalized to garden and can again. Couple the first-time gardeners learning to can, with all the experienced gardeners who enlarged their gardens or were motivated to preserve more of their produce than in past years, made Ball or Kerr canning lids nearly impossible to come by. All these things led to a canning lid shortage that has caused a lot of concern and frustration for us and many others.
Here we are in 2022 and it is still hard to come by name-brand canning lids. Many people went to amazon or other sellers and found knock-off brands that they thought would do the job. But, when only a portion of your jars seal, it really feels like a wasted effort and can discourage you from wanting to can again. My heart goes out to them.
Again, we prefer to use Ball Canning Lids or Kerr Canning Lids. But, we have had success using Pur Canning Lids and would recommend them.
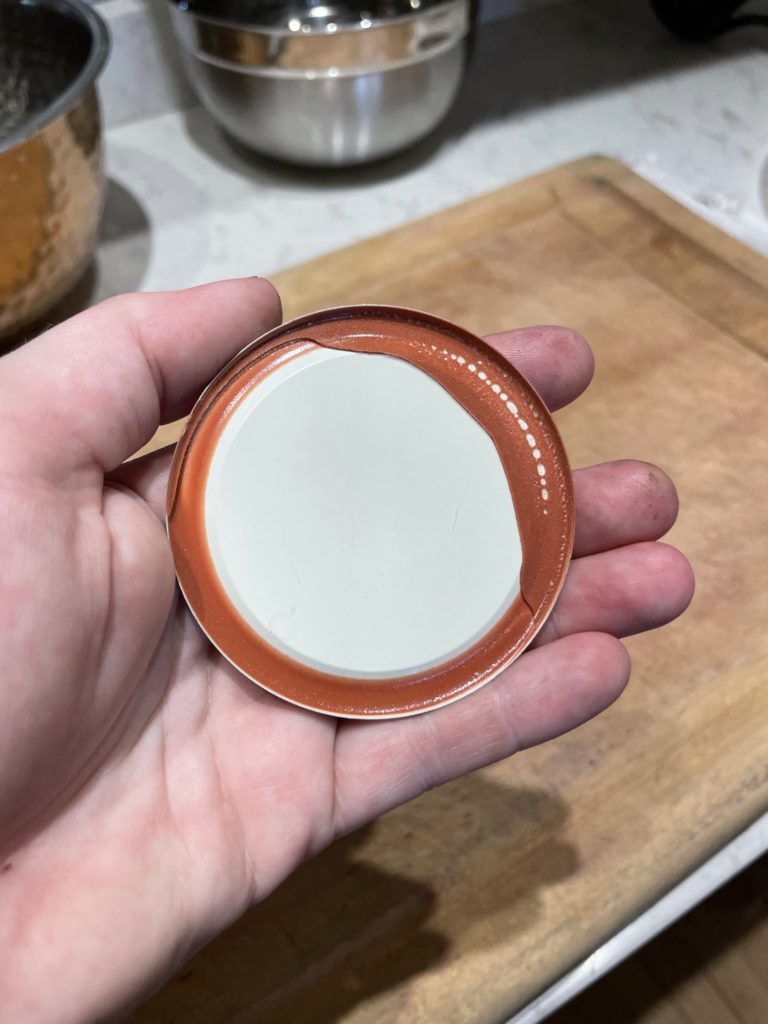
When you are canning, make sure to check all of your supplies. Especially the canning lids. Above you will see that this particular canning lids glue was bad. This lid will not properly seal and should be tossed. This was the only one I found like that but if I wasn’t paying attention and used it, that jar of food would need to be stored in the refrigerator.
Also, it’s important to check all your supplies. Carefully look at each glass jar to see if it has any cracks. Use your finger to feel around the top of the jar to see if you feel any chips. These jars should be recycled or used for something else instead of canning.
6) Take The Canning Rings Off Before Storage
Once your jars are completely cooled, it’s time to put them away. But before you do, make sure you do a few things:
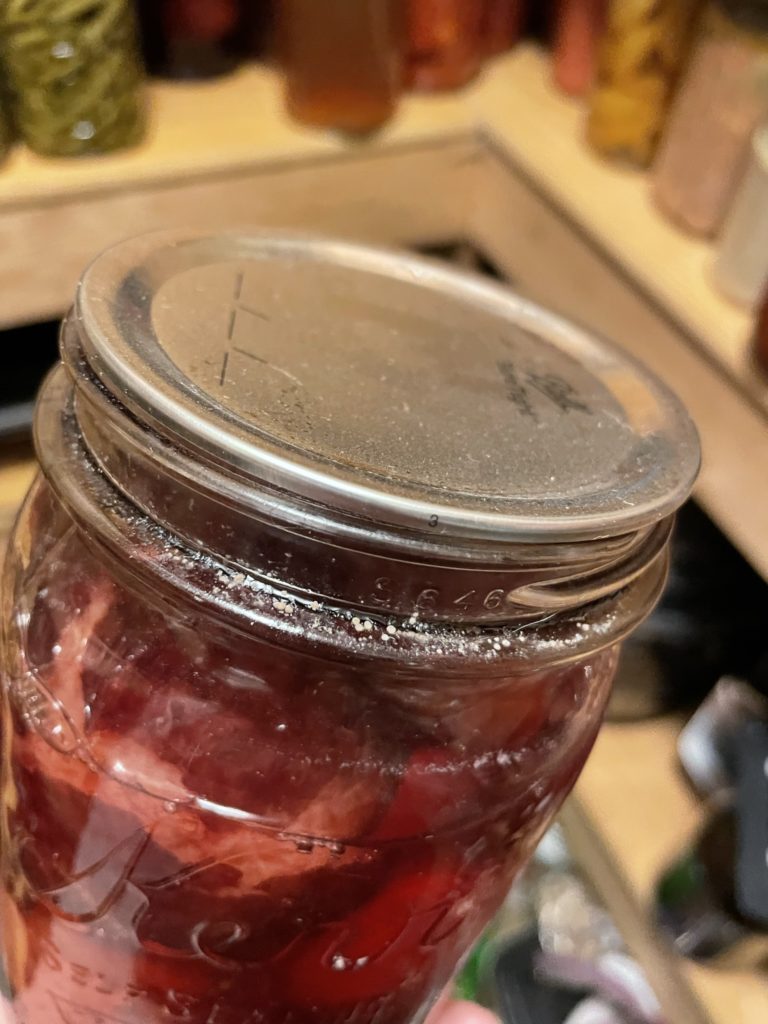
- Take the rings off- this will prevent the rings from rusting and from keeping bacteria in around the lid. The rings are only meant to hold the lids in place, during the canning process.
- Check the lids and seals by seeing if the middle of the jar pops and by picking up the jar by holding onto just the lid (testing to make sure it has a good seal)
- Wipe the jars down- paying special attention to the threads on the jar. If you don’t wipe these down well you could find yourself growing mold on the threads.
7) It’s Okay to Freeze Produce for Later
It never seems like all those homegrown fruits and veggies are ripe at the right times. The peppers or onions are ready when you do not have any ripe tomatoes. Or you have so many ripe tomatoes and no time to preserve them.
Have no fear, you can freeze certain fruits and veggies to use up later.
Produce that you can freeze:
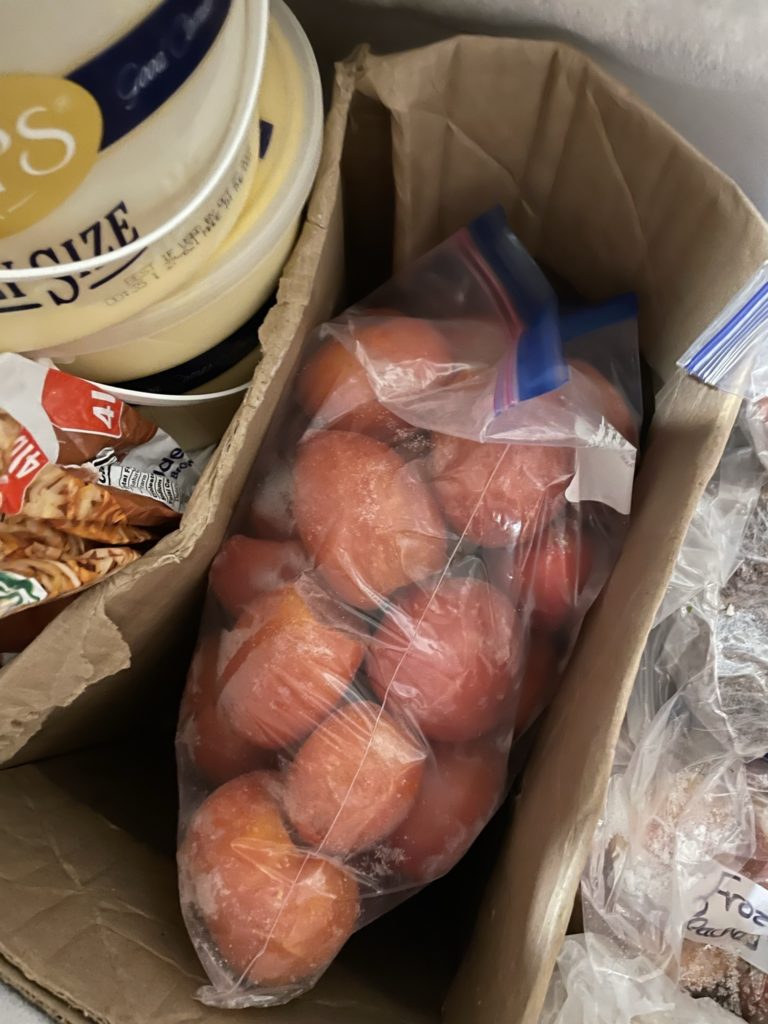
- Tomatoes- wash, core them, and then toss them into a freezer bag for later. The peels will come right off them once they are thawed
- Berries- strawberries, blueberries, blackberries, elderberries, and grapes are some of the fruits that can be washed and frozen for later.
- Peppers- chopped or cut in half for stuffed green peppers
- Onions
- Celery
- Carrots
- Any leftover scraps that you could add to bone broth or stock
Tip: You may want to separate and freeze some of these on a baking sheet before putting them into a freezer bag. They may lump together and be hard to separate if you do not.
8) Don’t Be Afraid of a Pressure Canner
It took us about 3 years until we were willing to try a pressure canner. We borrowed my mother-in-law’s to try canning green beans. It was much less intimidating than we both thought it was going to be.
Don’t be afraid. It is easier than you think.
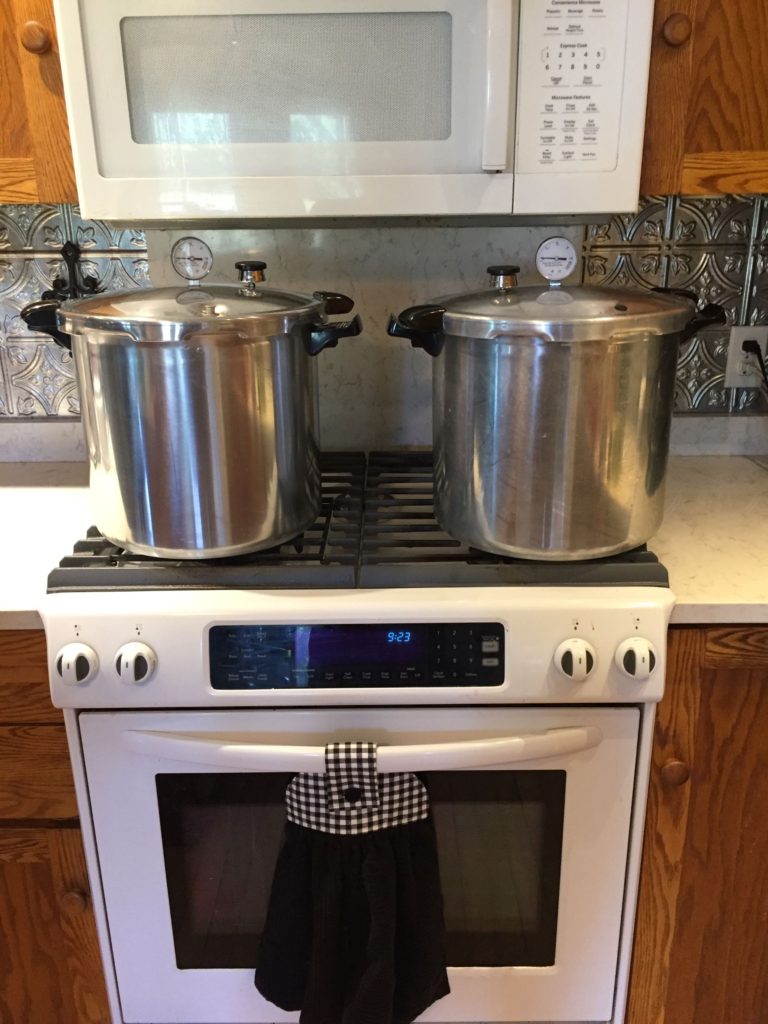
Pressure canners allow you to pressure can low acid foods such as beans, carrots, potatoes, stocks, meats, etc. The processing time for most jars in the pressure canner is typically much longer. Plus, you also need to take into account that the pressure canner has to build up pressure before you can even start. Once the cooking is done you want the pressure in the pot to naturally drop with a slow steam release. The pressure canning process takes longer, but because of the high heat, you are able to safely store foods in your pantry that you cannot preserve using the water bath method.
One nice thing about pressure canning is that you can stack jars on top of each other, so each batch can hold more than seven jars.
Discover The Science of Cooking with KiwiCo’s Yummy Crate: Ages 6-14
Keep Working At It
I hope you enjoyed reading the 8 Canning Tips I Wish I Would Have Known Before Learning to Can. I want to encourage you to keep working on learning the skill of canning and preserving. Every time you do it, it becomes easier. Before you know it, you will have a pantry full of homegrown, homemade goods for you and your family to enjoy.
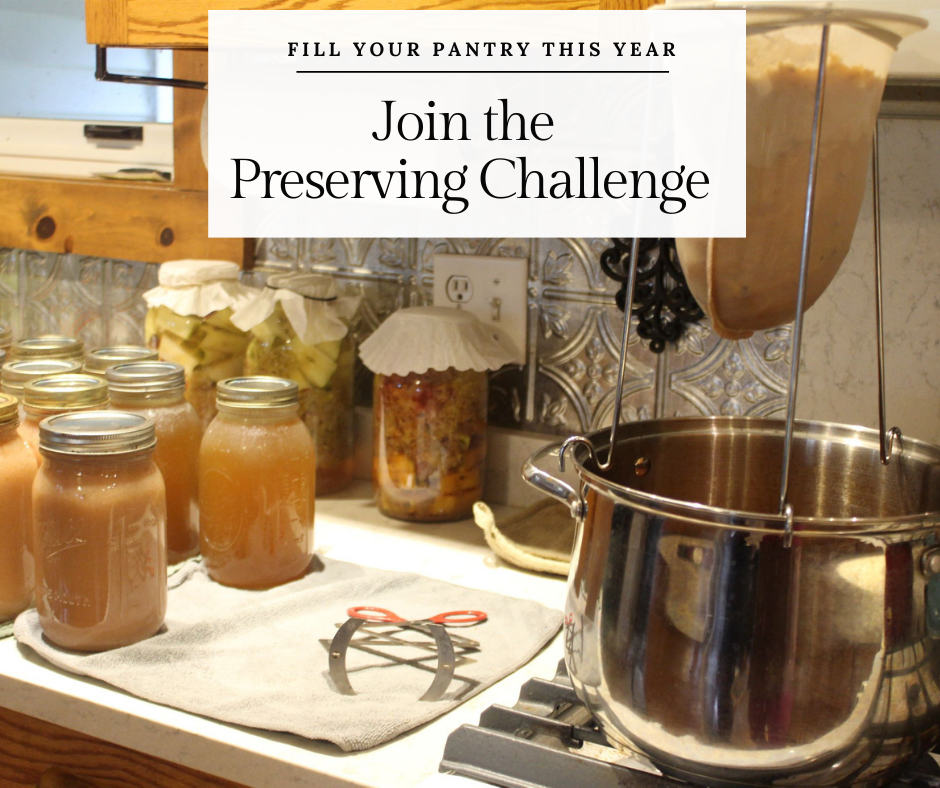
Ready To Fill Your Pantry This Year? Join the Preserving Challenge below and get free worksheets to help plan and track your preserving.
Share Your Preserving With Us
Every year, I share my Preserving Challenge Tracking Sheets and Planning Pages for free to e-mail subscribers. These are the same sheets I use to keep track of my canning and preserving from year to year. Tracking all of our canning helps us to know how much we put up in our pantry, where we found the recipe, and at we can add up the total amount for the year to make us feel good and remind us that all that hard work counts.
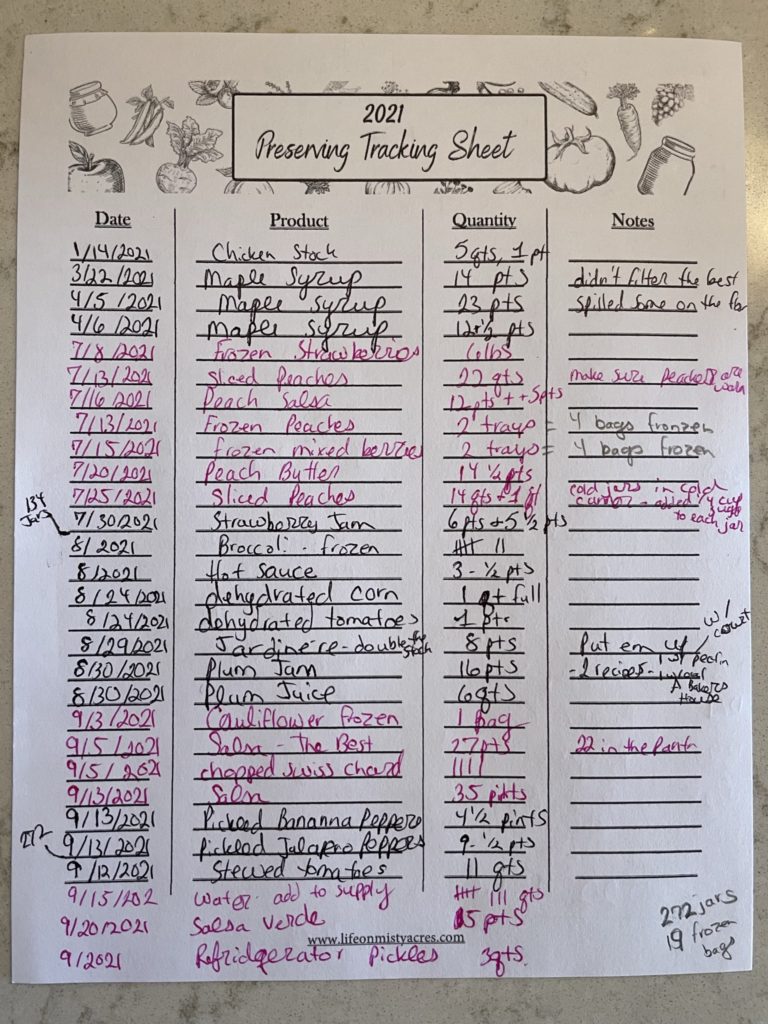
I would love for you to join the Preserving Challenge too! Subscribe to our e-mail list to get your free forms. If you join us, please share your excitement and successes with us. Follow us on Facebook and Instagram. Tag @lifeonmistyacres in your posts and use #preservingchallenge2022. I don’t want to miss out on your preserving success!
I hope you enjoy the Preserving Challenge as much as we have! Tell me, what is your reason for wanting to preserve your own food?
Not sure how to get started? Here are a few of our favorite recipes: Strawberry Jam and Perfect Pesto. You may also like to read Canning… the Great Mystery and Quickstart Guide to Canning.
Happy Preserving!
-Lindsay from Life on Misty Acres
